Ritchie
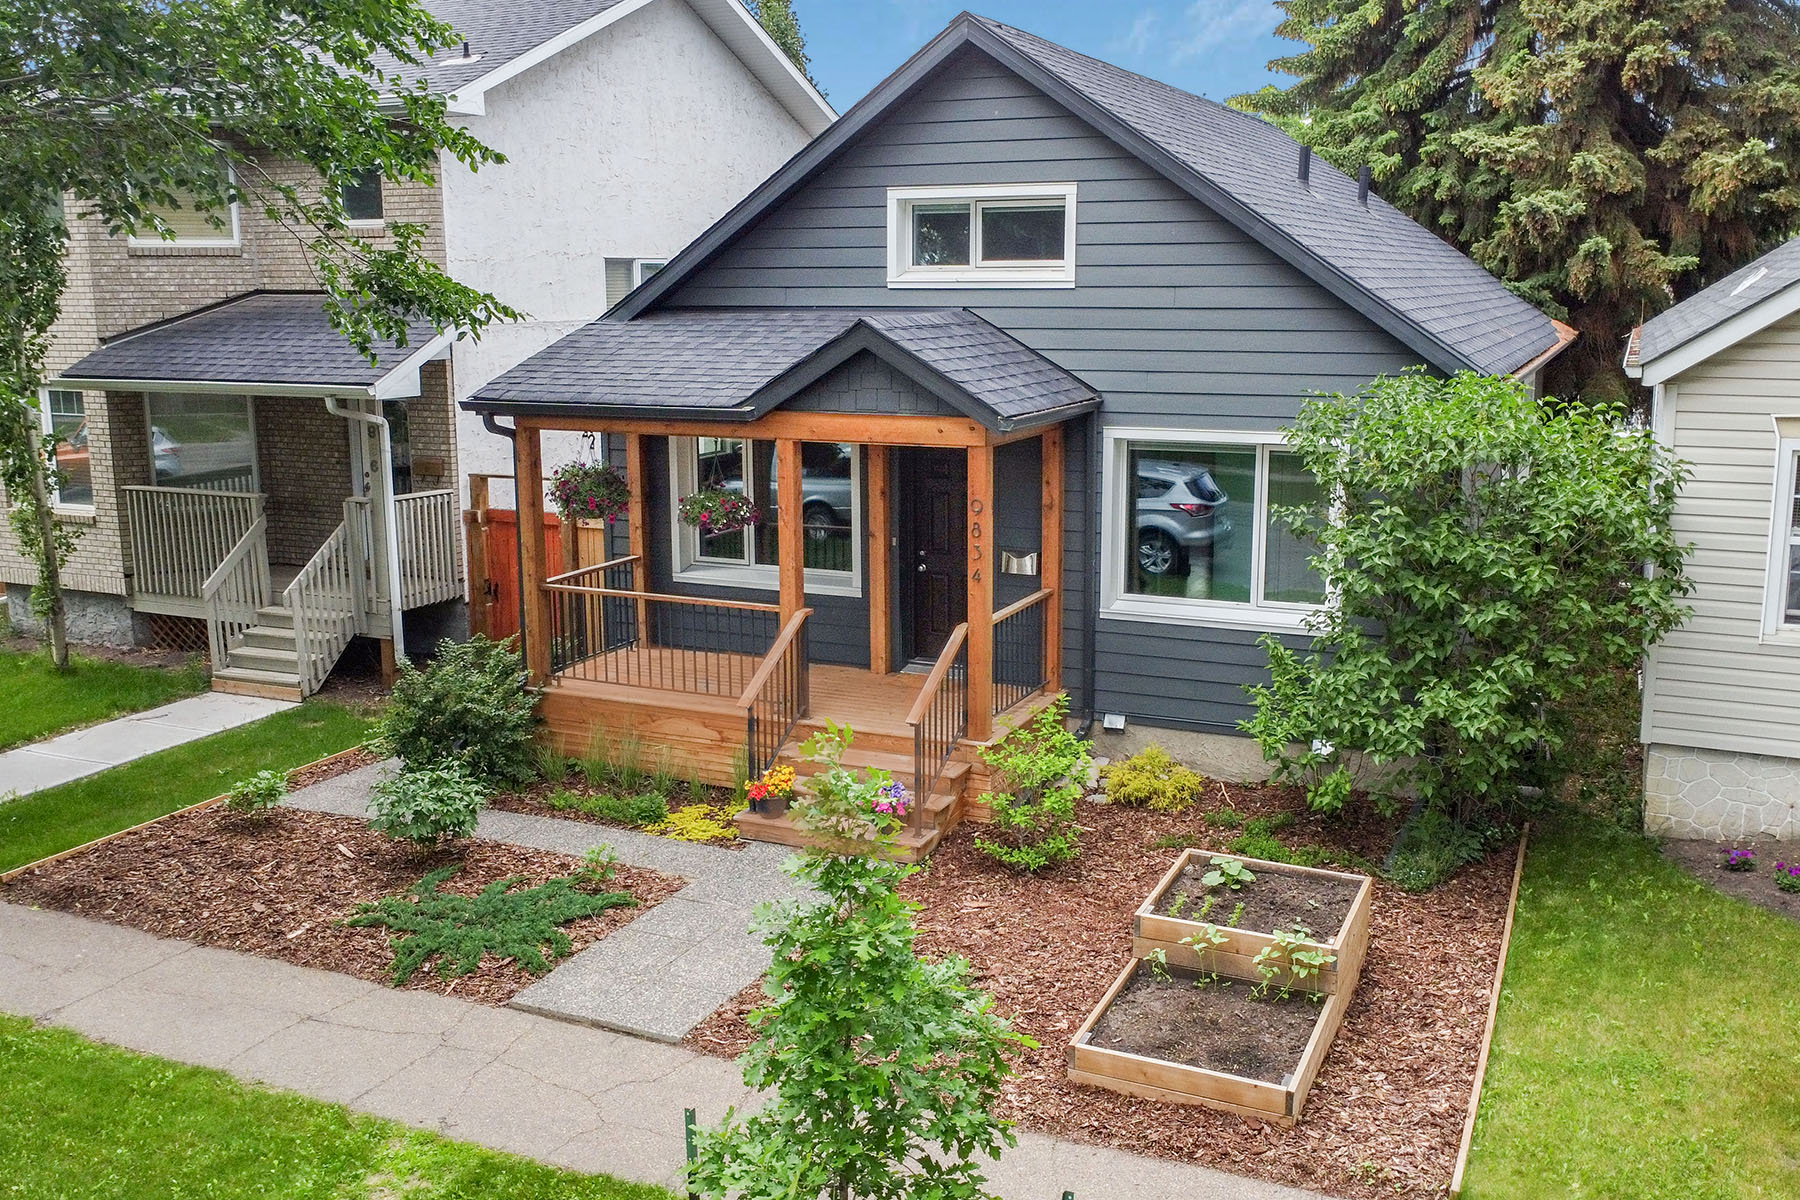
Stuart and his wife, Meg, embarked on a deep energy retrofit project, encompassing the complete renewal of a modest 1943 mature neighborhood wartime home into a healthy, comfortable, and energy efficient home.
| Building Type | Single-Family One and a Half Stories | Location | Edmonton, AB |
| Year Built | 1943 | Foundation Type | Concrete (Full Basement) |
| Structure Type | Wood-Framed | Post-Retrofit Total Floor Area | 189.6m2 |
| Climate Zone | 7a | Heating Degree Days | 5120 |
| Retrofit Status | Complete | Year Completed | 2018 |
| Retrofit Phasing | Yes | Geometry Changed | No |
| Annual Energy Savings | 72.09% | Operational Carbon Savings | 9.12 tCO2eq/y |
| Retrofit Type | Envelope and Mechanical | Performance Level | Net-Zero Ready |
Project Team
Project Priorities
- Reduce Energy Consumption
- Achieve Net Zero or Net Zero Ready
- Improve Indoor Air Quality
- Repair and/or Renew Exterior
- Improve Home Value
Upgrades
Envelope Improvements
- Wall Insulation – Exterior – Other
- Wall Insulation – Interior
- Air Sealing / Airtightness
Mechanical: Heating and Cooling Improvements
- Air Source Heat Pump – Ducted
- Radiant In-Floor Heating
Mechanical: Ventilation Improvements
- Energy Recovery Ventilator (ERV)
Mechanical: Hot Water Improvements
- Drain Water Heat Recovery (DWHR)
Renewables & Storage Improvements
- Passive Solar Design
Structure and Space Improvements
- Building Addition / Extension
- Interior Renovation
Project Description
The Retrofit Story
Background
Stuart and Meg purchased a 1.5-story wartime home, built in 1943 in Edmonton’s Ritchie neighborhood, with the goal of creating a beautiful, energy-efficient, and cost-effective home in a mature community. They hoped to prove that retrofitting could be a better option than demolition and new construction. Their plan was to complete most of the work themselves, allowing them to gain hands-on experience while improving project economics.
The general strategy was to retrofit the interior first, move in, and then tackle the exterior using a "chainsaw style" approach. They aimed to achieve an 80% reduction in energy consumption.
The couple completed most of the work themselves, with support from industry peers. Through exterior super-insulation and airtightness (0.7 ACH50), along with highly efficient HVAC systems, they achieved an 80% reduction in energy consumption.
Retrofit Process
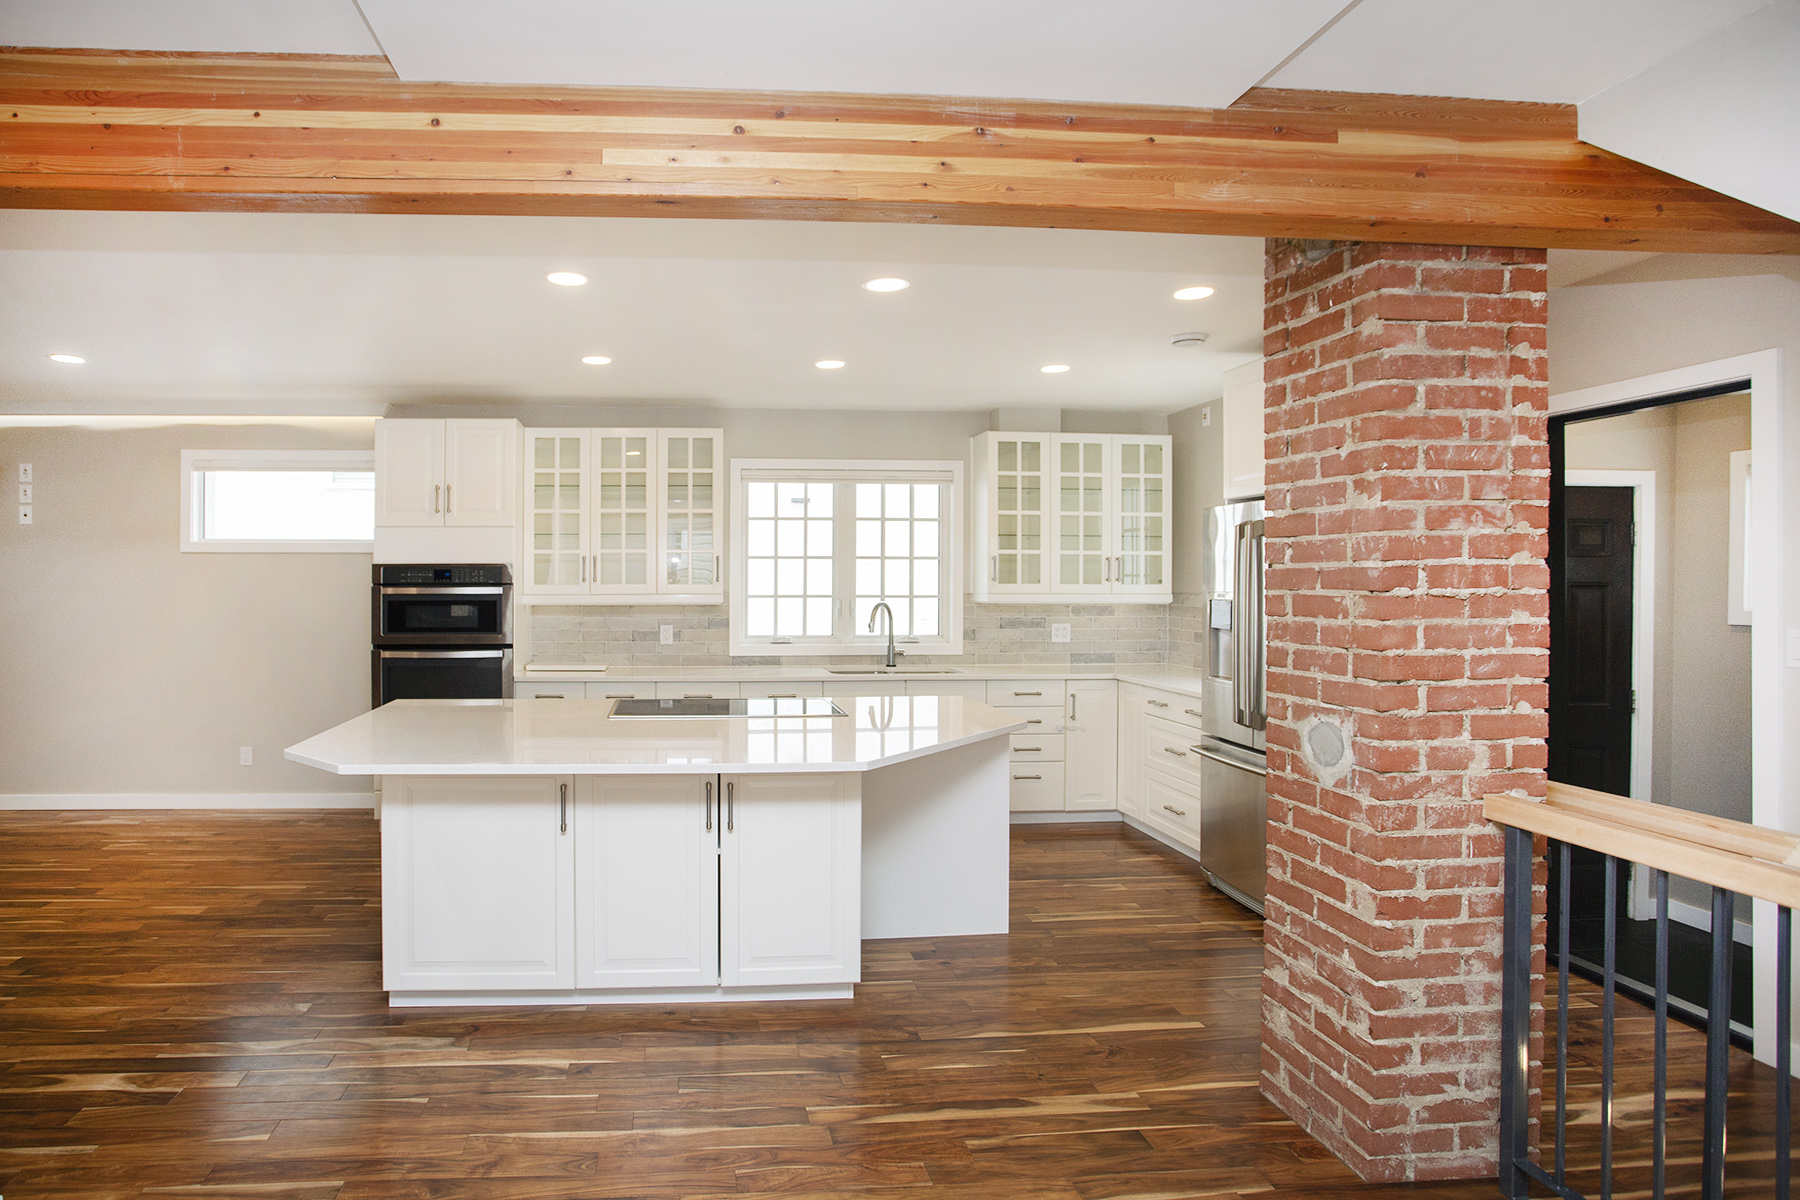
Stage 1: Interior Work
- Complete interior gut
- Removed all services, stripped down to studs
- Service upgrades
- Replaced lead water line, 70-year-old sanitary drain
- New 100A electrical service (previously 60A), moved meter to garage, ran service to house below grade
- Structural modifications
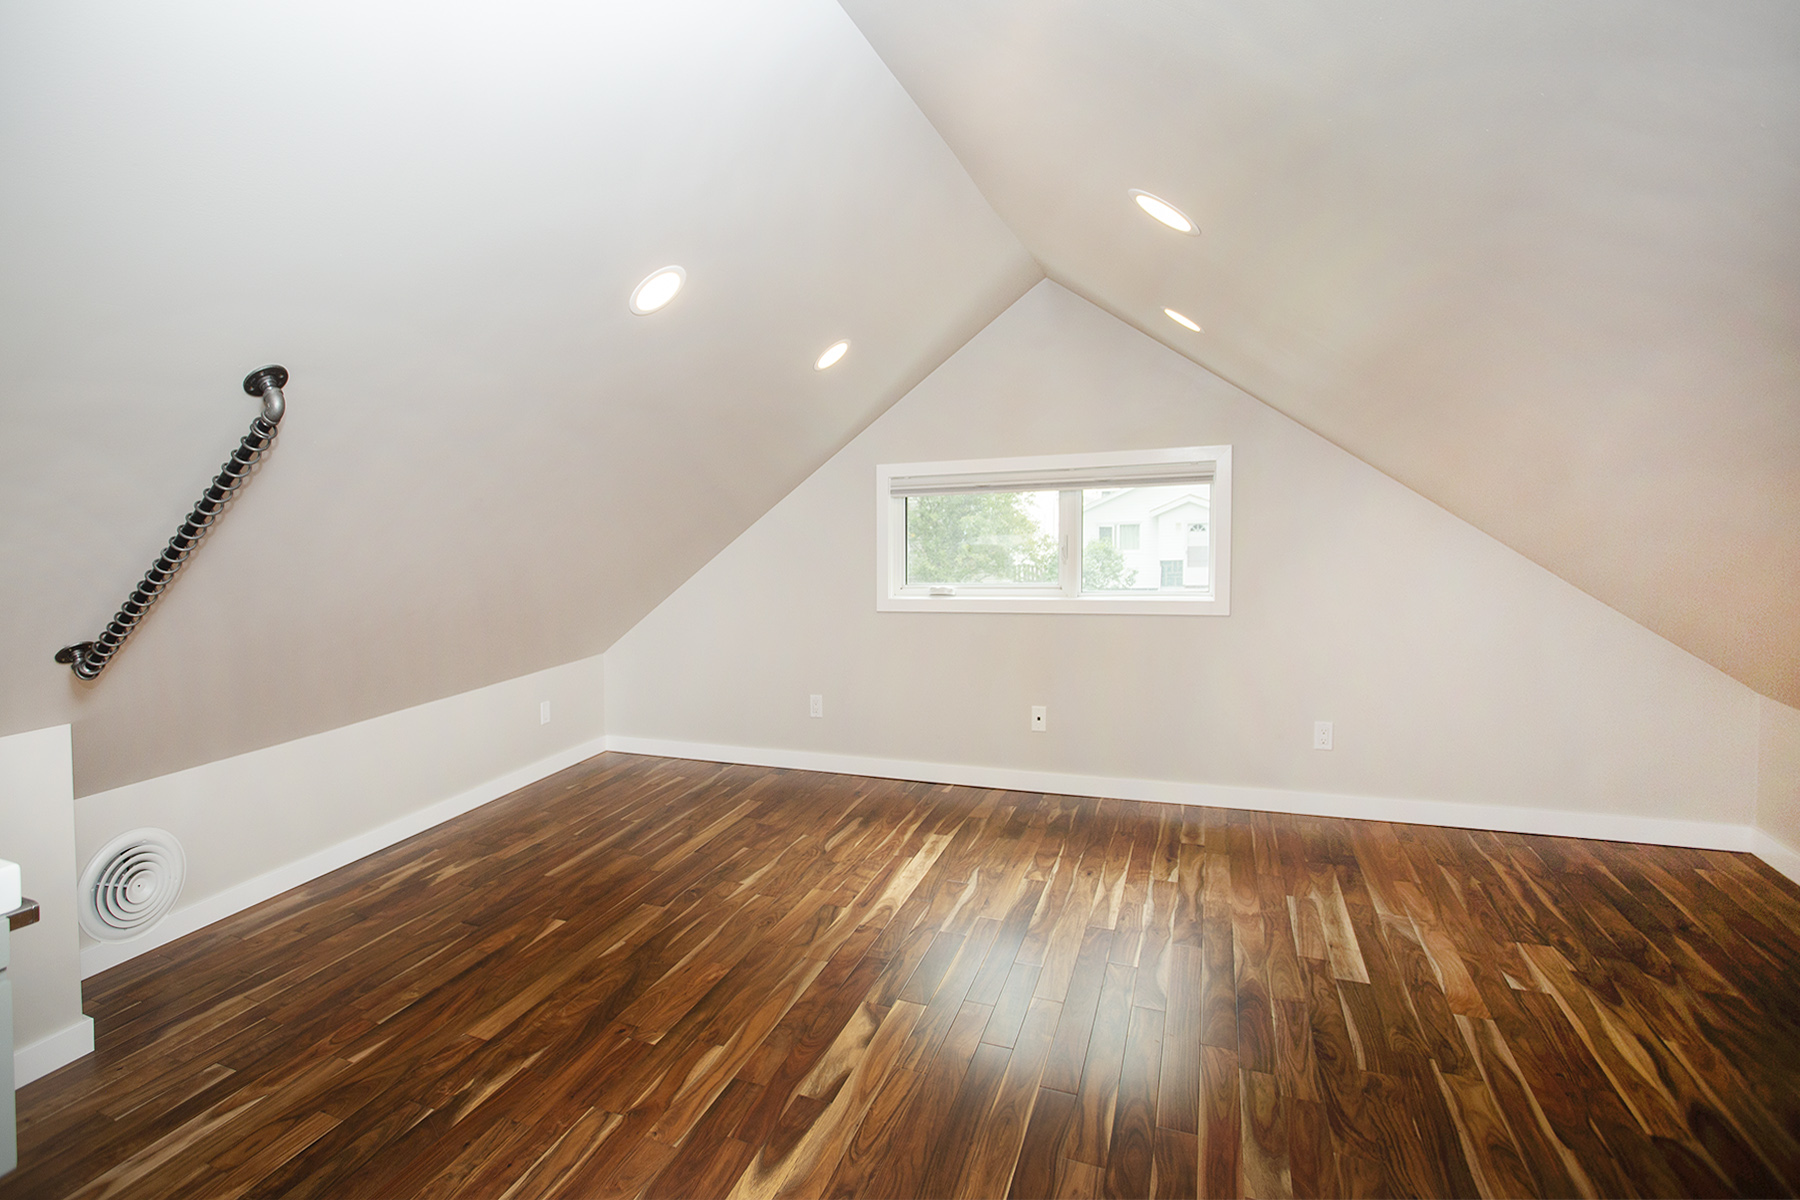
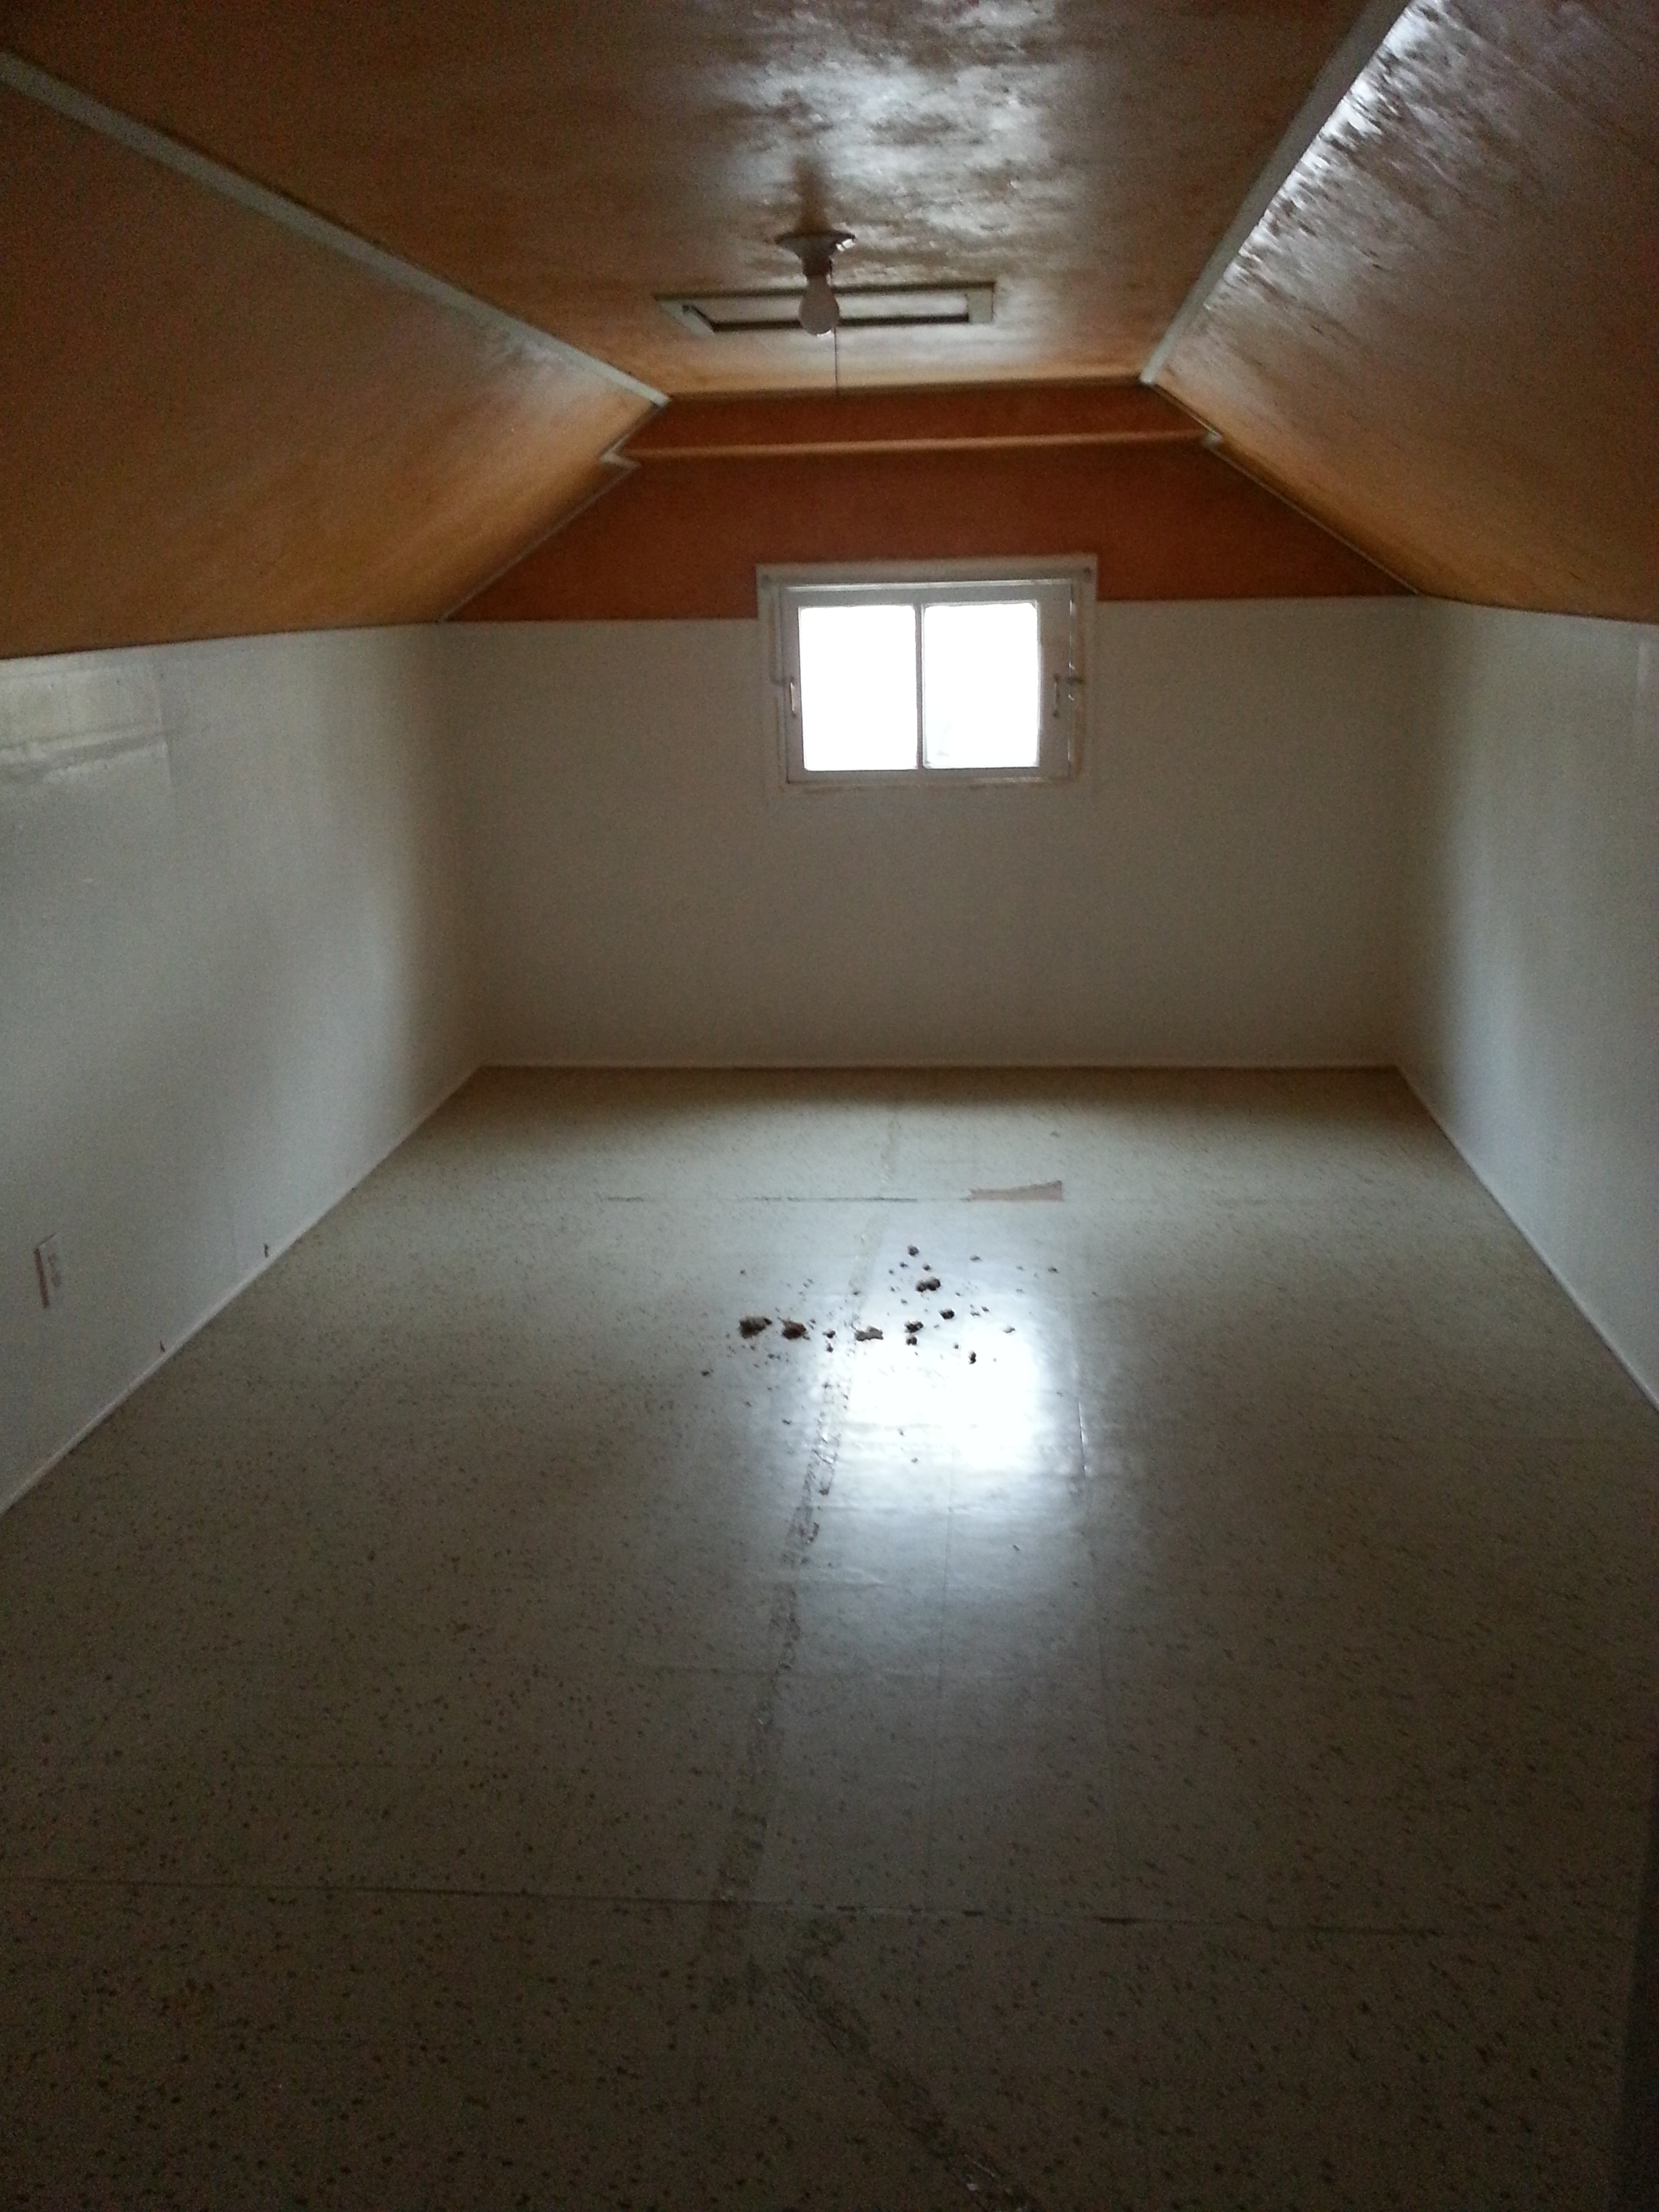
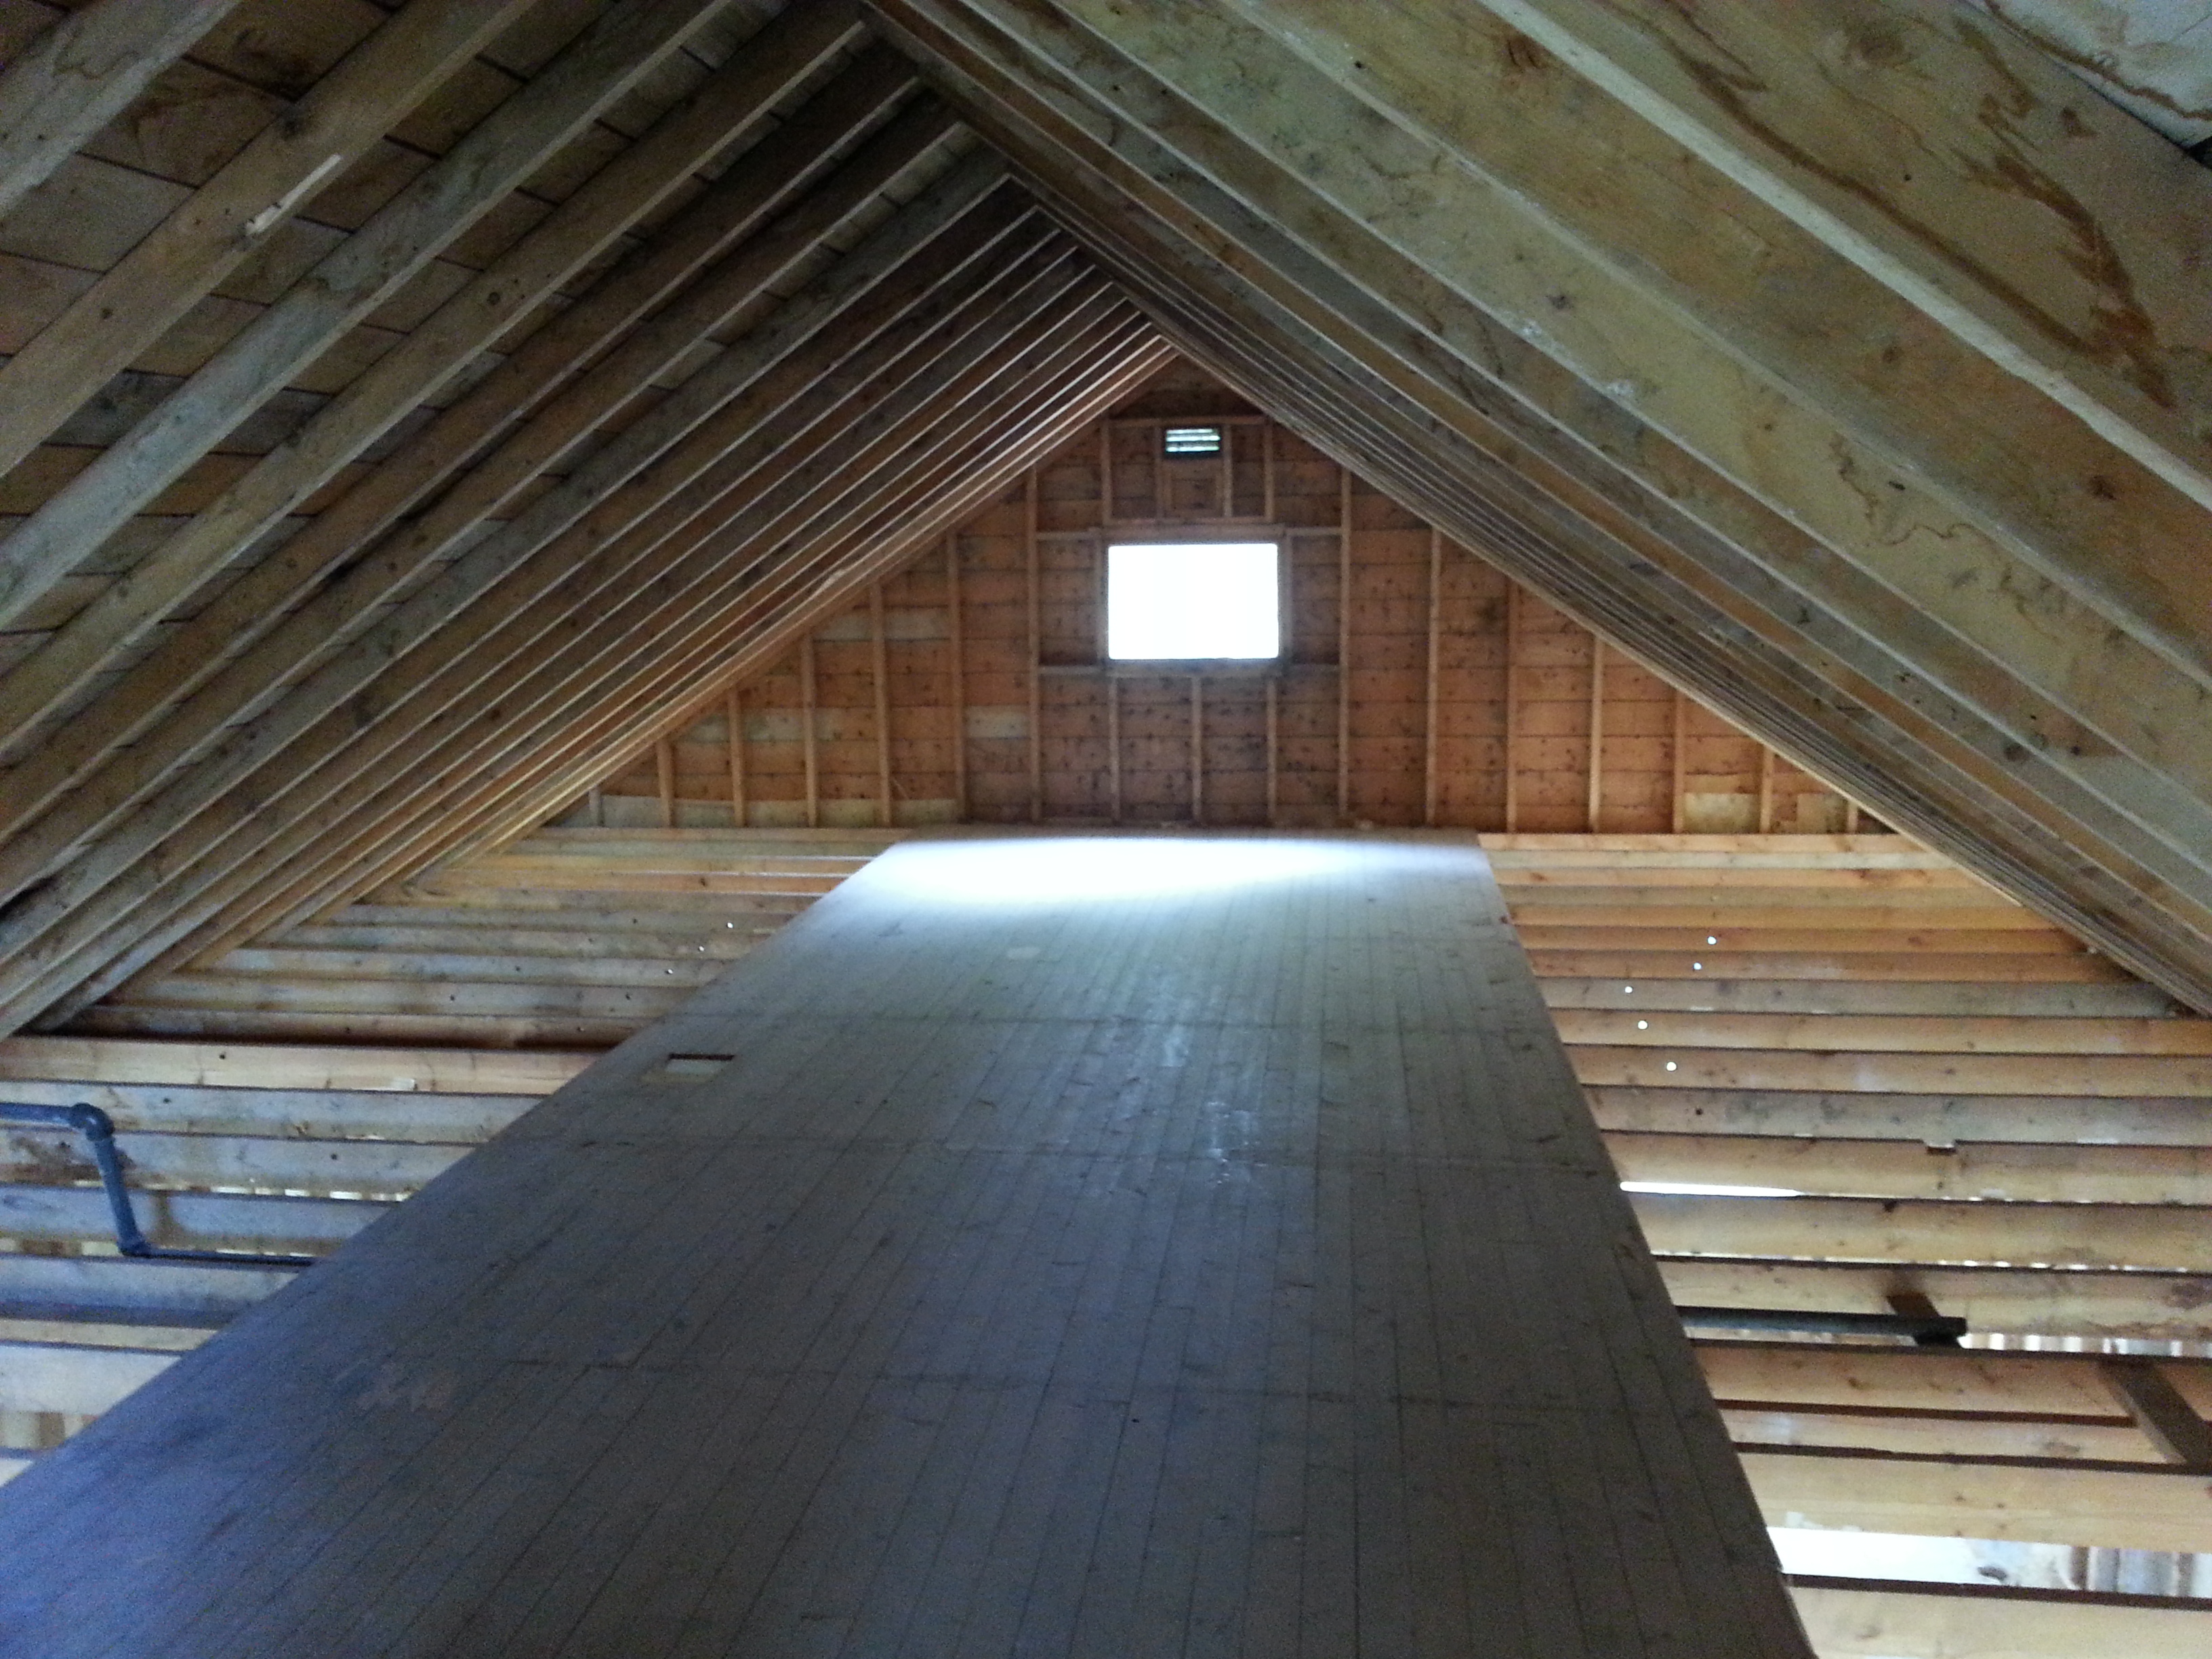
- Opened attic to rafters, removed two main floor walls
- Window replacements
- Installed four new windows: two larger in attic, two smaller in kitchen
- Replaced all other windows
- New HVAC, plumbing & electrical
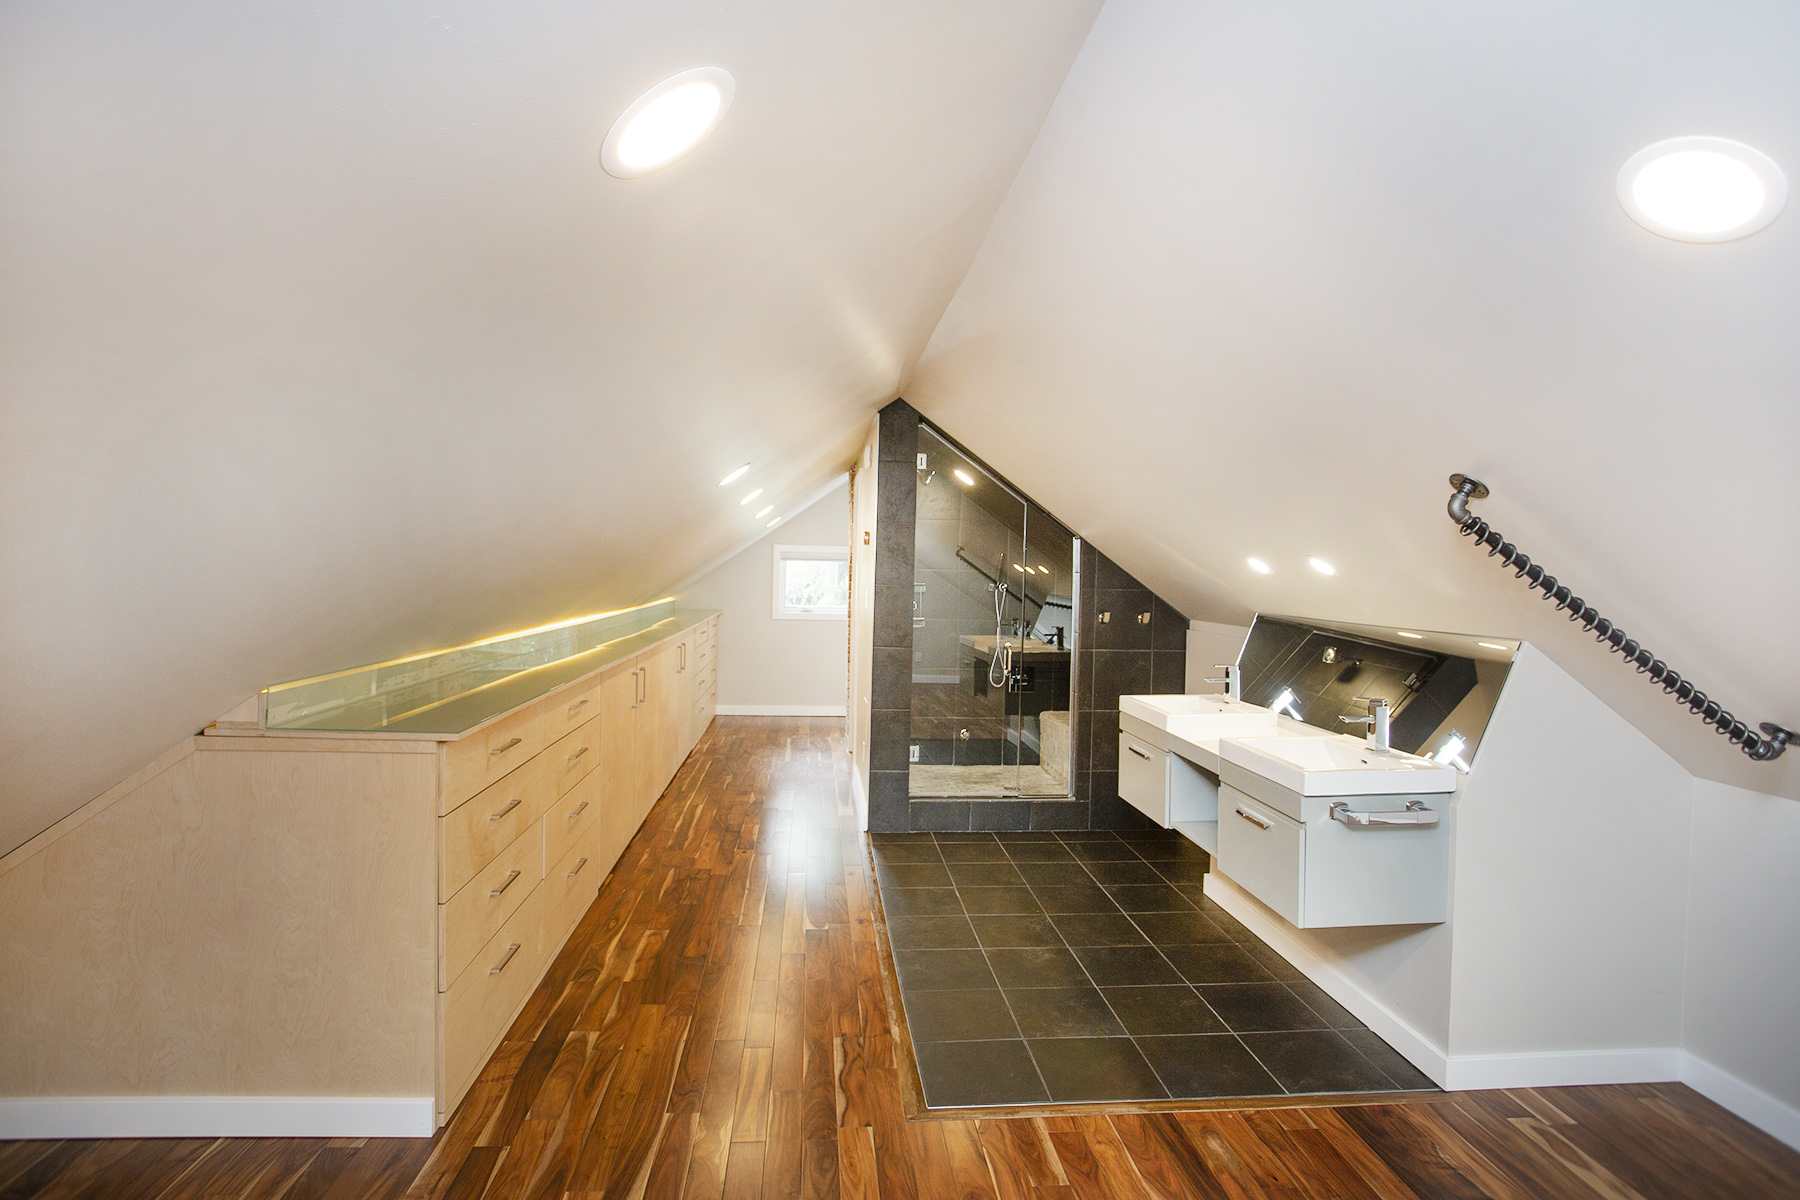
- Added bathrooms in attic & basement
- Installed hydronic heating, dedicated HRV, and AC
- Insulation & drywall
- Roxul batt in stud/rafter cavities, poly, etc.
- Refinish & move in
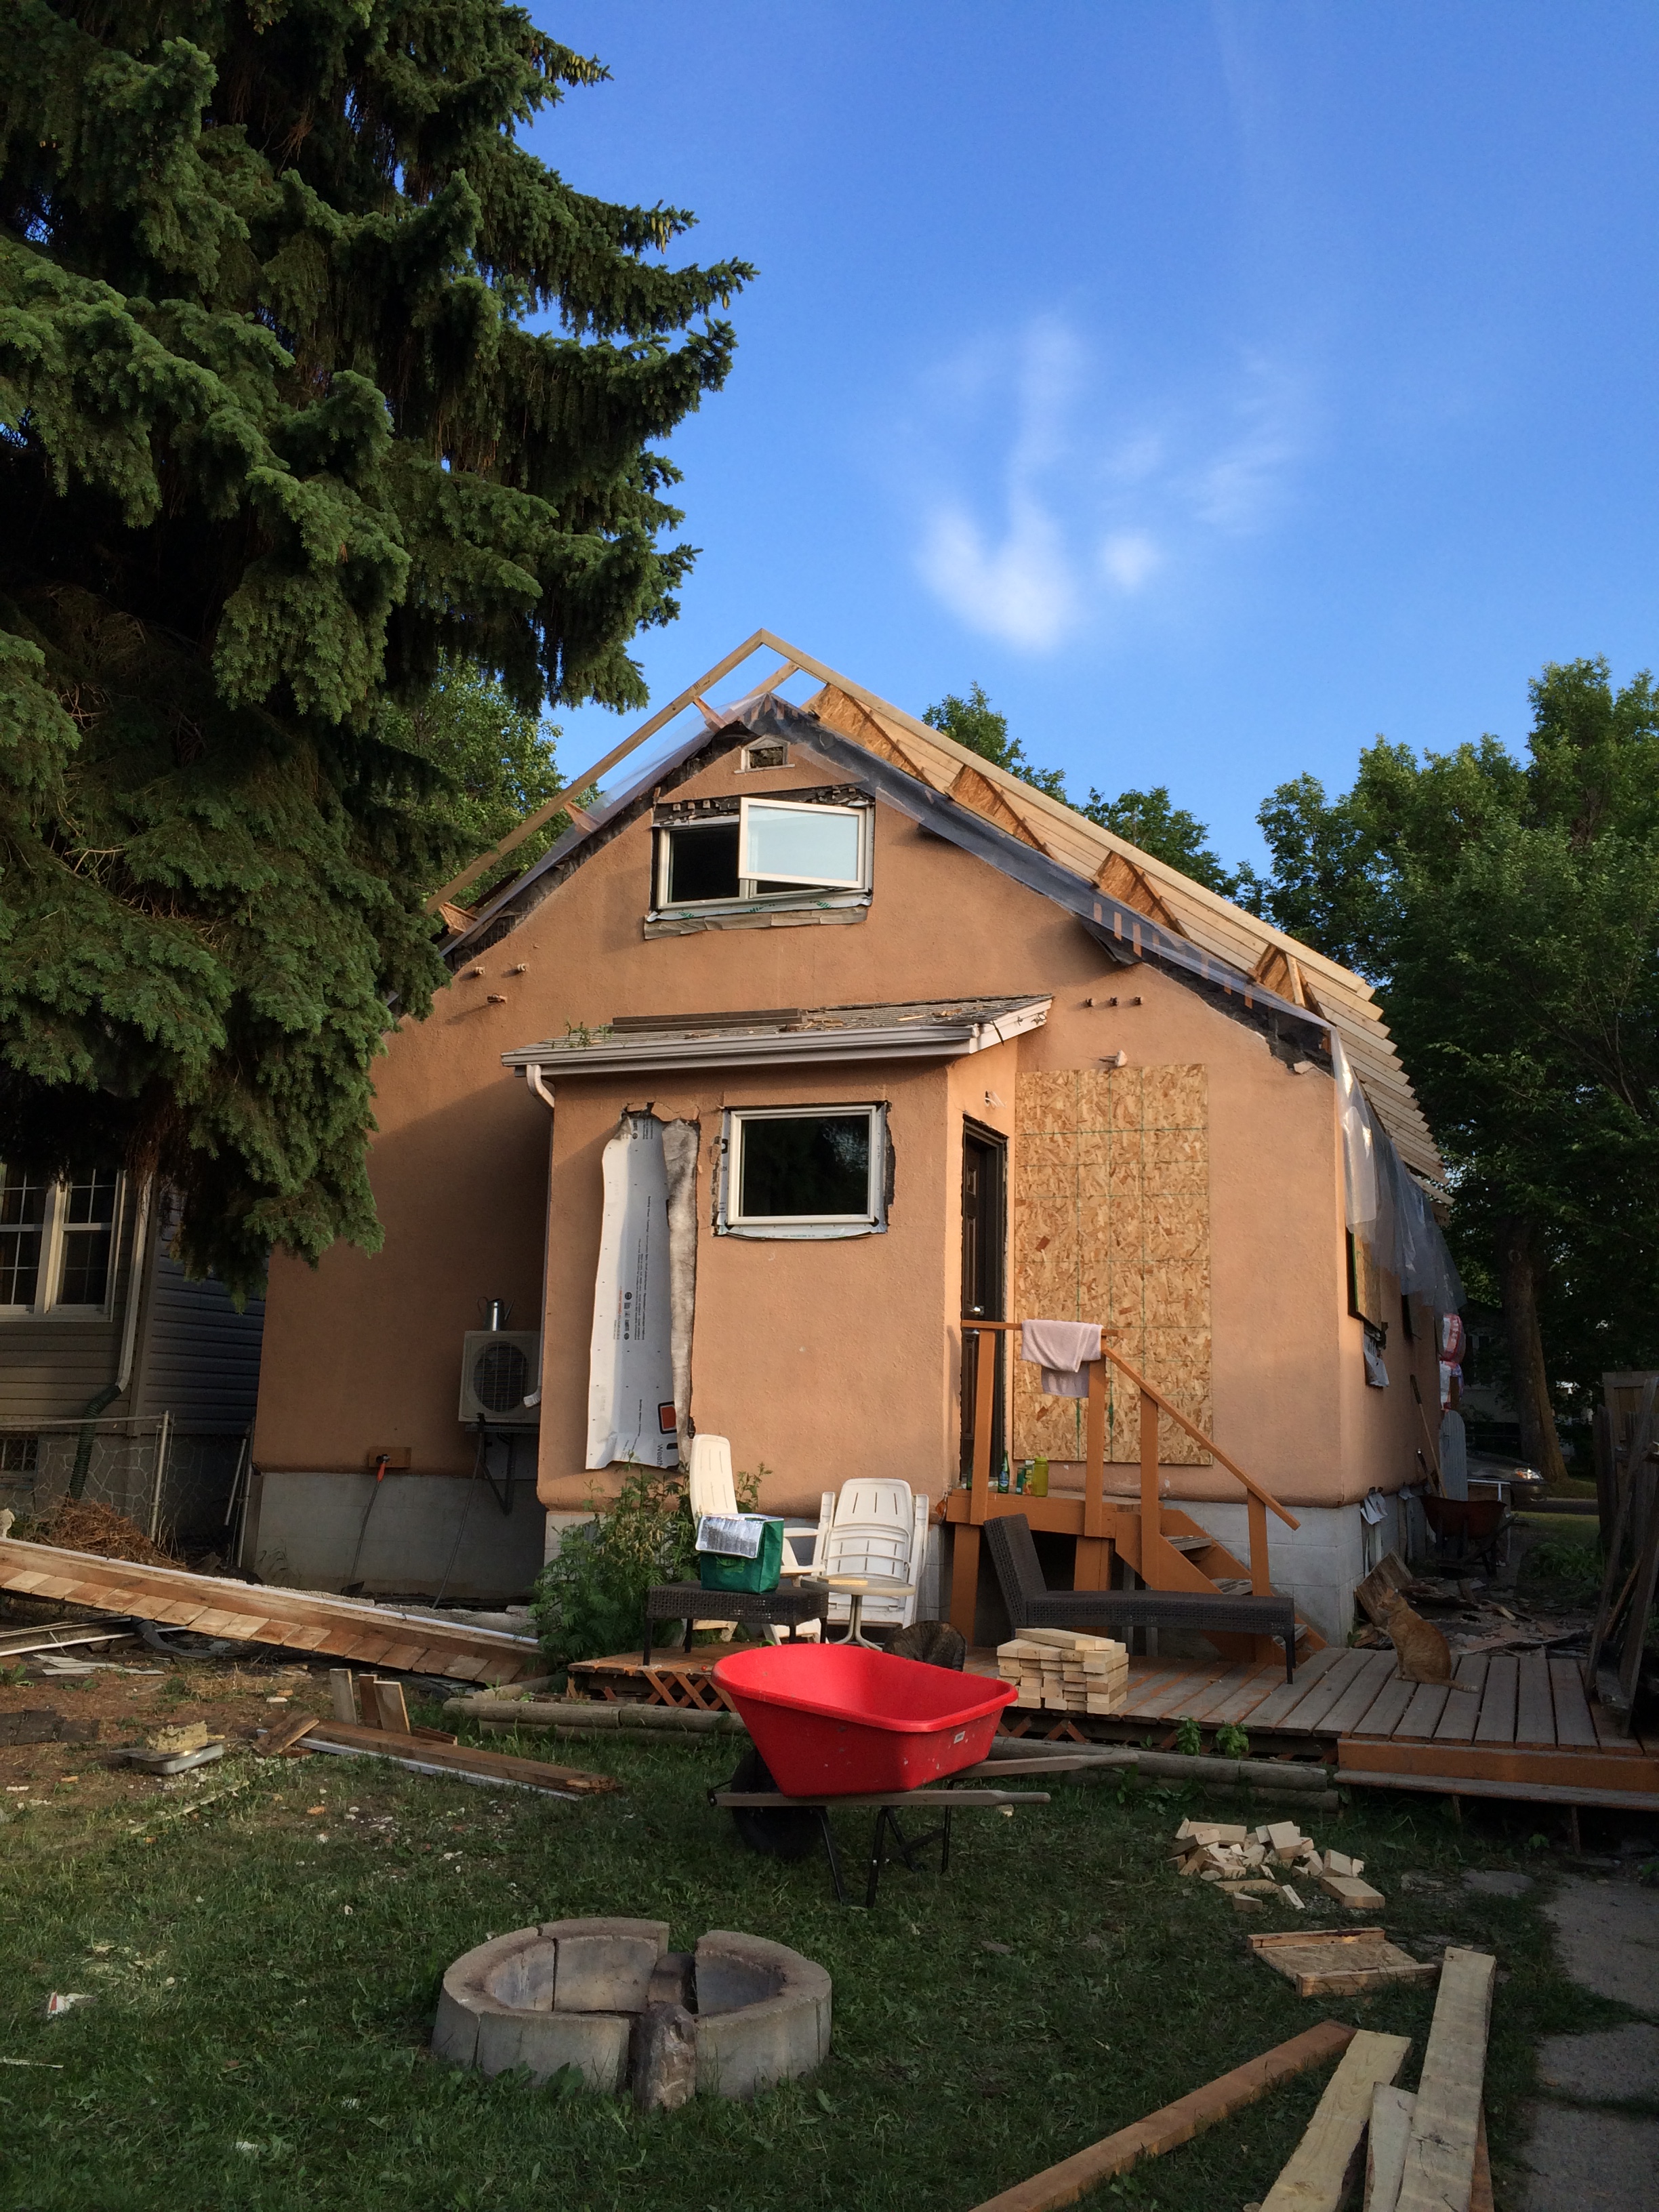
Stage 2: Exterior Work
- Remove stucco
- Exposed original shiplap board sheathing
- Replace remaining windows
- Installed from the exterior
- Air tightness layer
- Applied poly to the original sheathing layer
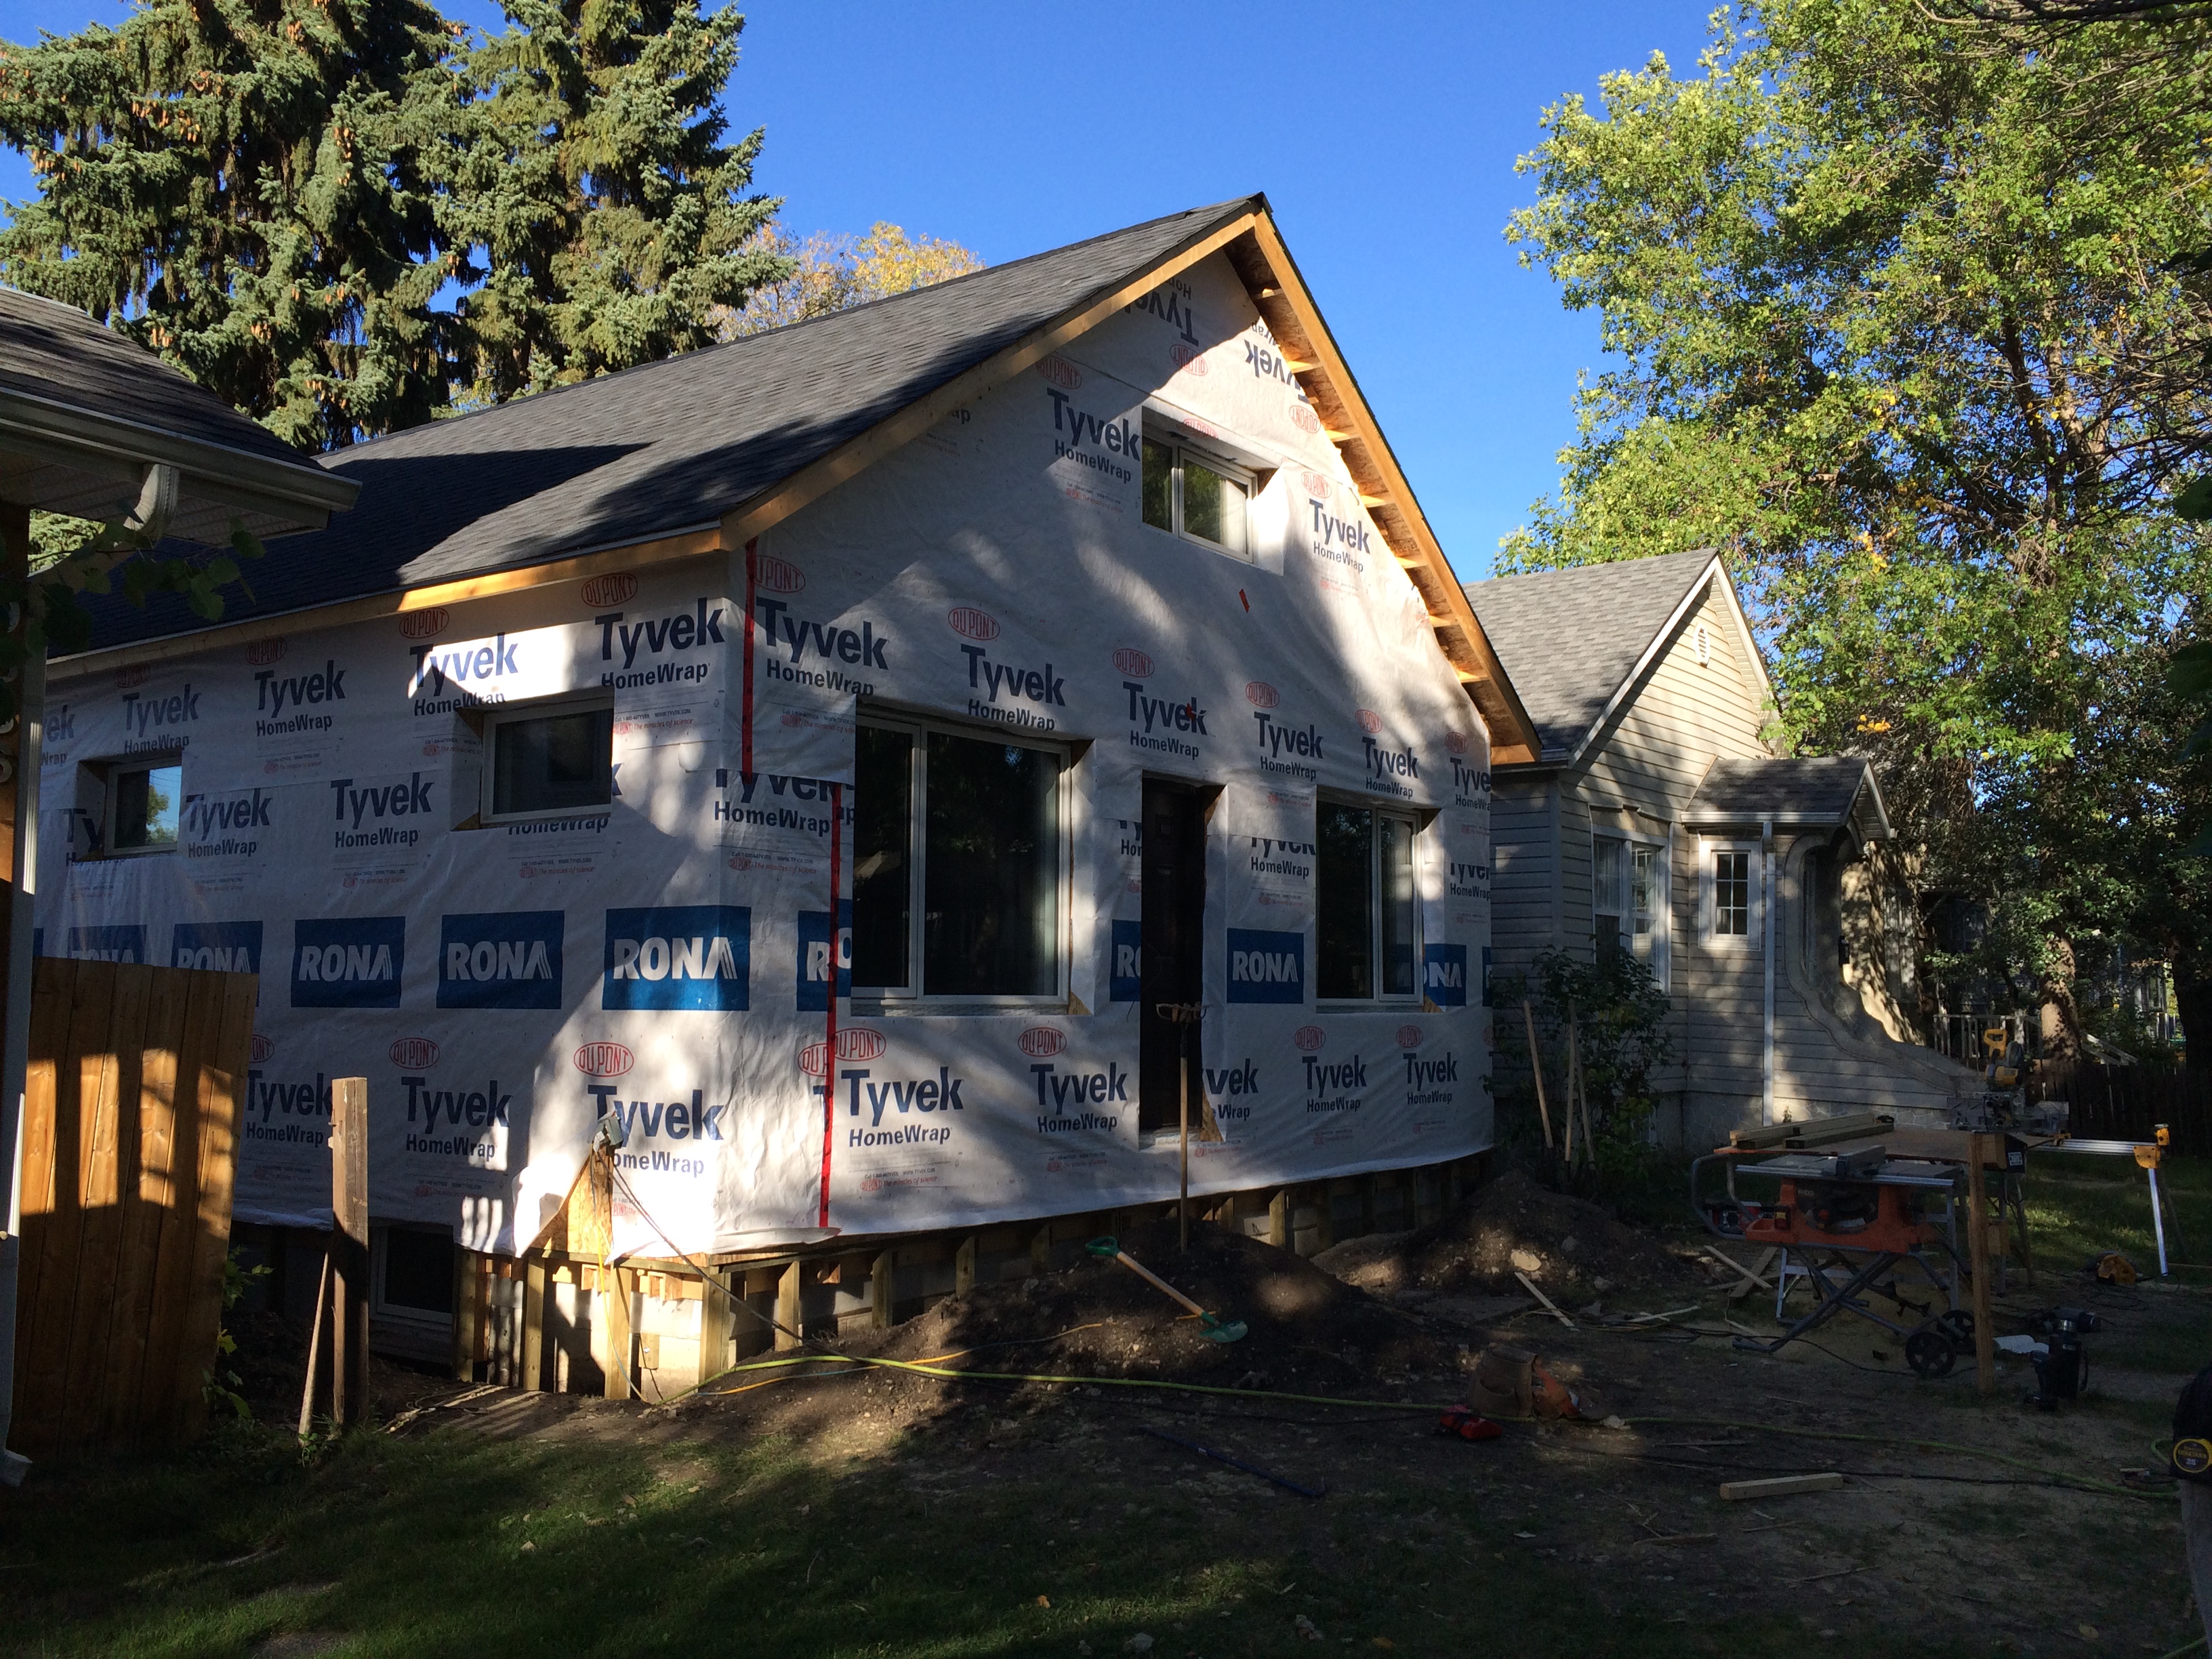
- Weather barrier
- Applied Tyvek on outside of new wall sheathing
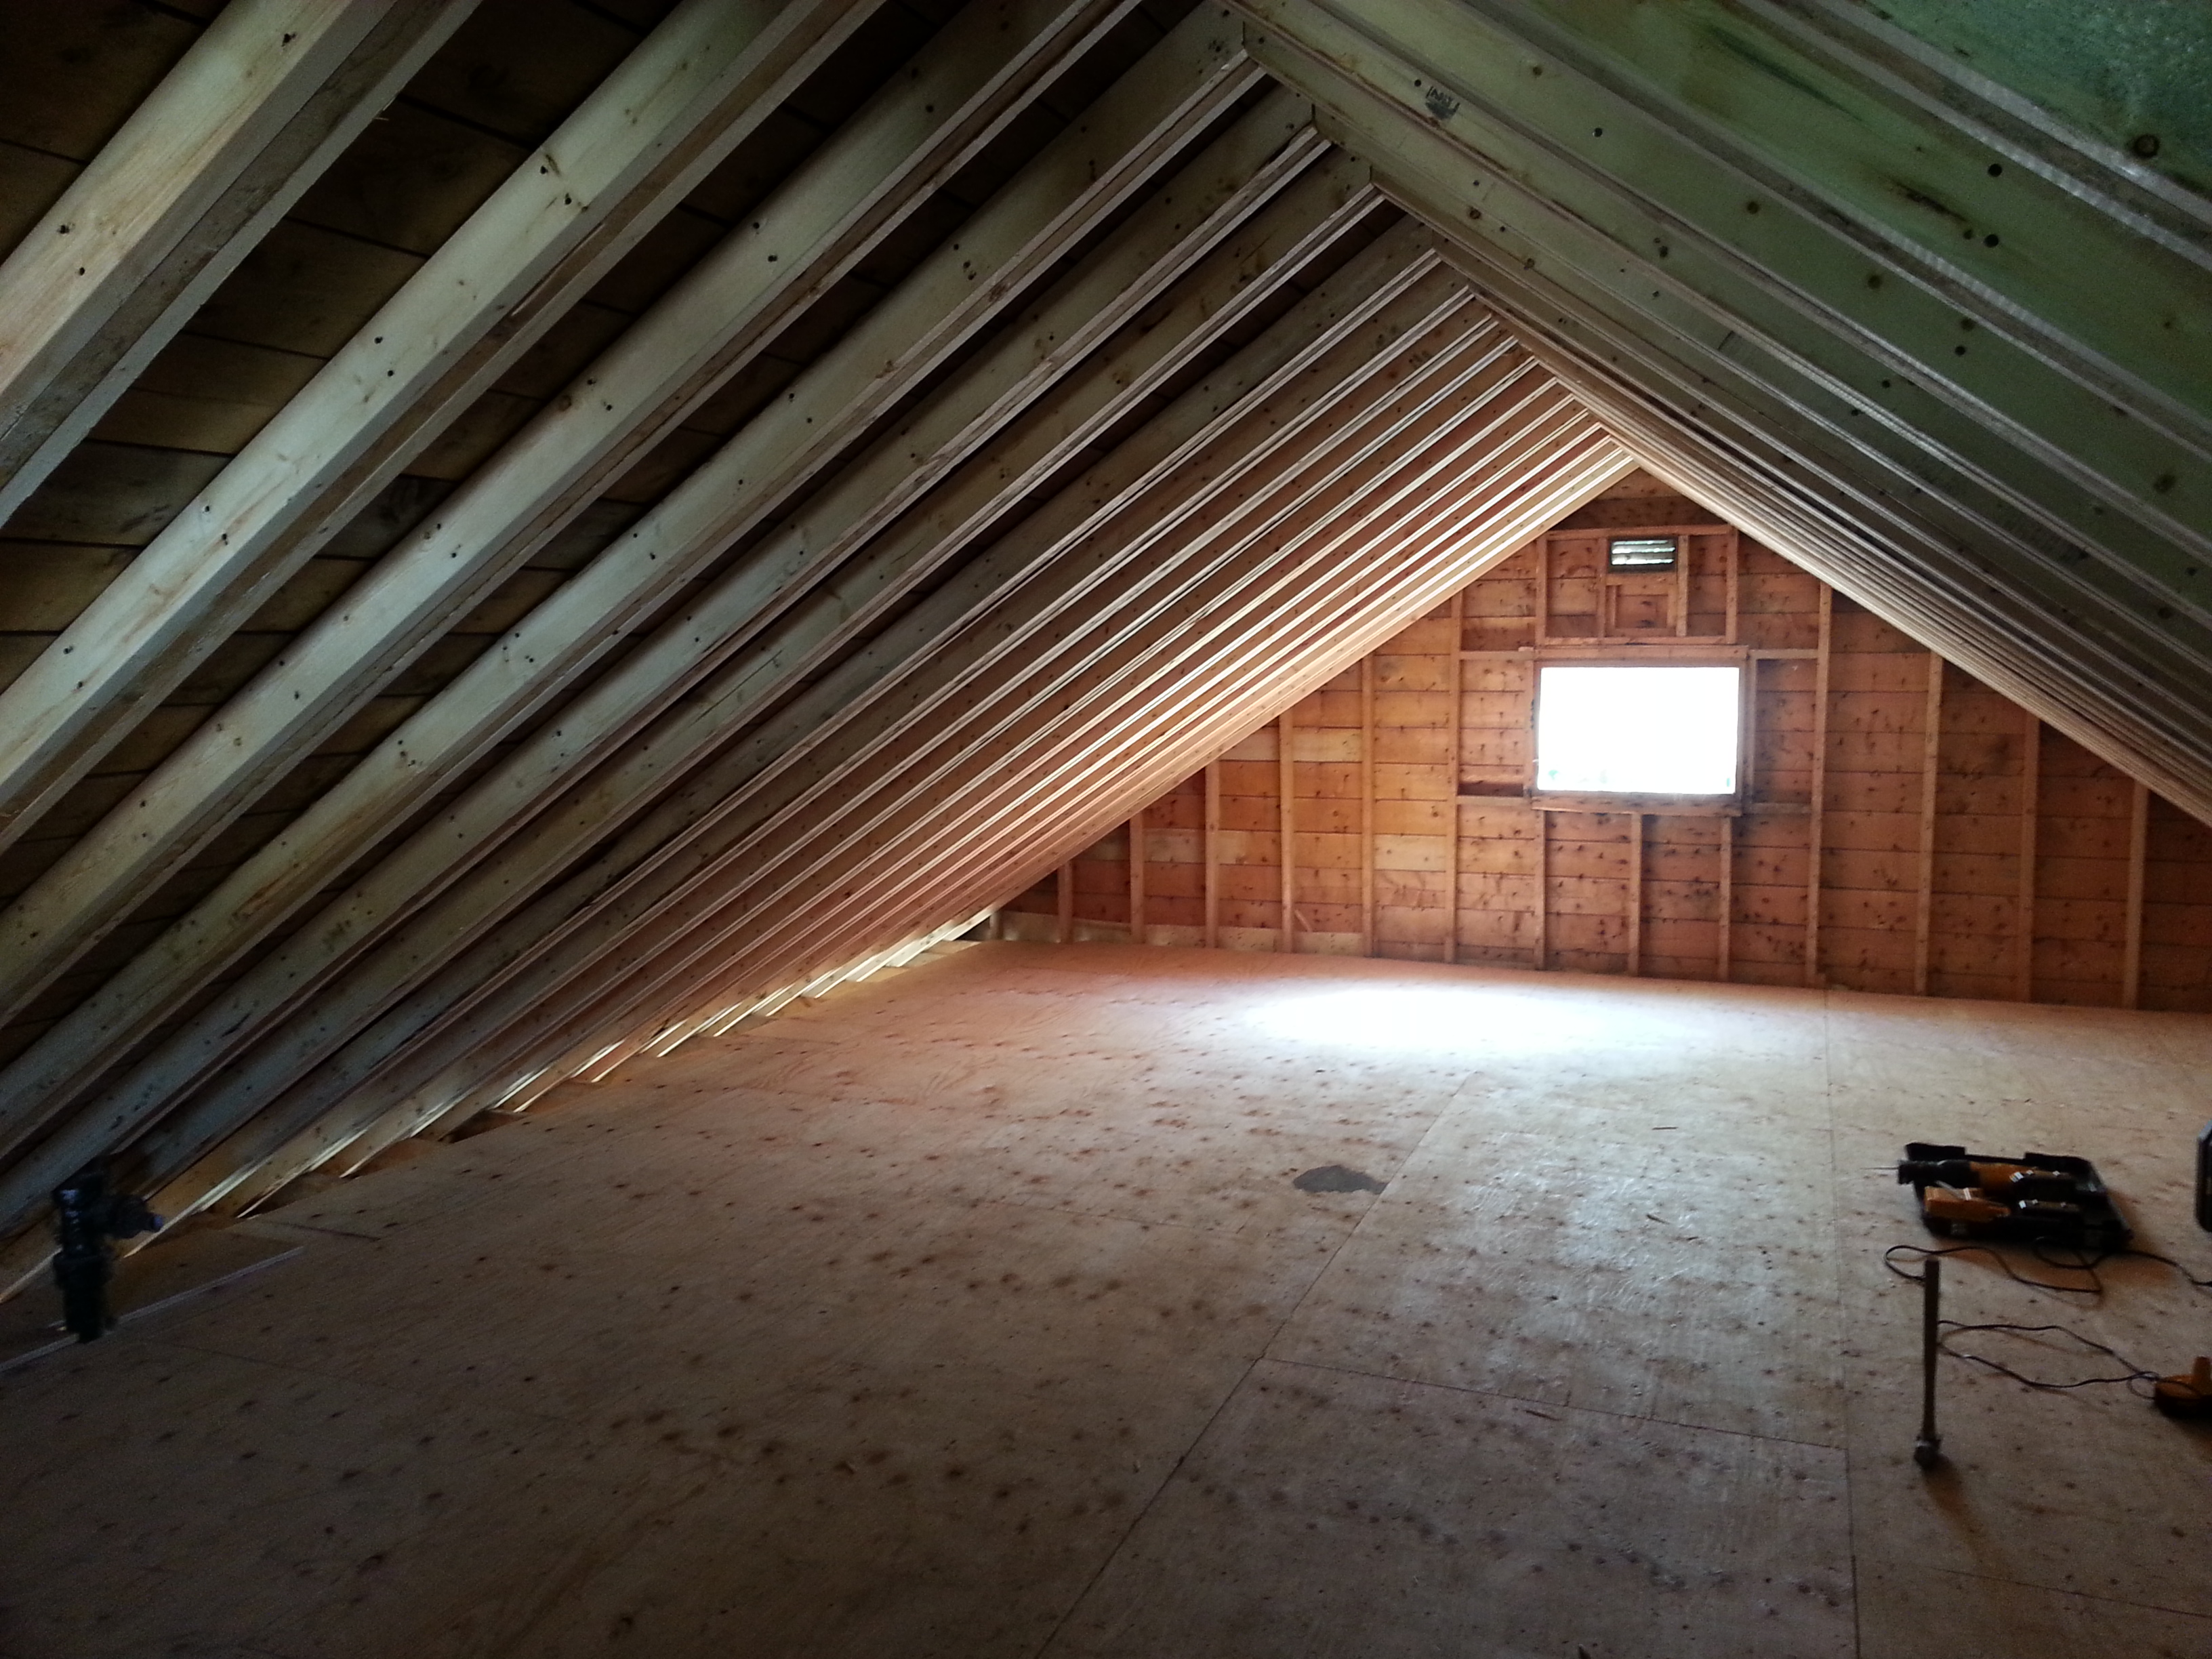
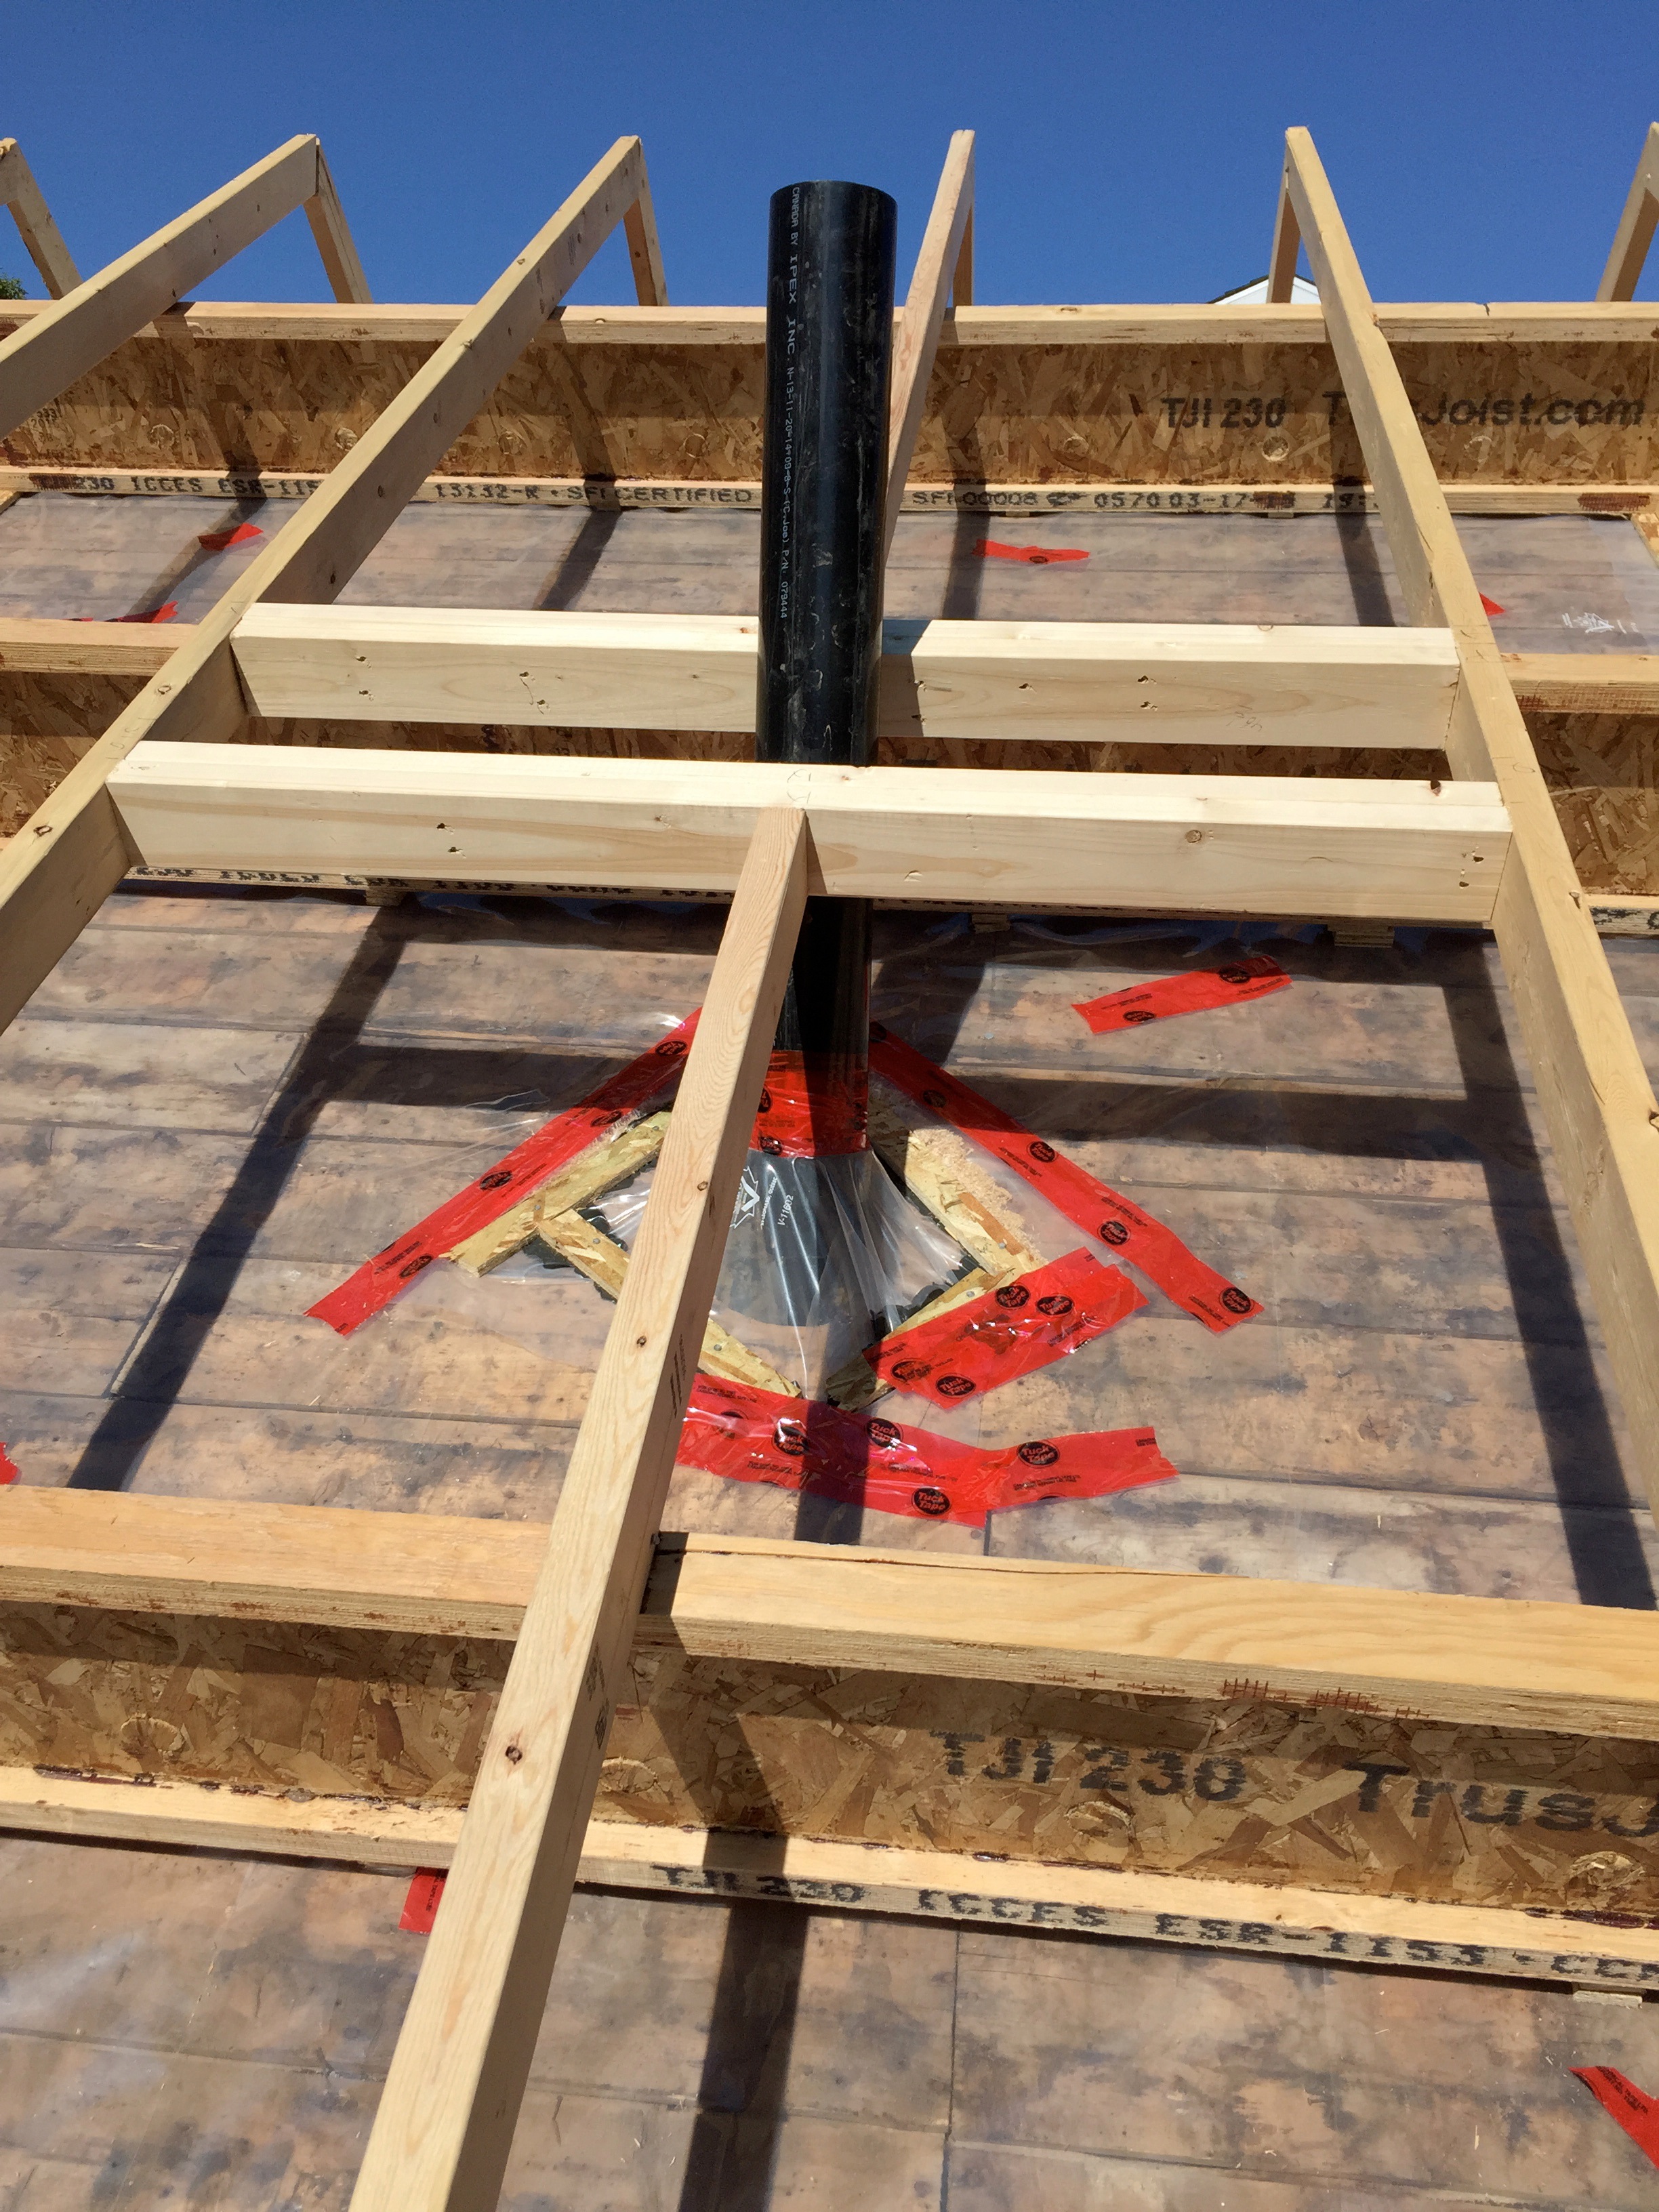
- Roof modifications
- Removed roof shingles, cut off eaves
- Installed new 2x12s on edge, added 9” Roxul batt, resheathed
- Re-shingled roof, reclad walls
- Exterior insulation
- Added 7” of rigid Roxul, within the balloon framed stud build-out.
- Also replaced the original 2×4 wood chip insulation with Roxul Batt (inside)
Chainsaw Retrofit Approach
This project paid homage to Saskatchewan pioneers Harold Orr and Rob Dumont with a "Chainsaw Retrofit" strategy:
- Strip home down to roof & wall sheathing
- Cut off roof eaves for a smooth working surface
- Apply continuous poly air/vapor barrier, sealing to foundation wall
- Add insulation (R10 slab, R40 walls, R60 roof)
- Support with framing, sheathing, and new cladding
Wall Construction
- Built out a 2×4 stud wall set 3.5” off the sheathing
- Supported by rafter eaves & a ledger bolted to the foundation
- Filled with three layers of 3.5” Roxul batt (nominal R42, effective R40)
Roof Construction
- Installed 12” TJI purlins + new 3.5” rafters
- Filled with 16” Roxul batt (nominal R64, effective R60)
- Maintained a 2” venting space for air circulation
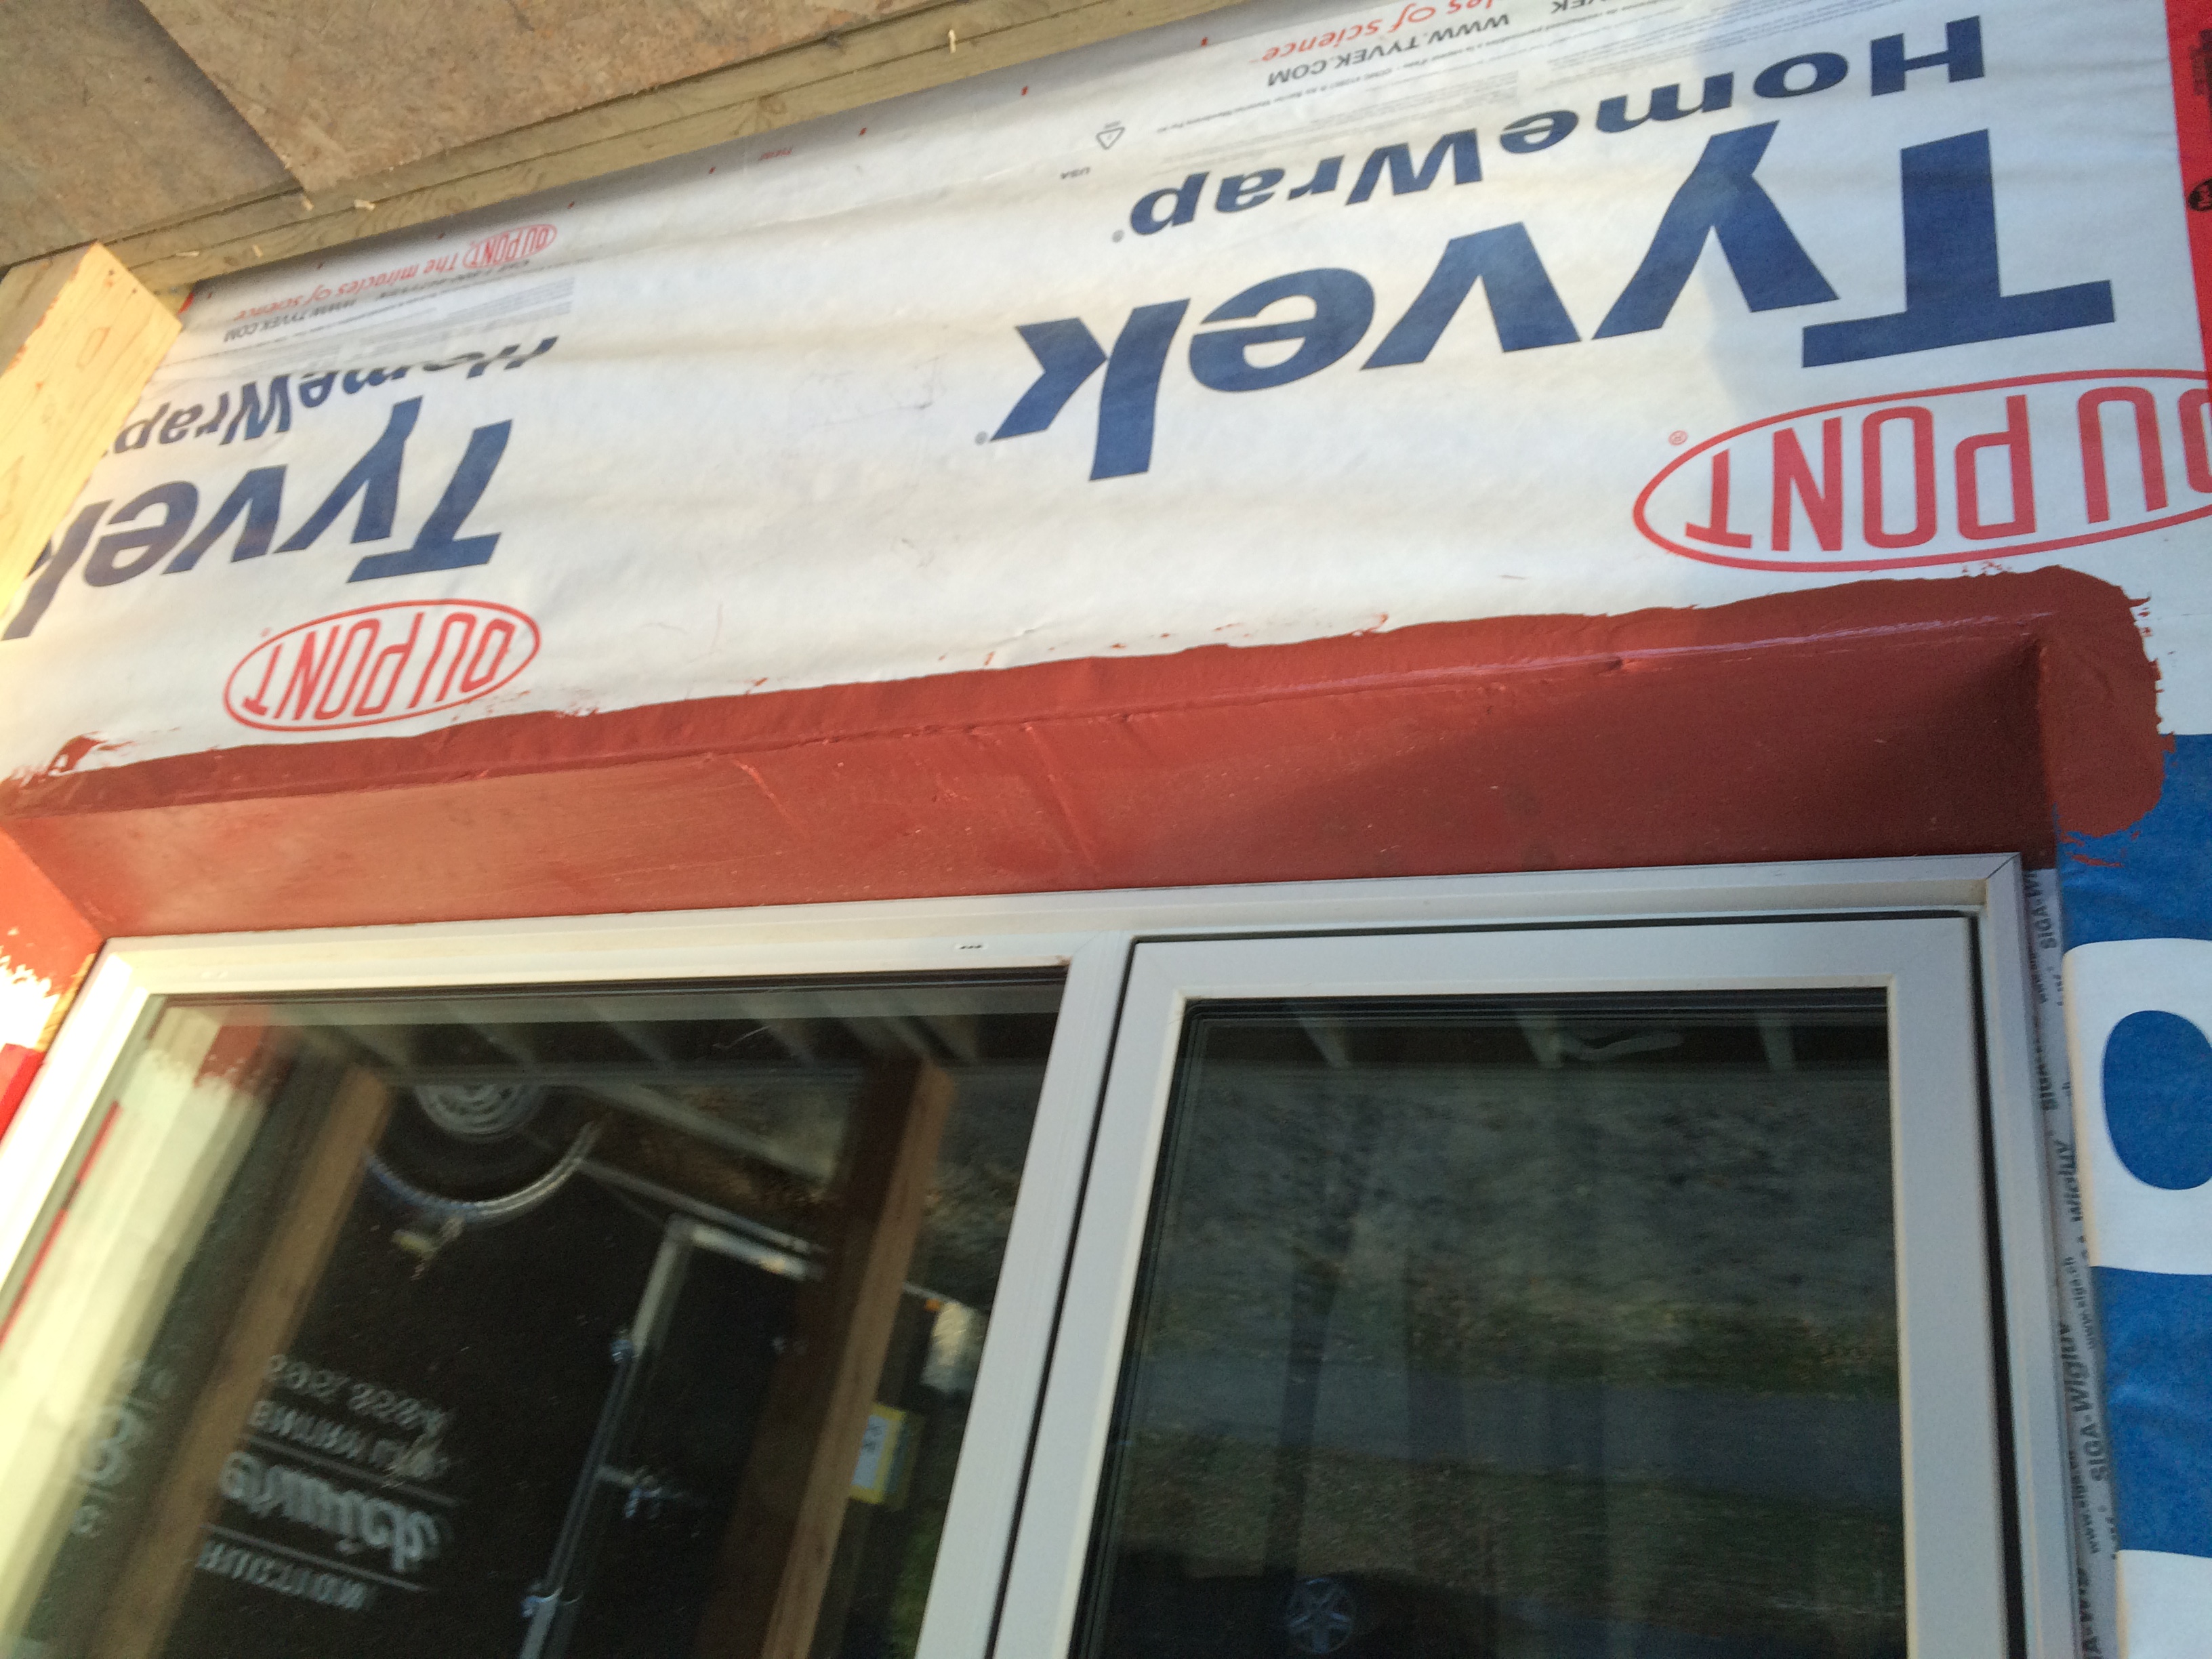
Windows & Air Barrier
- Constructed plywood buck boxes with sloped sills
- Sealed sills with Prosoco FastFlash, metal sill plates & Hardie trim
- Employed dual air/weather barriers
- Primary: Poly air/vapor barrier
- Secondary: Tyvek & shingle layer on exterior sheathing
Key Mechanical & Structural Upgrades
Electrical Service Upgrade
- New trenching
- Installed new electric service between garage and house
- Added telecom conduit and warning tape
- Meter relocation
- Moved electric meter outside to garage for easier access
- Service capacity increase
- Upgraded from 50A to 100A service
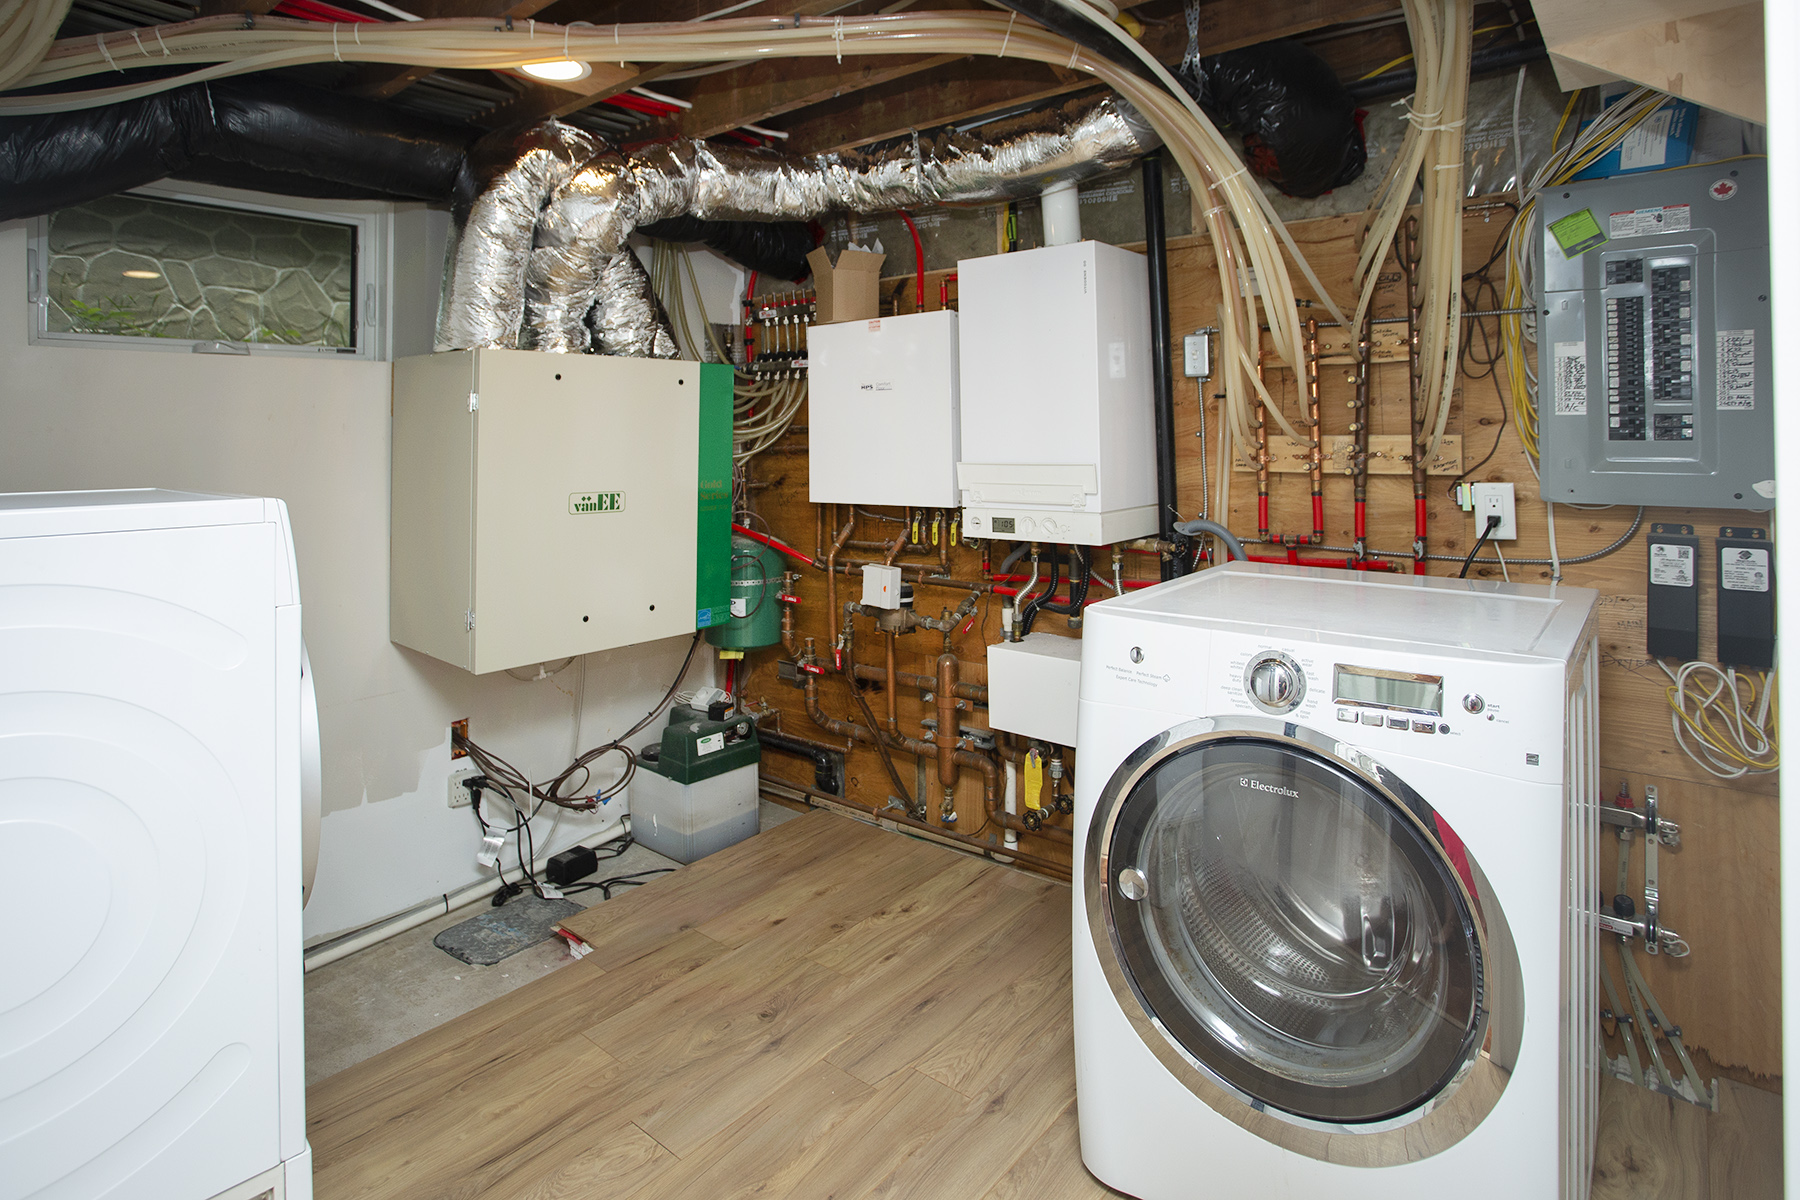
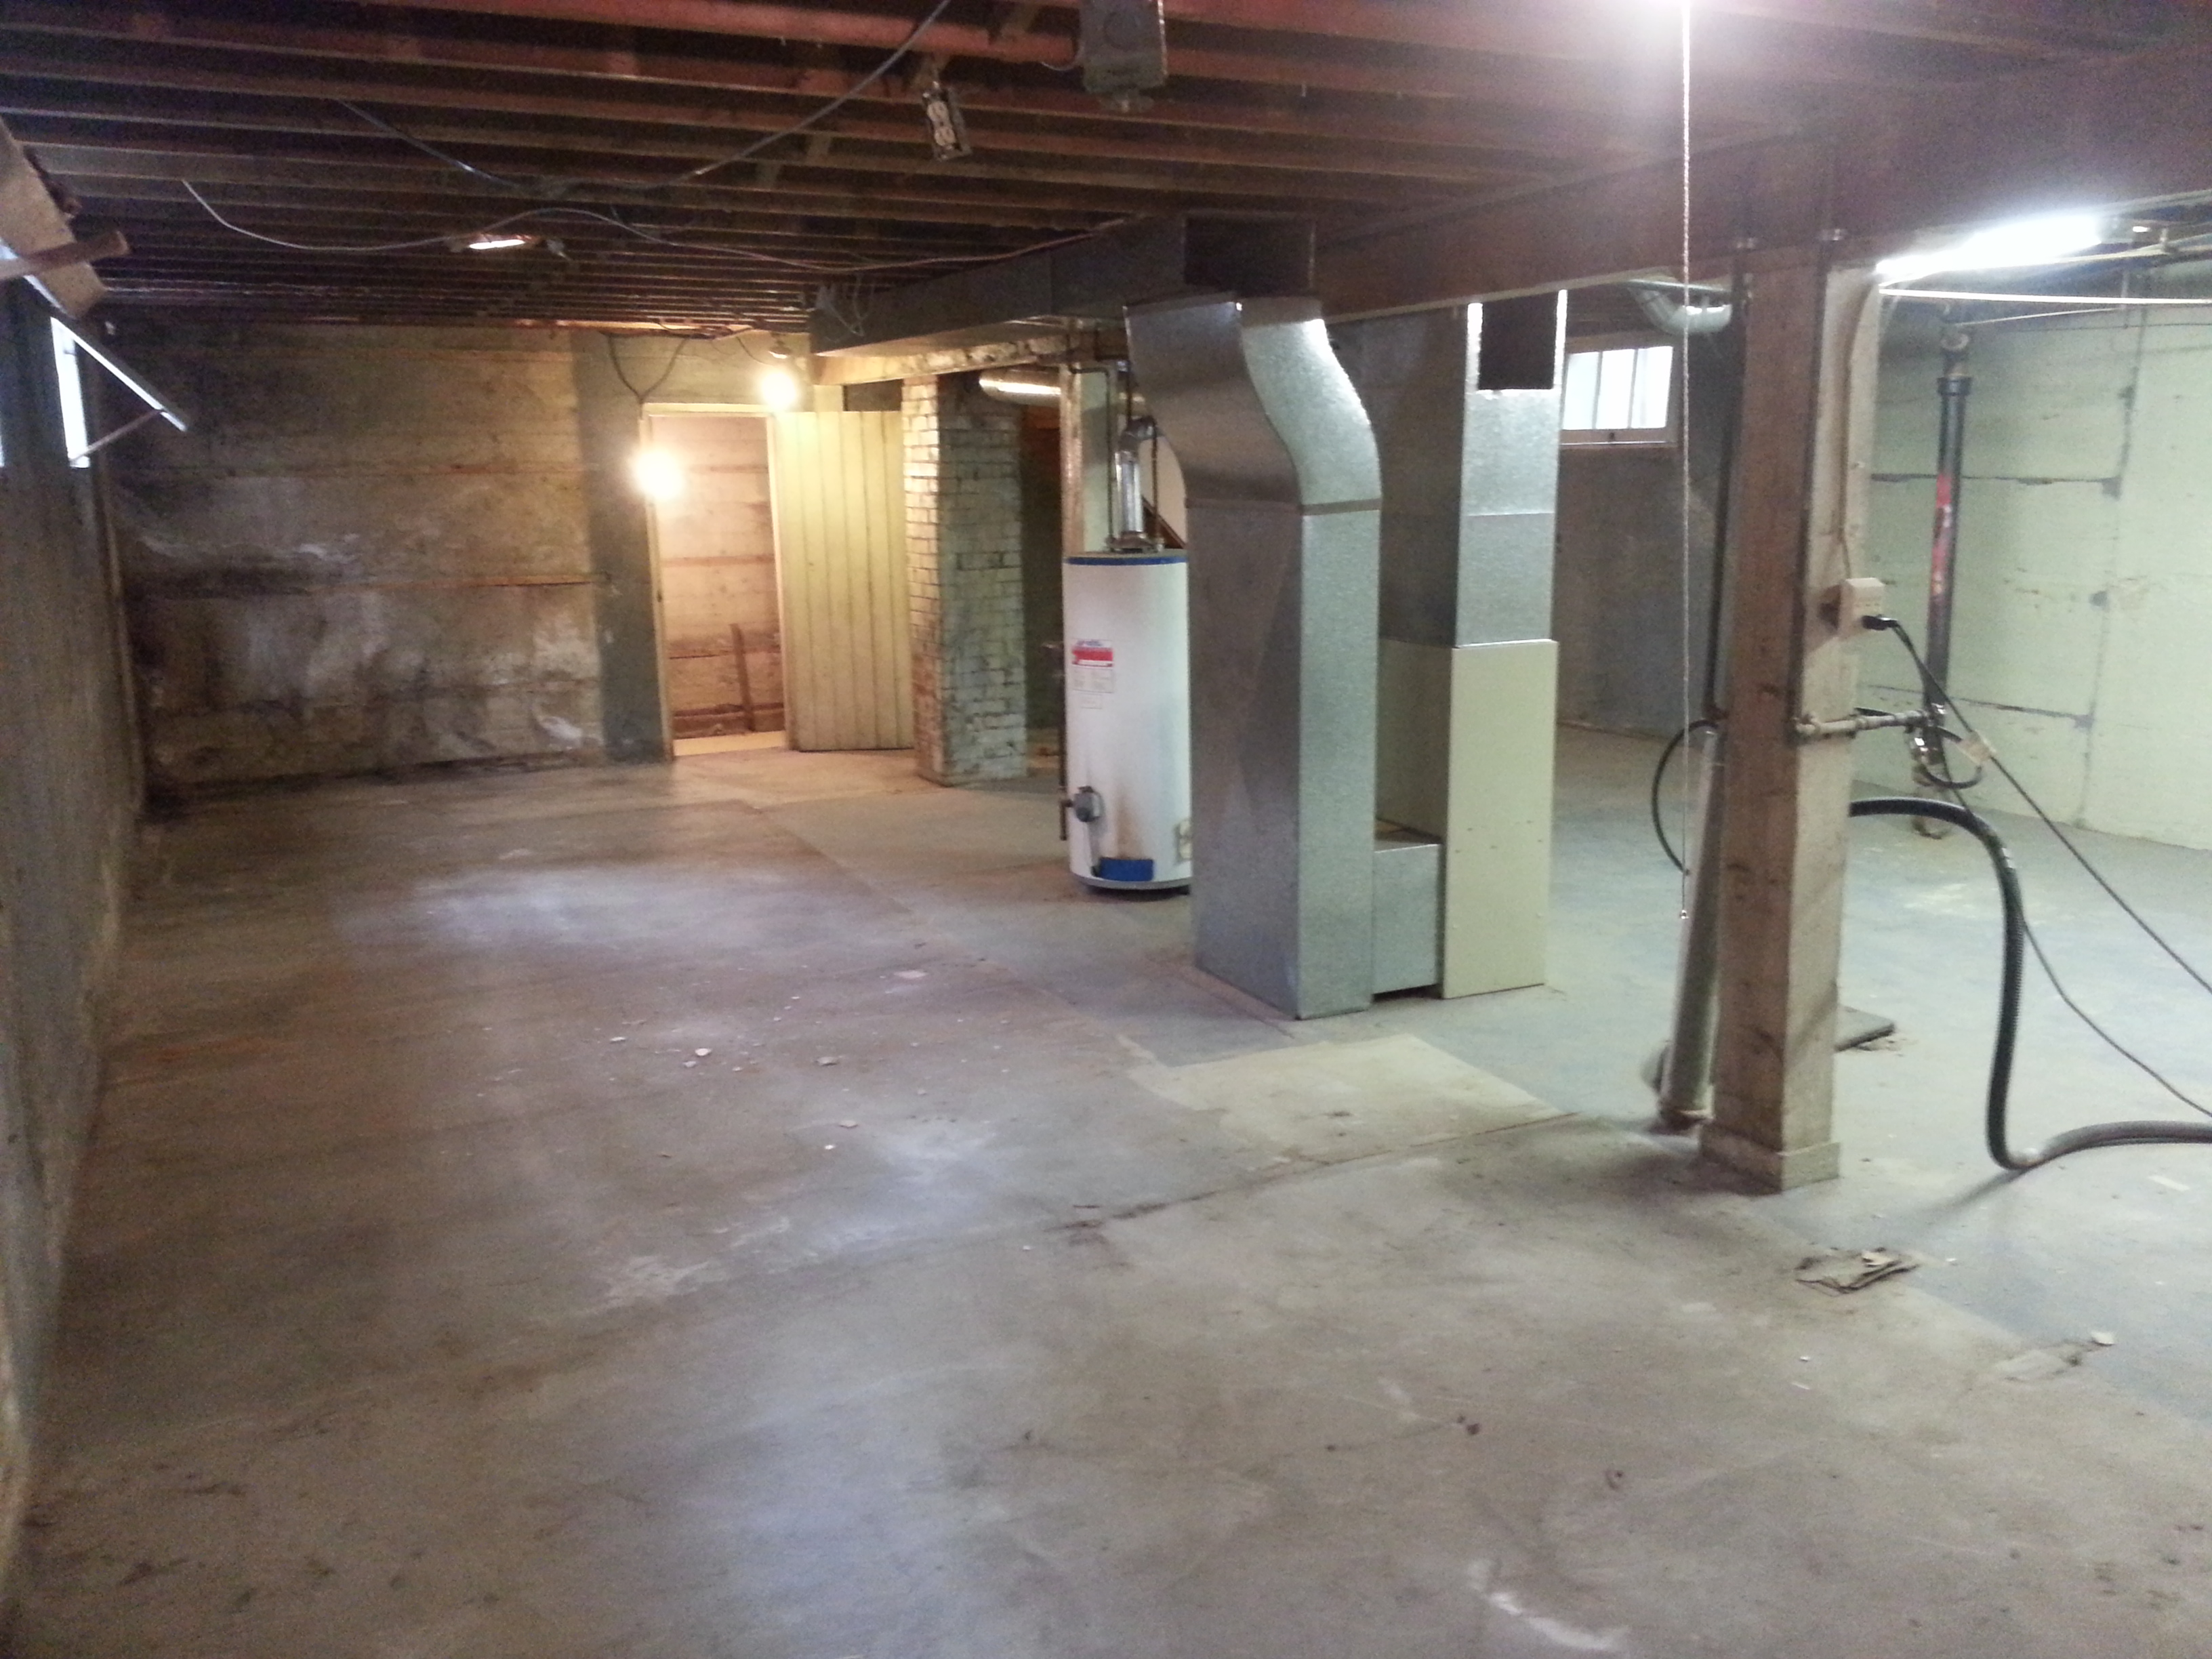
New Mechanical Room
- Installed hydronic heating system
- Viessmann Vitodens 100 with Combi kit for heating & domestic hot water
- Electrical panel upgrade
- Installed new electrical panel in basement mechanical room
HRV Ventilation System
- Efficient ventilation system installed
- 80% completed within three days
- Sealing method
- Used foil tape instead of mastic for seams
- Ductwork modifications
- Reused old heating duct hole in bathroom wall
- Required custom 8”x3” ducting for two main floor vertical sections
- Kitchen exhaust routing
- Tight fit around hydronic tubing, transitioned to 8”x3” rectangular duct
Project Collaboration & Completion
- Volunteer "roofing bee"
- Over one weekend: stripped shingles, cut off eaves, applied poly, installed 12” TJIs
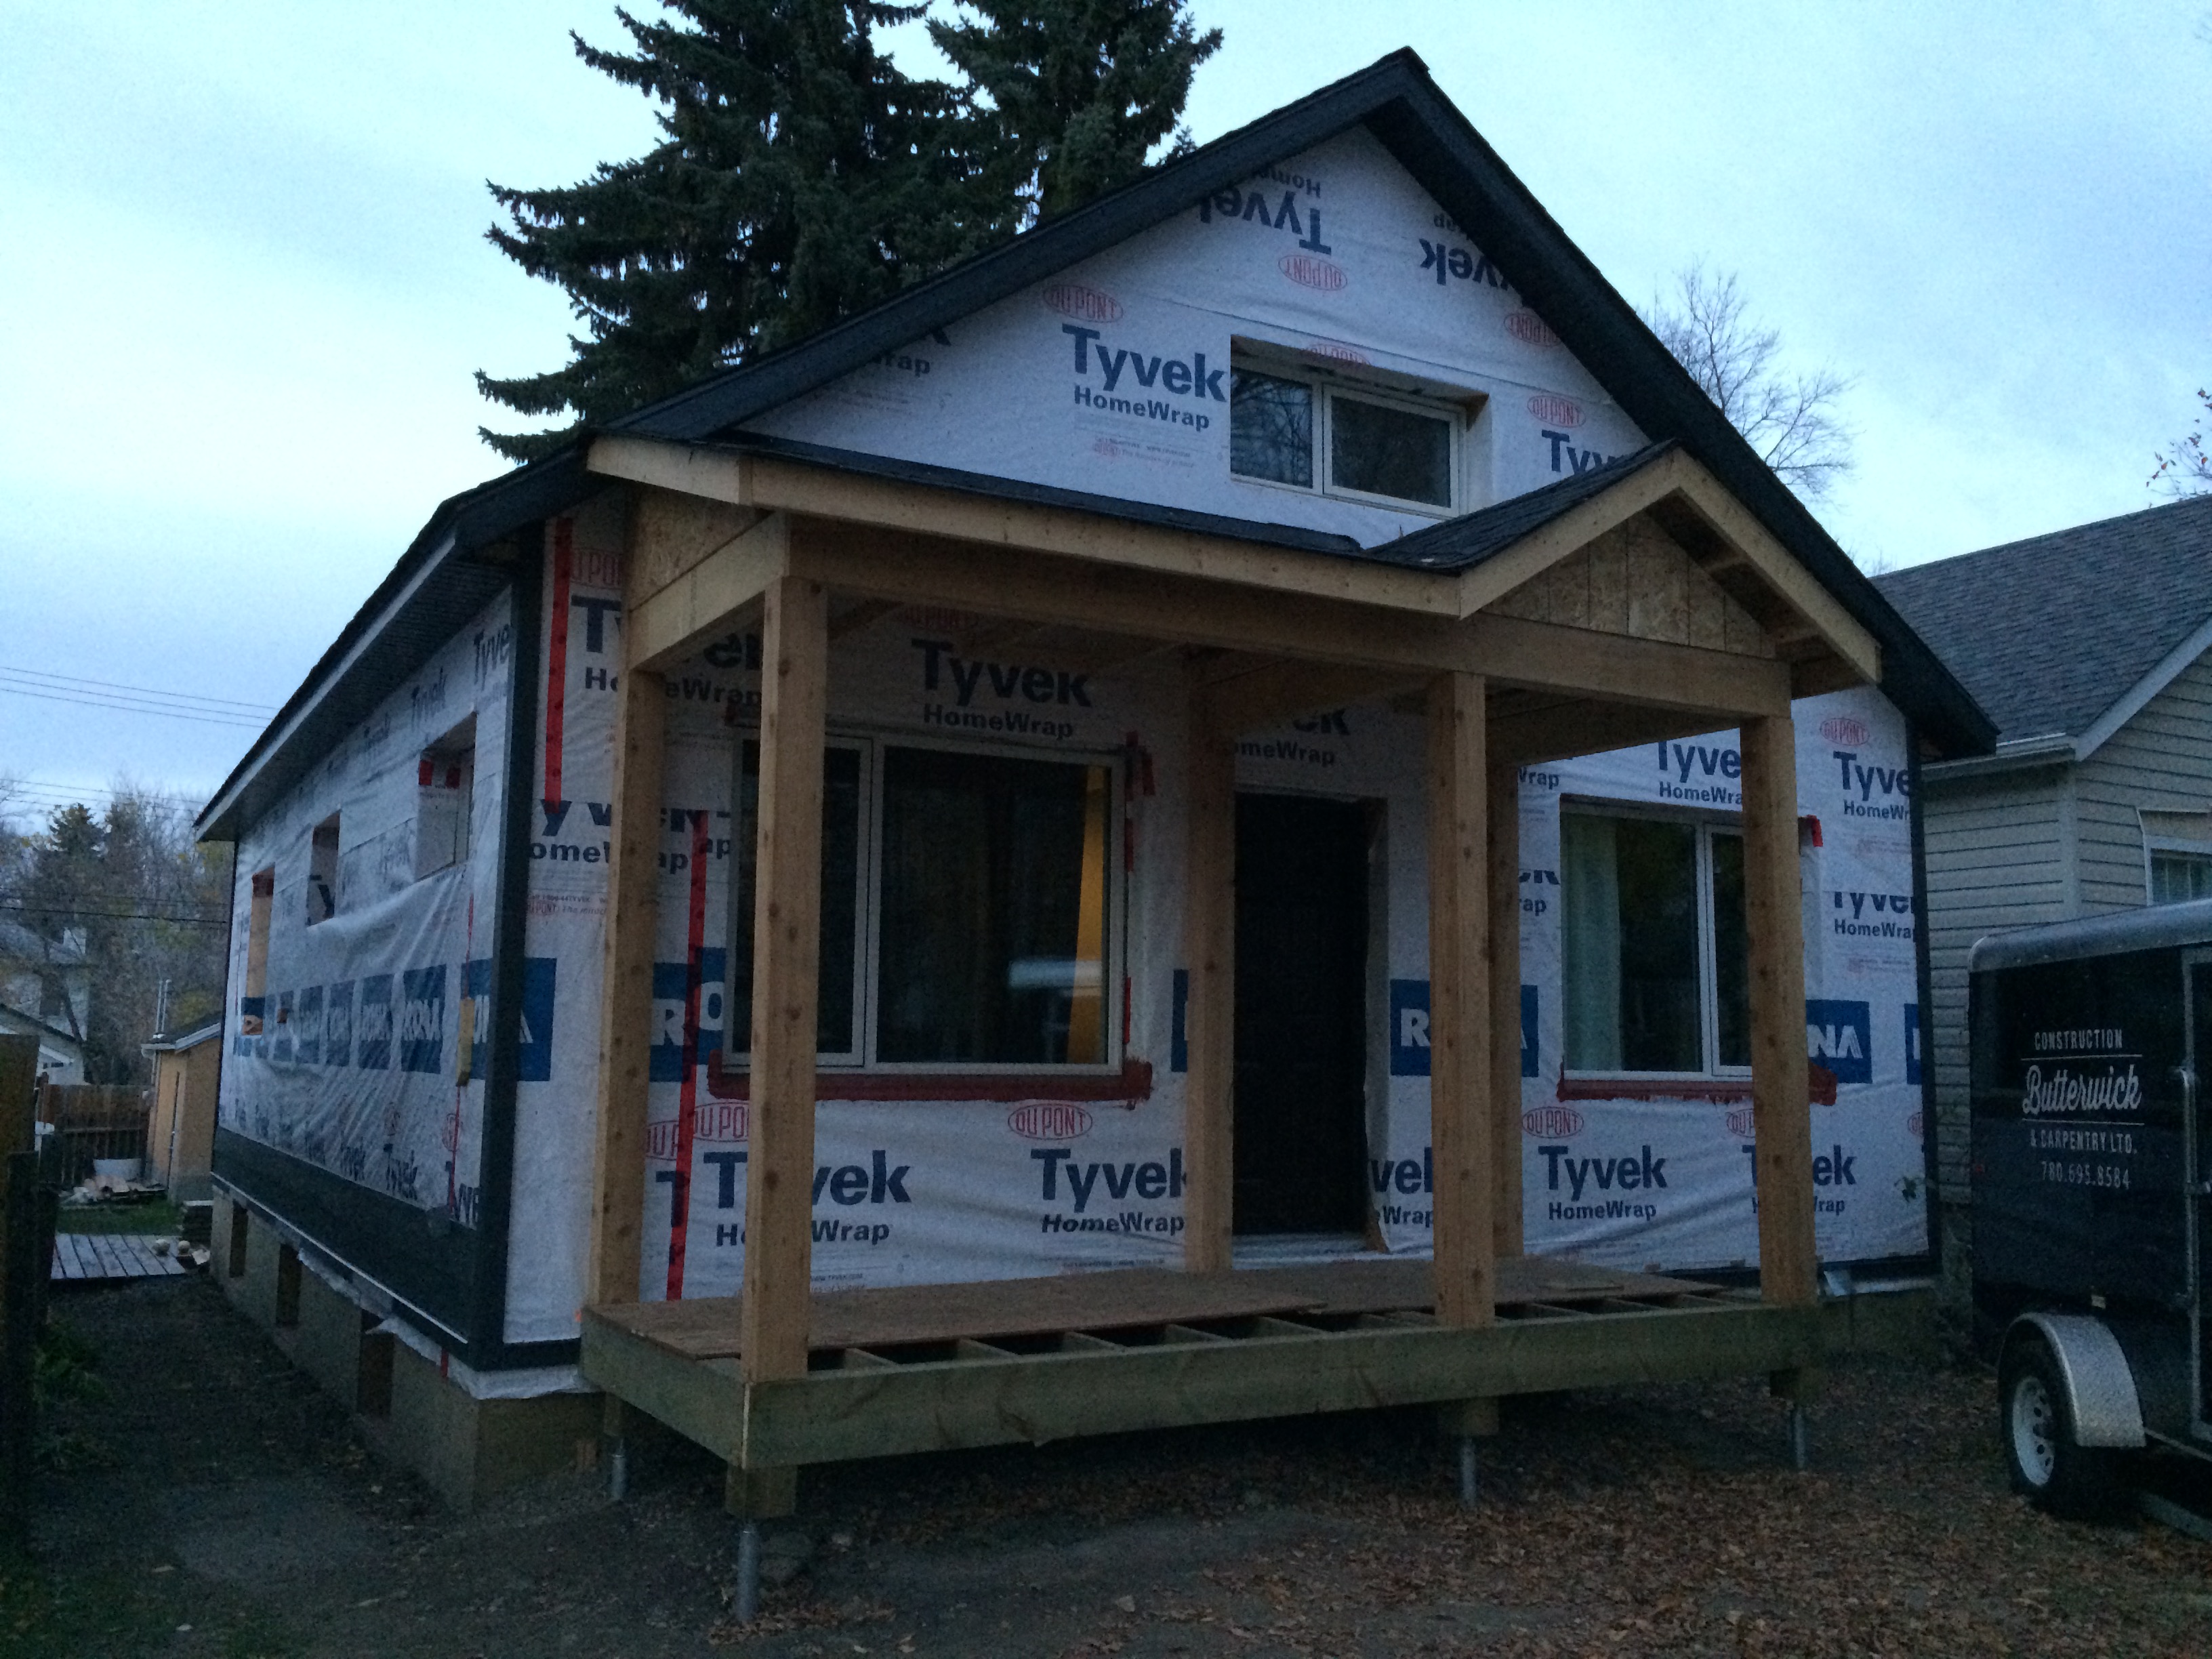
- Hired Butterwick Construction for final exterior work
- Added new cedar front porch, enhancing curb appeal and providing deck space
This project demonstrated that deep energy retrofits can be an effective alternative to demolition, significantly reducing energy use and improving comfort in older homes.
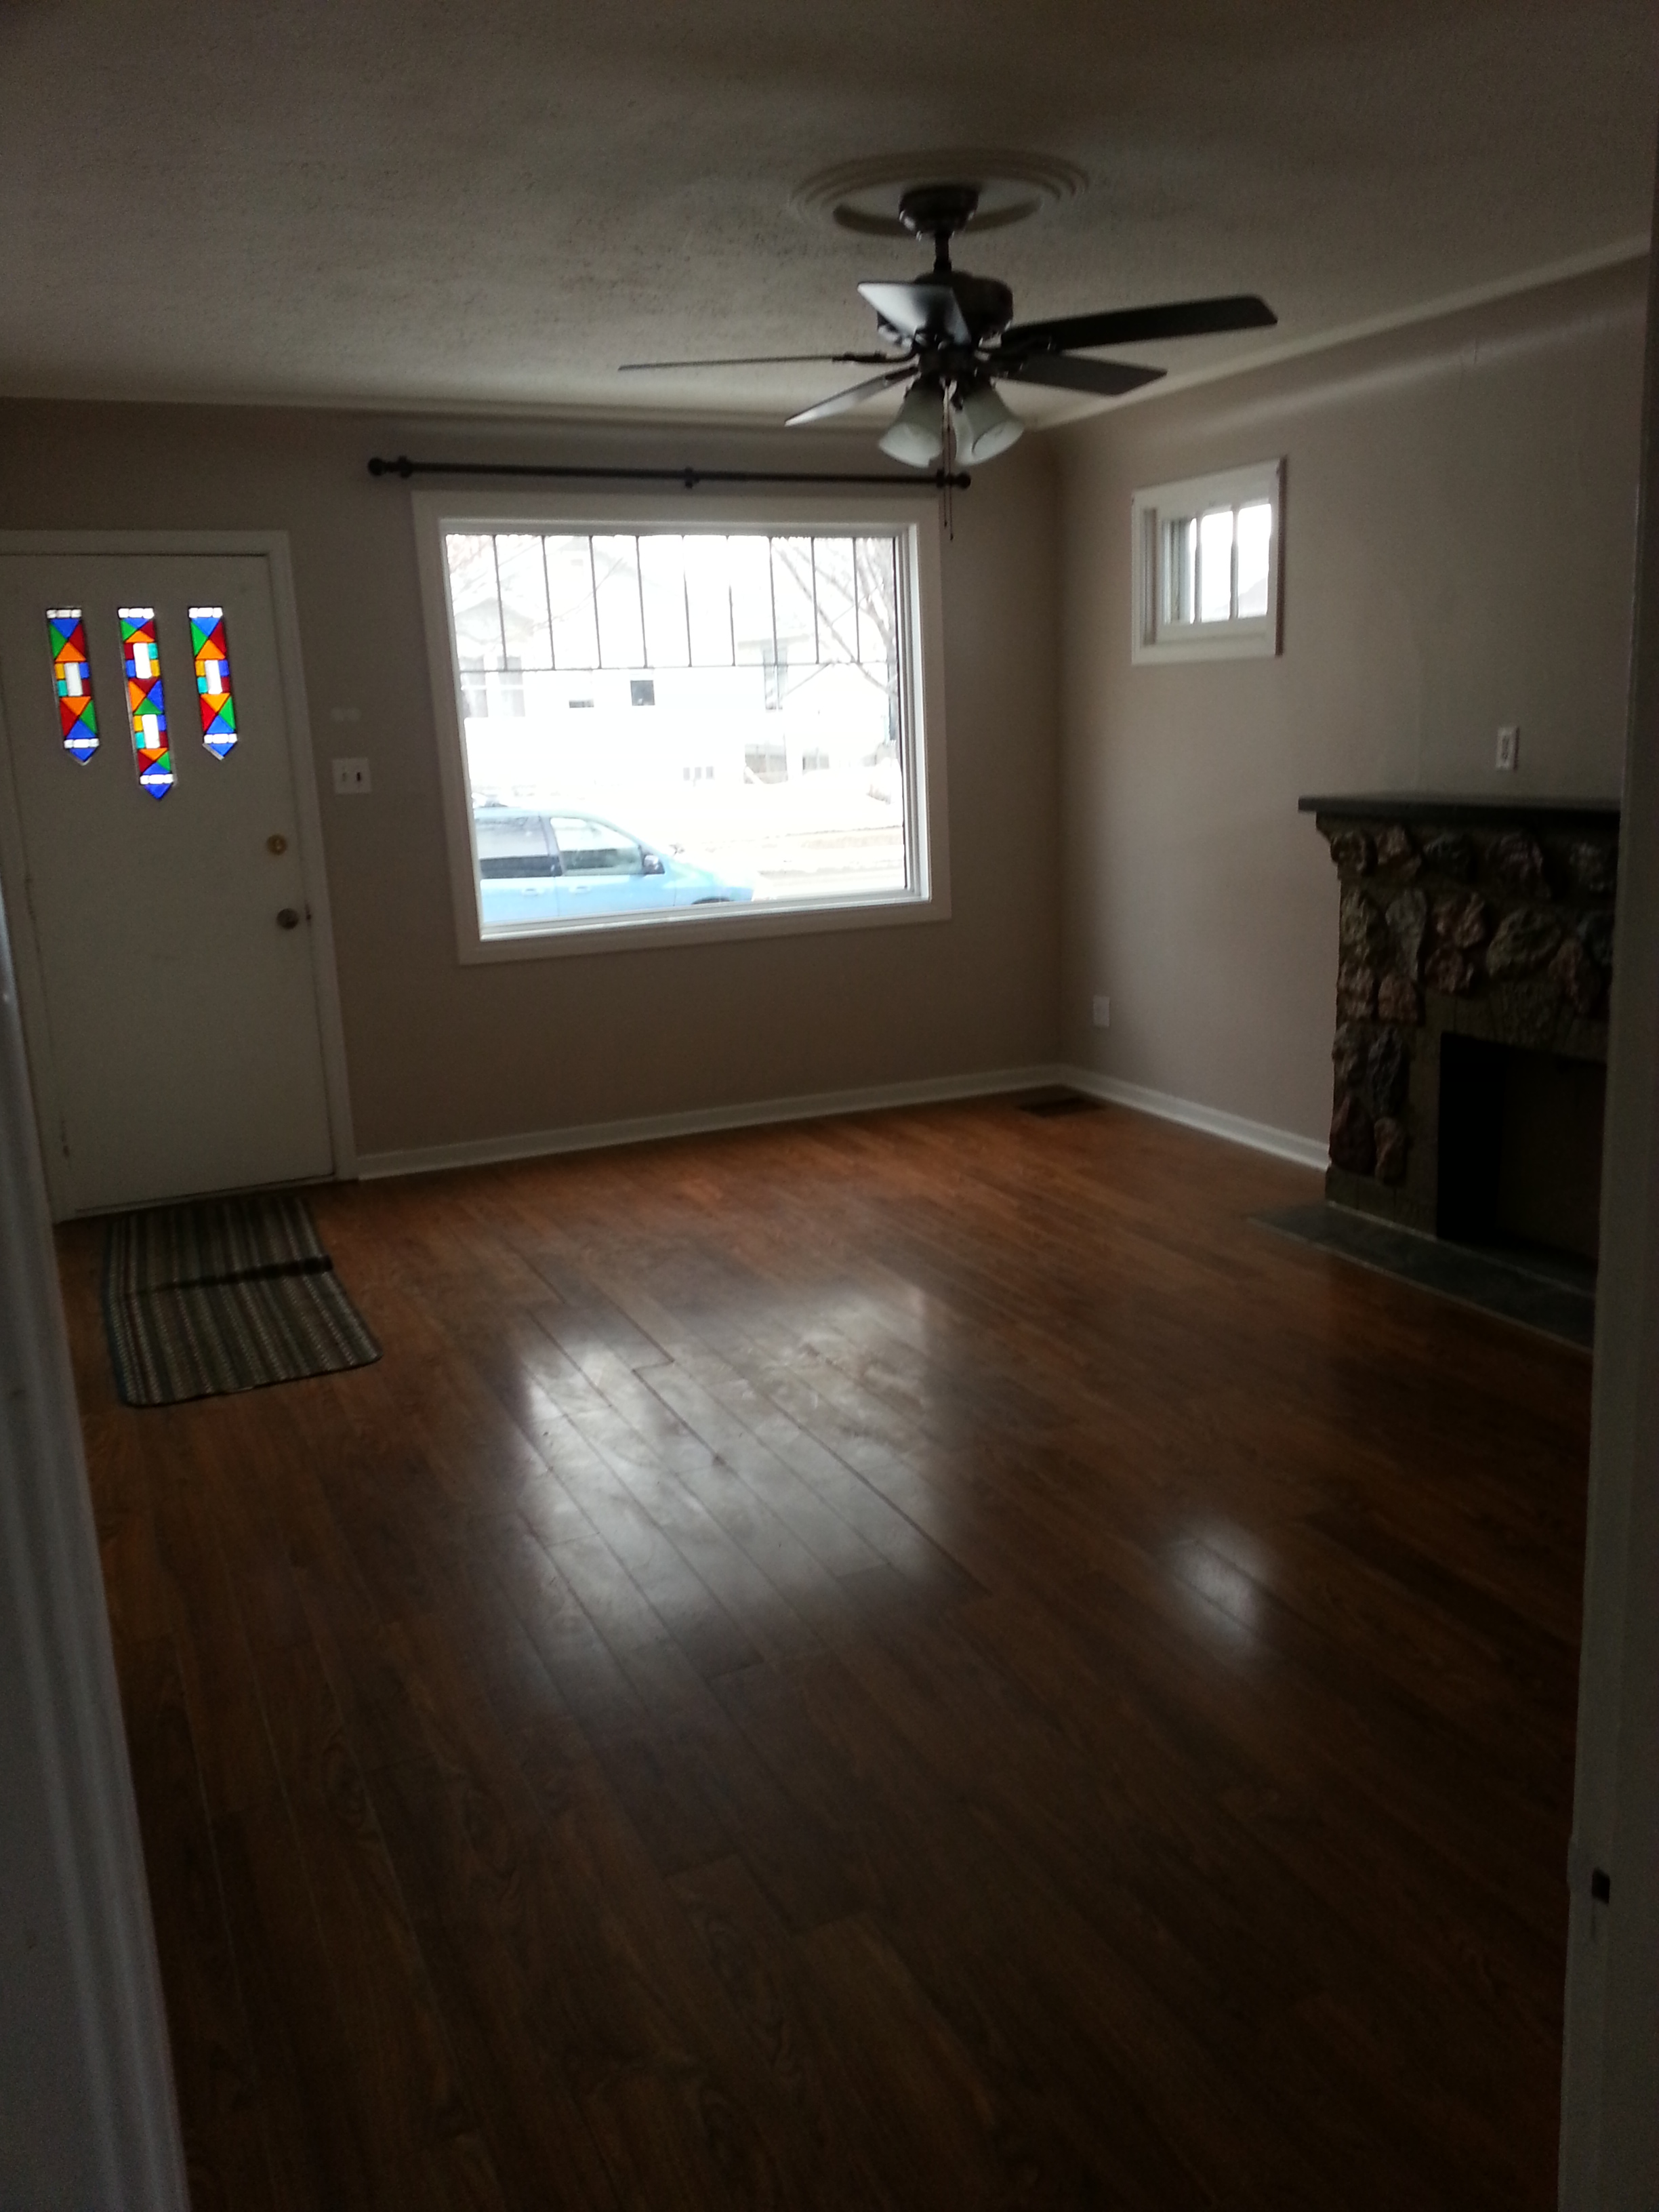
Before & After
General |
Envelope |
Mechanical & Electrical |
Annual Energy Usage |
Carbon Emissions |
Photos
Pre Retrofit


During Construction


Post Retrofit