Yellowknife Envelope + Mechanical Retrofit
This retrofit addressed building envelope damage, reduced its energy needs by 38%, and reduced heating costs by 70%.
| Building Type | Single-Family 2+ Stories | Location | Yellowknife, NT |
| Year Built | 1995 | Foundation Type | Concrete slab on grade, and built up wood foundation |
| Structure Type | Wood-Framed | Post-Retrofit Total Floor Area | 205.5m2 |
| Climate Zone | 8 | Heating Degree Days | 8170 |
| Retrofit Status | Complete | Year Completed | 2023 |
| Retrofit Phasing | No | Geometry Changed | No |
| Annual Energy Savings | 49.04% | Operational Carbon Savings | 8.6 tCO2eq/y |
| Performance Level | Energy Consumption greatly reduced, comfort increased, repair and renewal work complete. |
Project Priorities
- Reduce Energy Consumption
- Increase Thermal Comfort
- Repair and/or Renew Exterior
Upgrades
- Exterior Insulation
- Air Barrier on main floor walls
- Condensing Propane High Efficiency Furnace
- Upgraded Electrical Service
- High Efficiency Windows
- Exterior Cladding
Project Description
The Retrofit Story
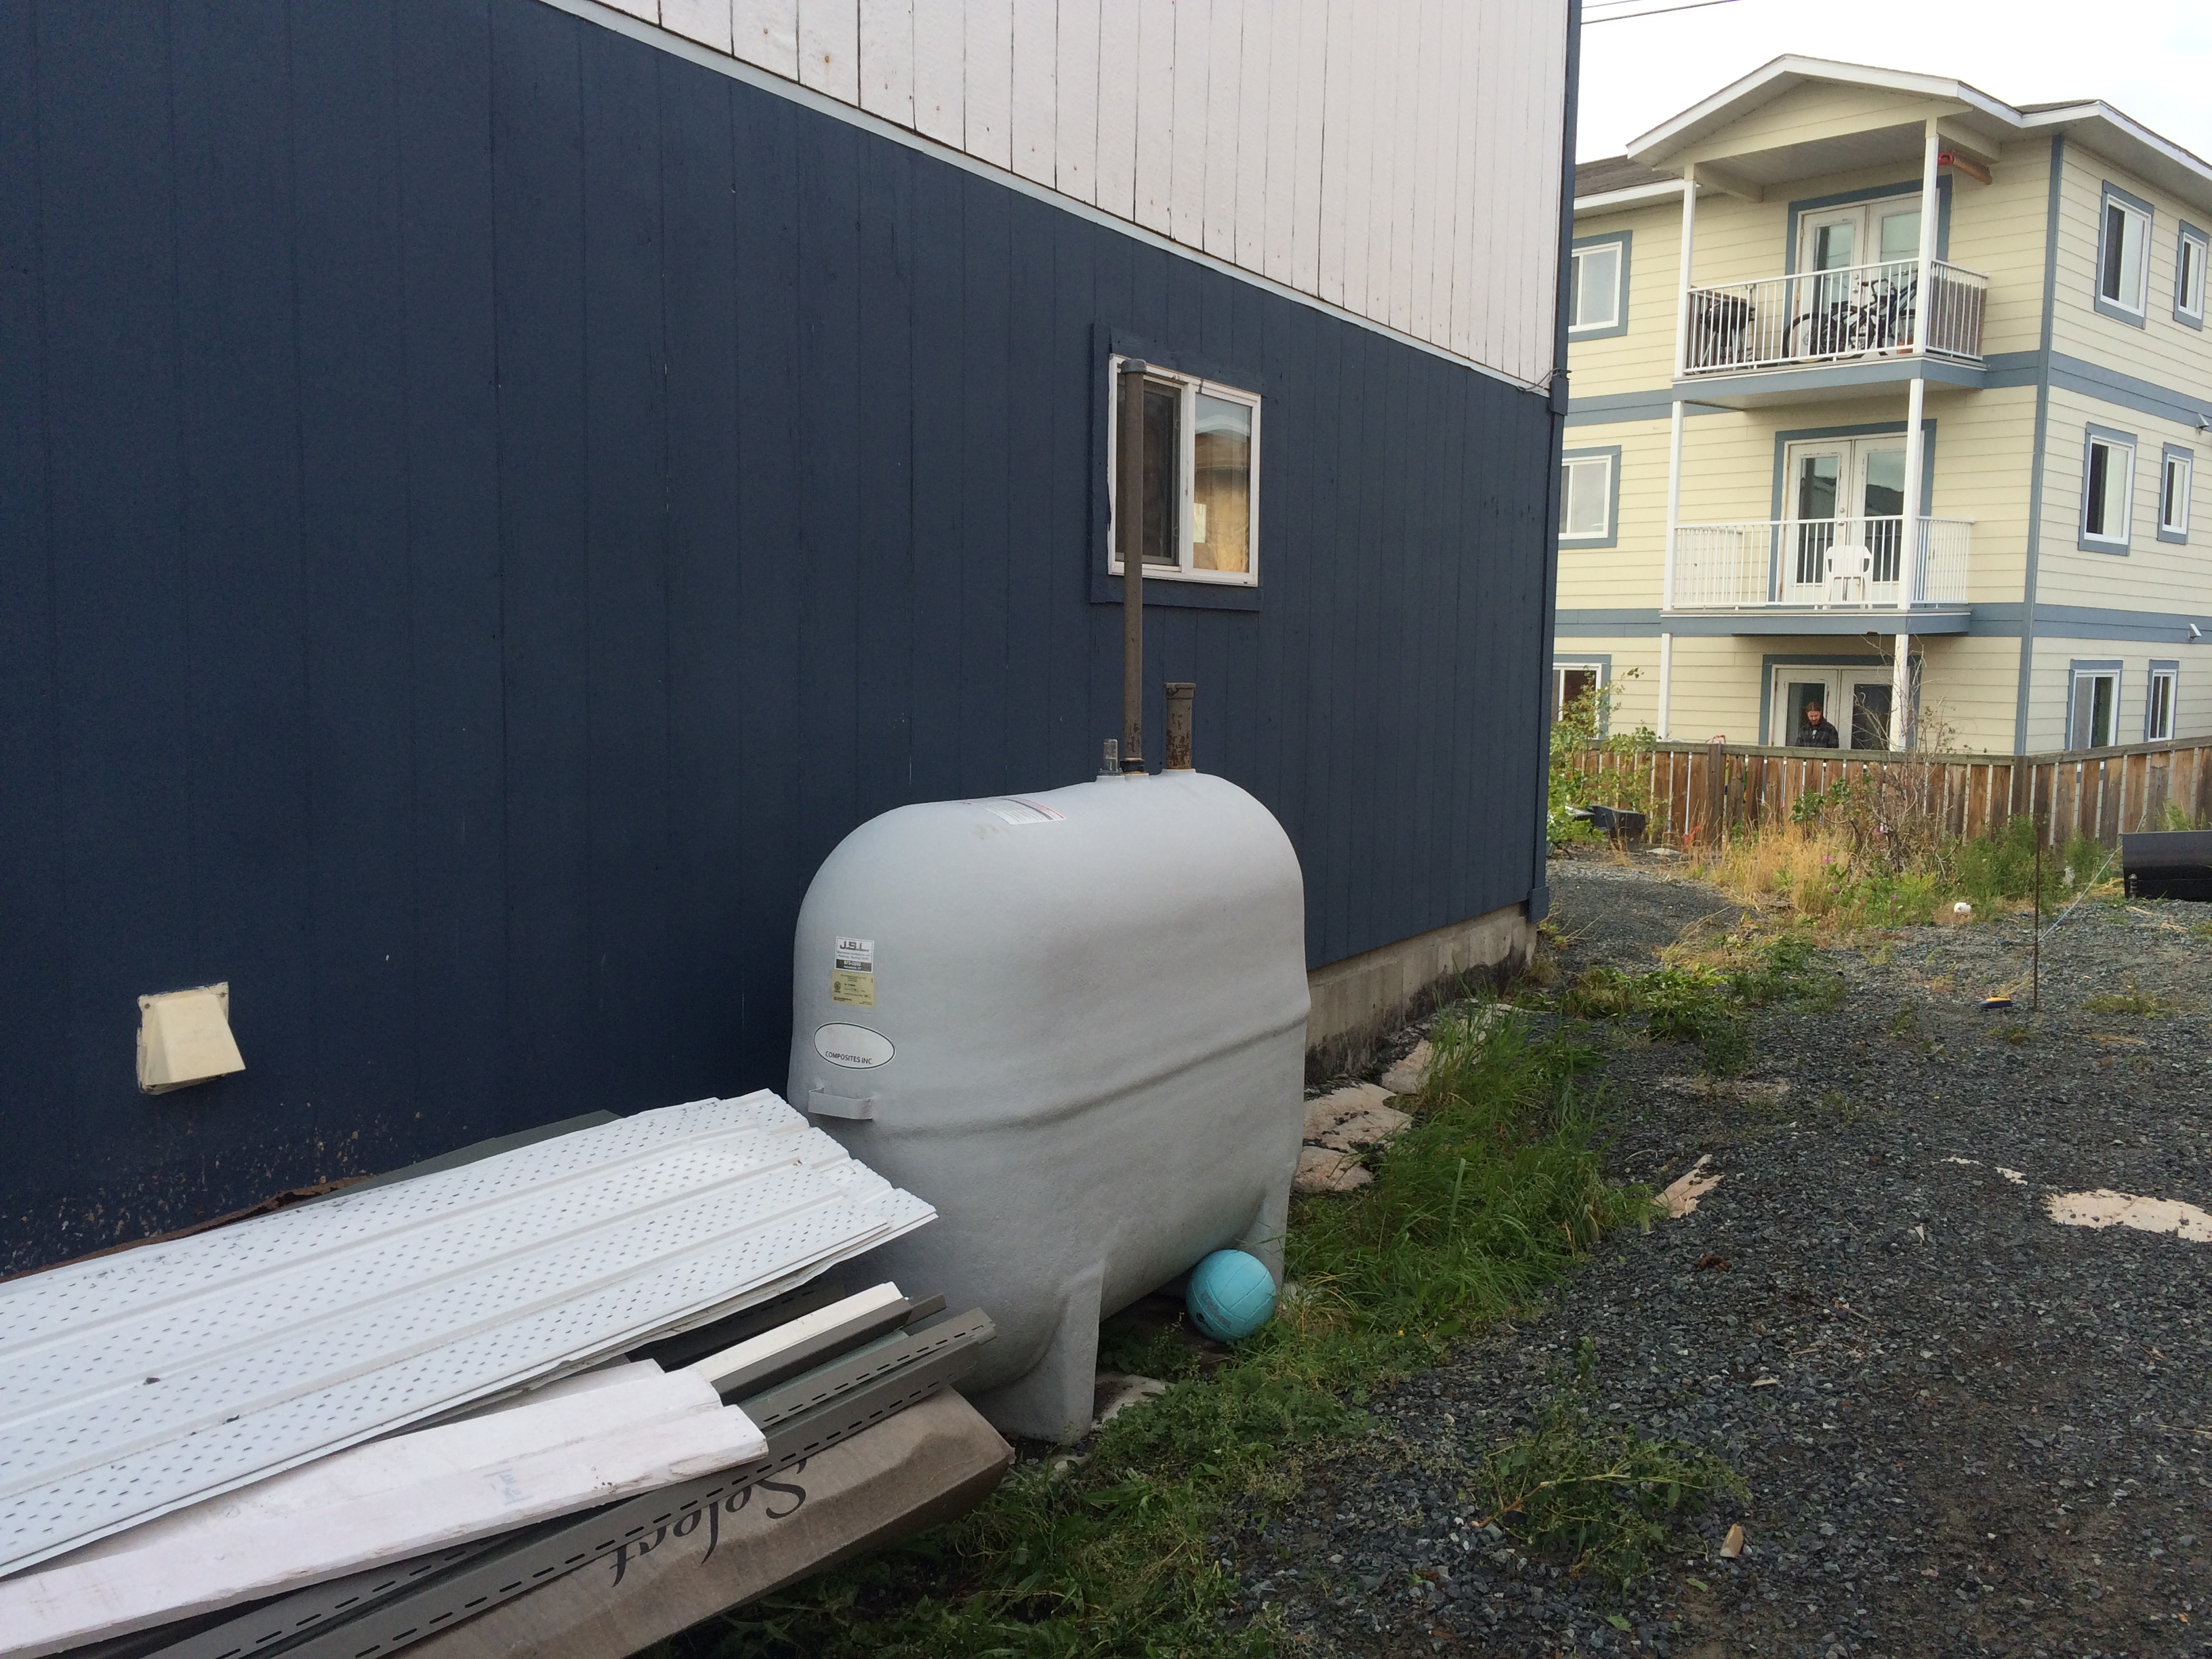
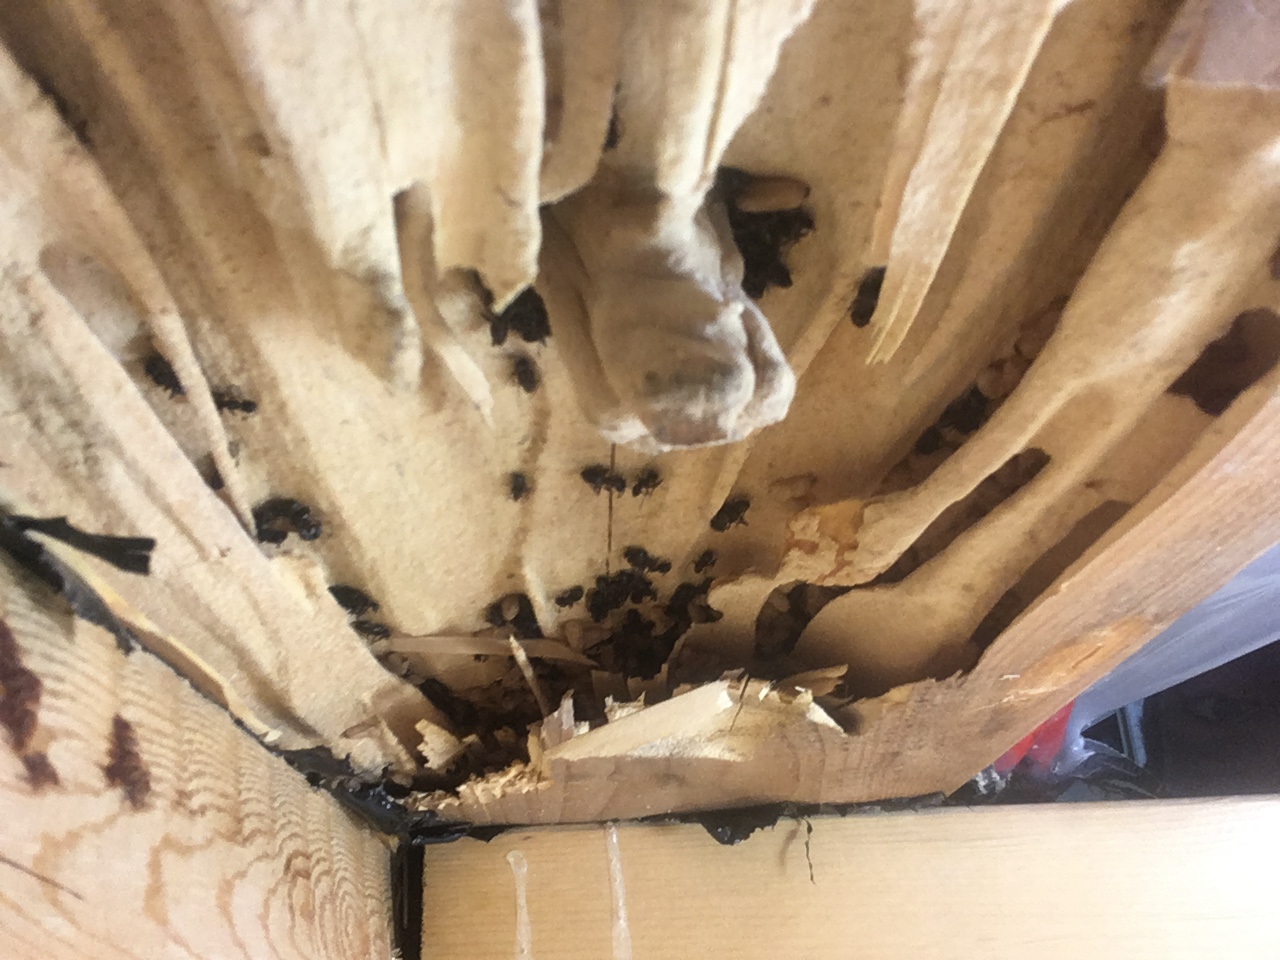
The family planned this retrofit in response to rot, pest, water, and mold damage found in their envelope. When it became clear that they would need to remove and replace their cladding, the family decided to take advantage of this opportunity to install additional insulation, install an air barrier, upgrade their windows and doors, and upgrade their heating system at the same time. The family had their roof replaced in 2021, and their hot water tank to an electric storage tank in 2022, so those components did not need to be addressed. The existing heating oil based furnace was replaced with a high efficiency condensing propane furnace.
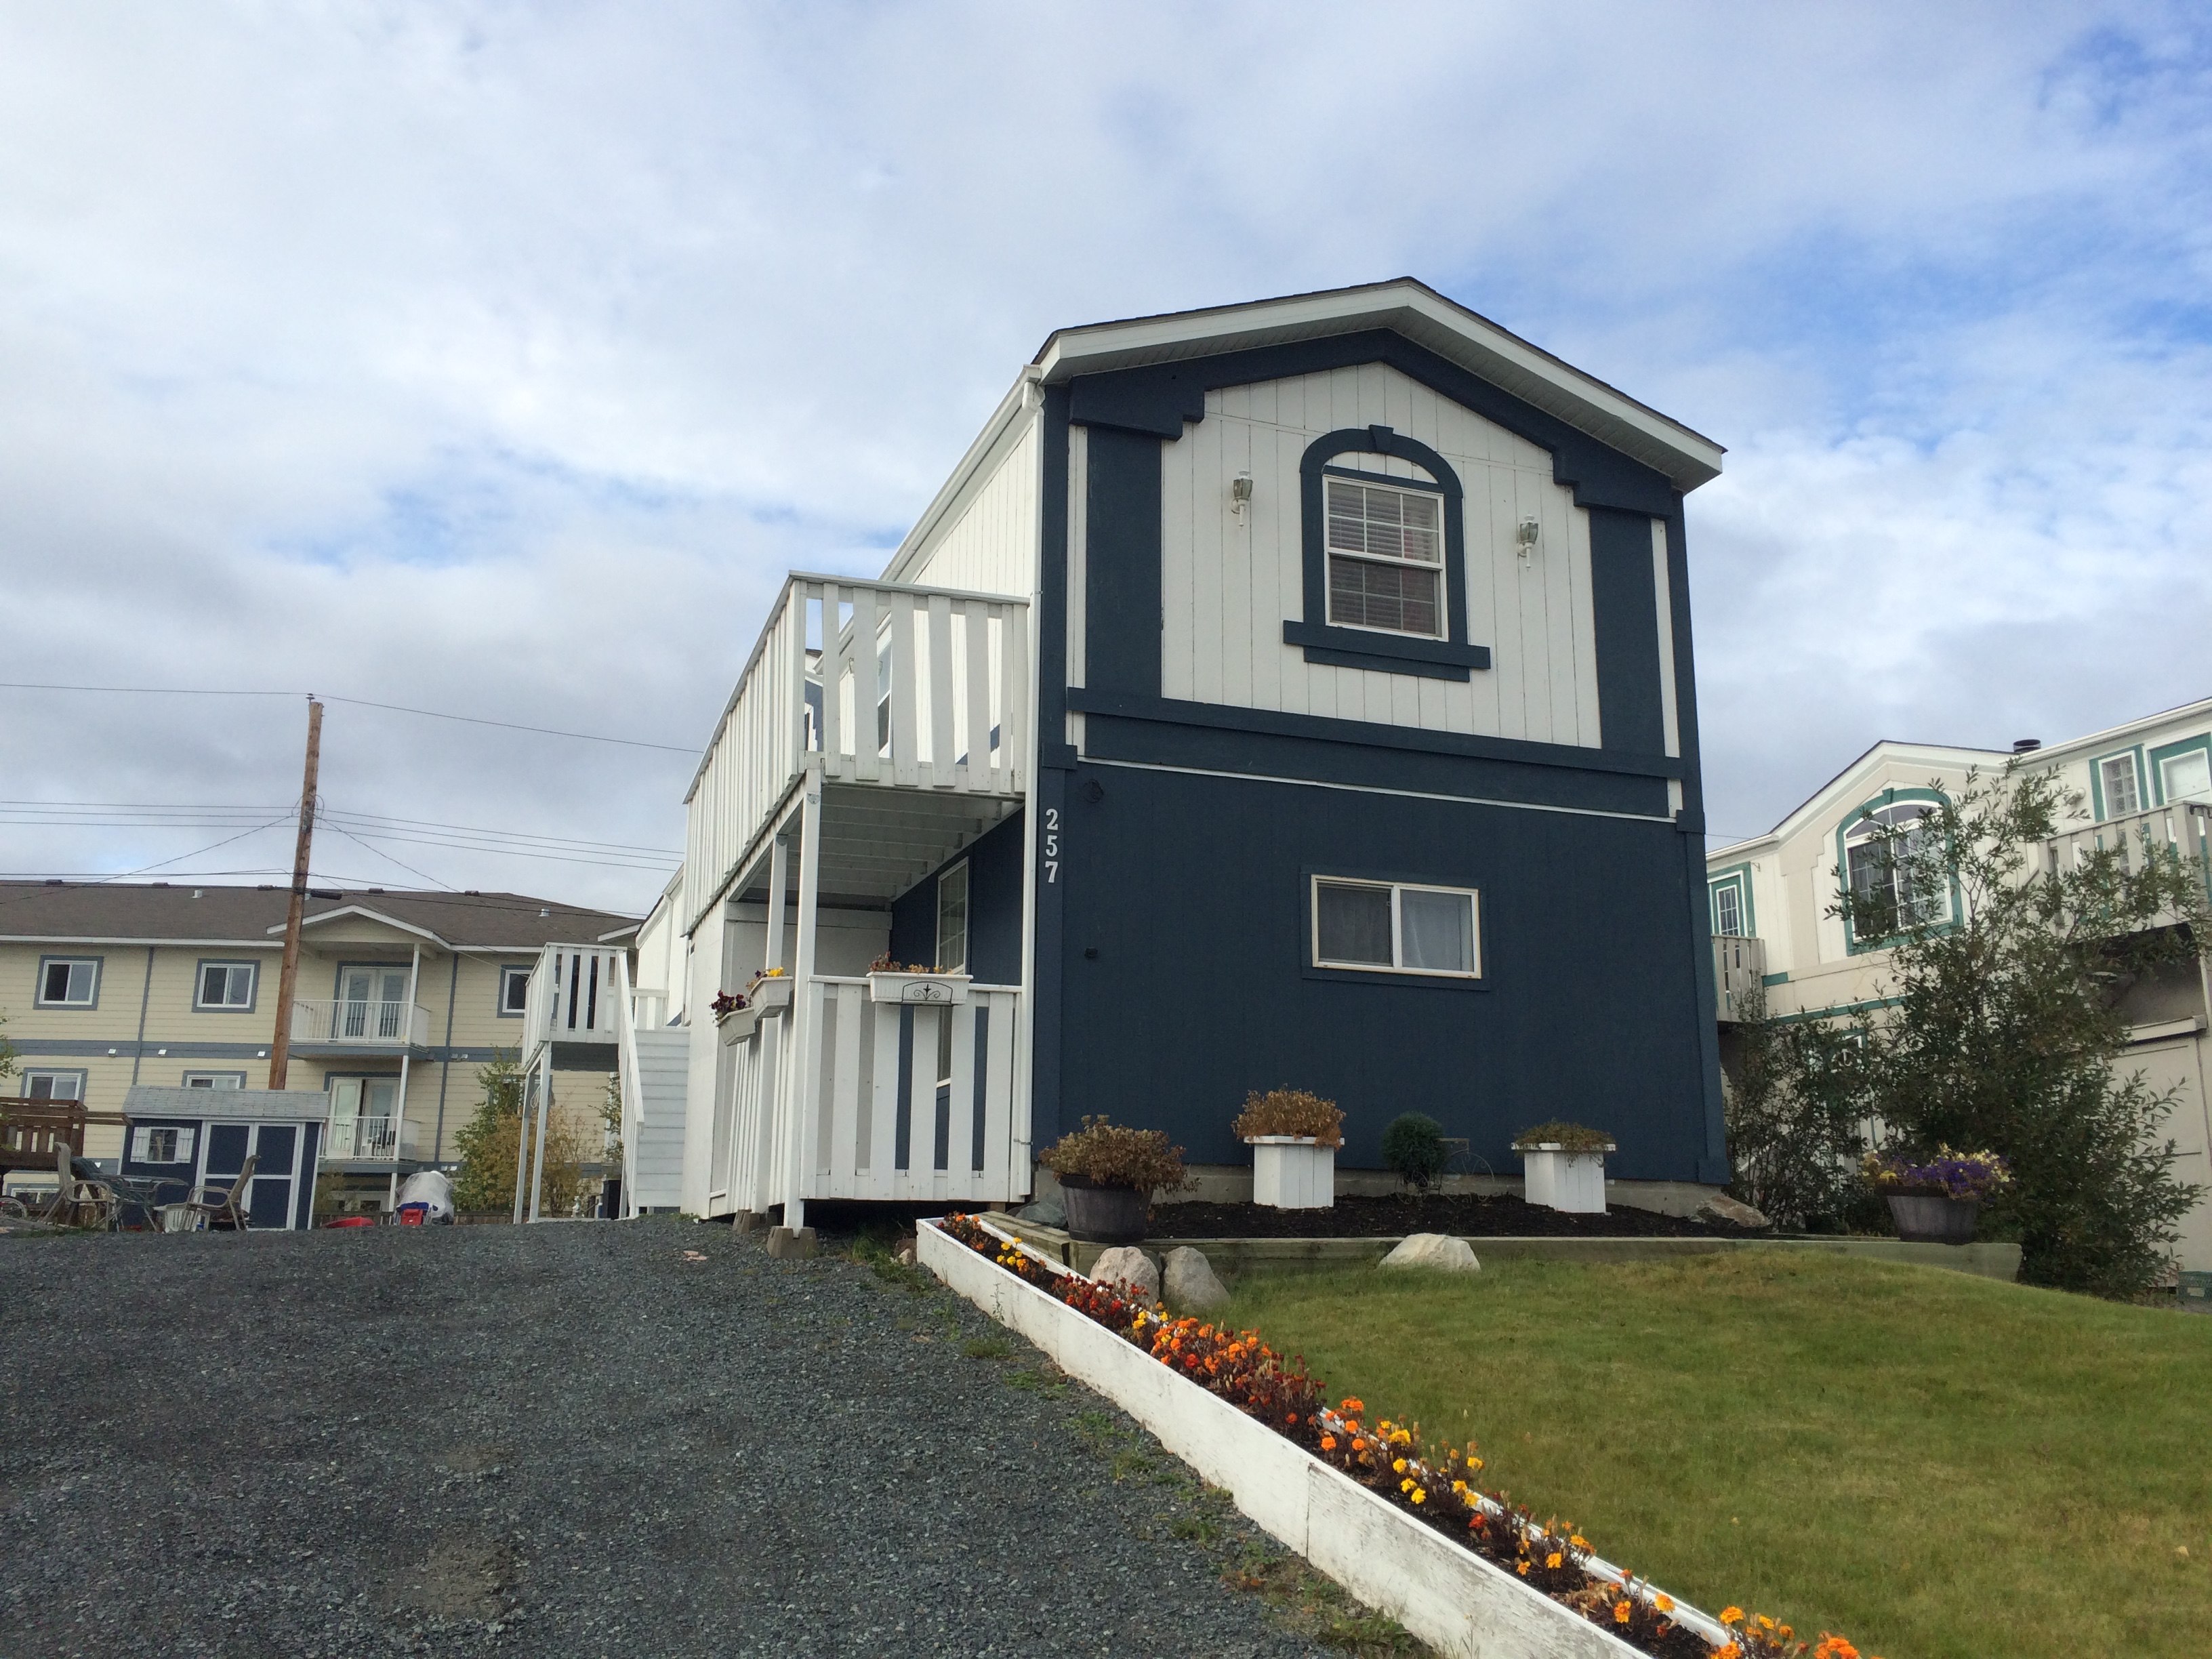
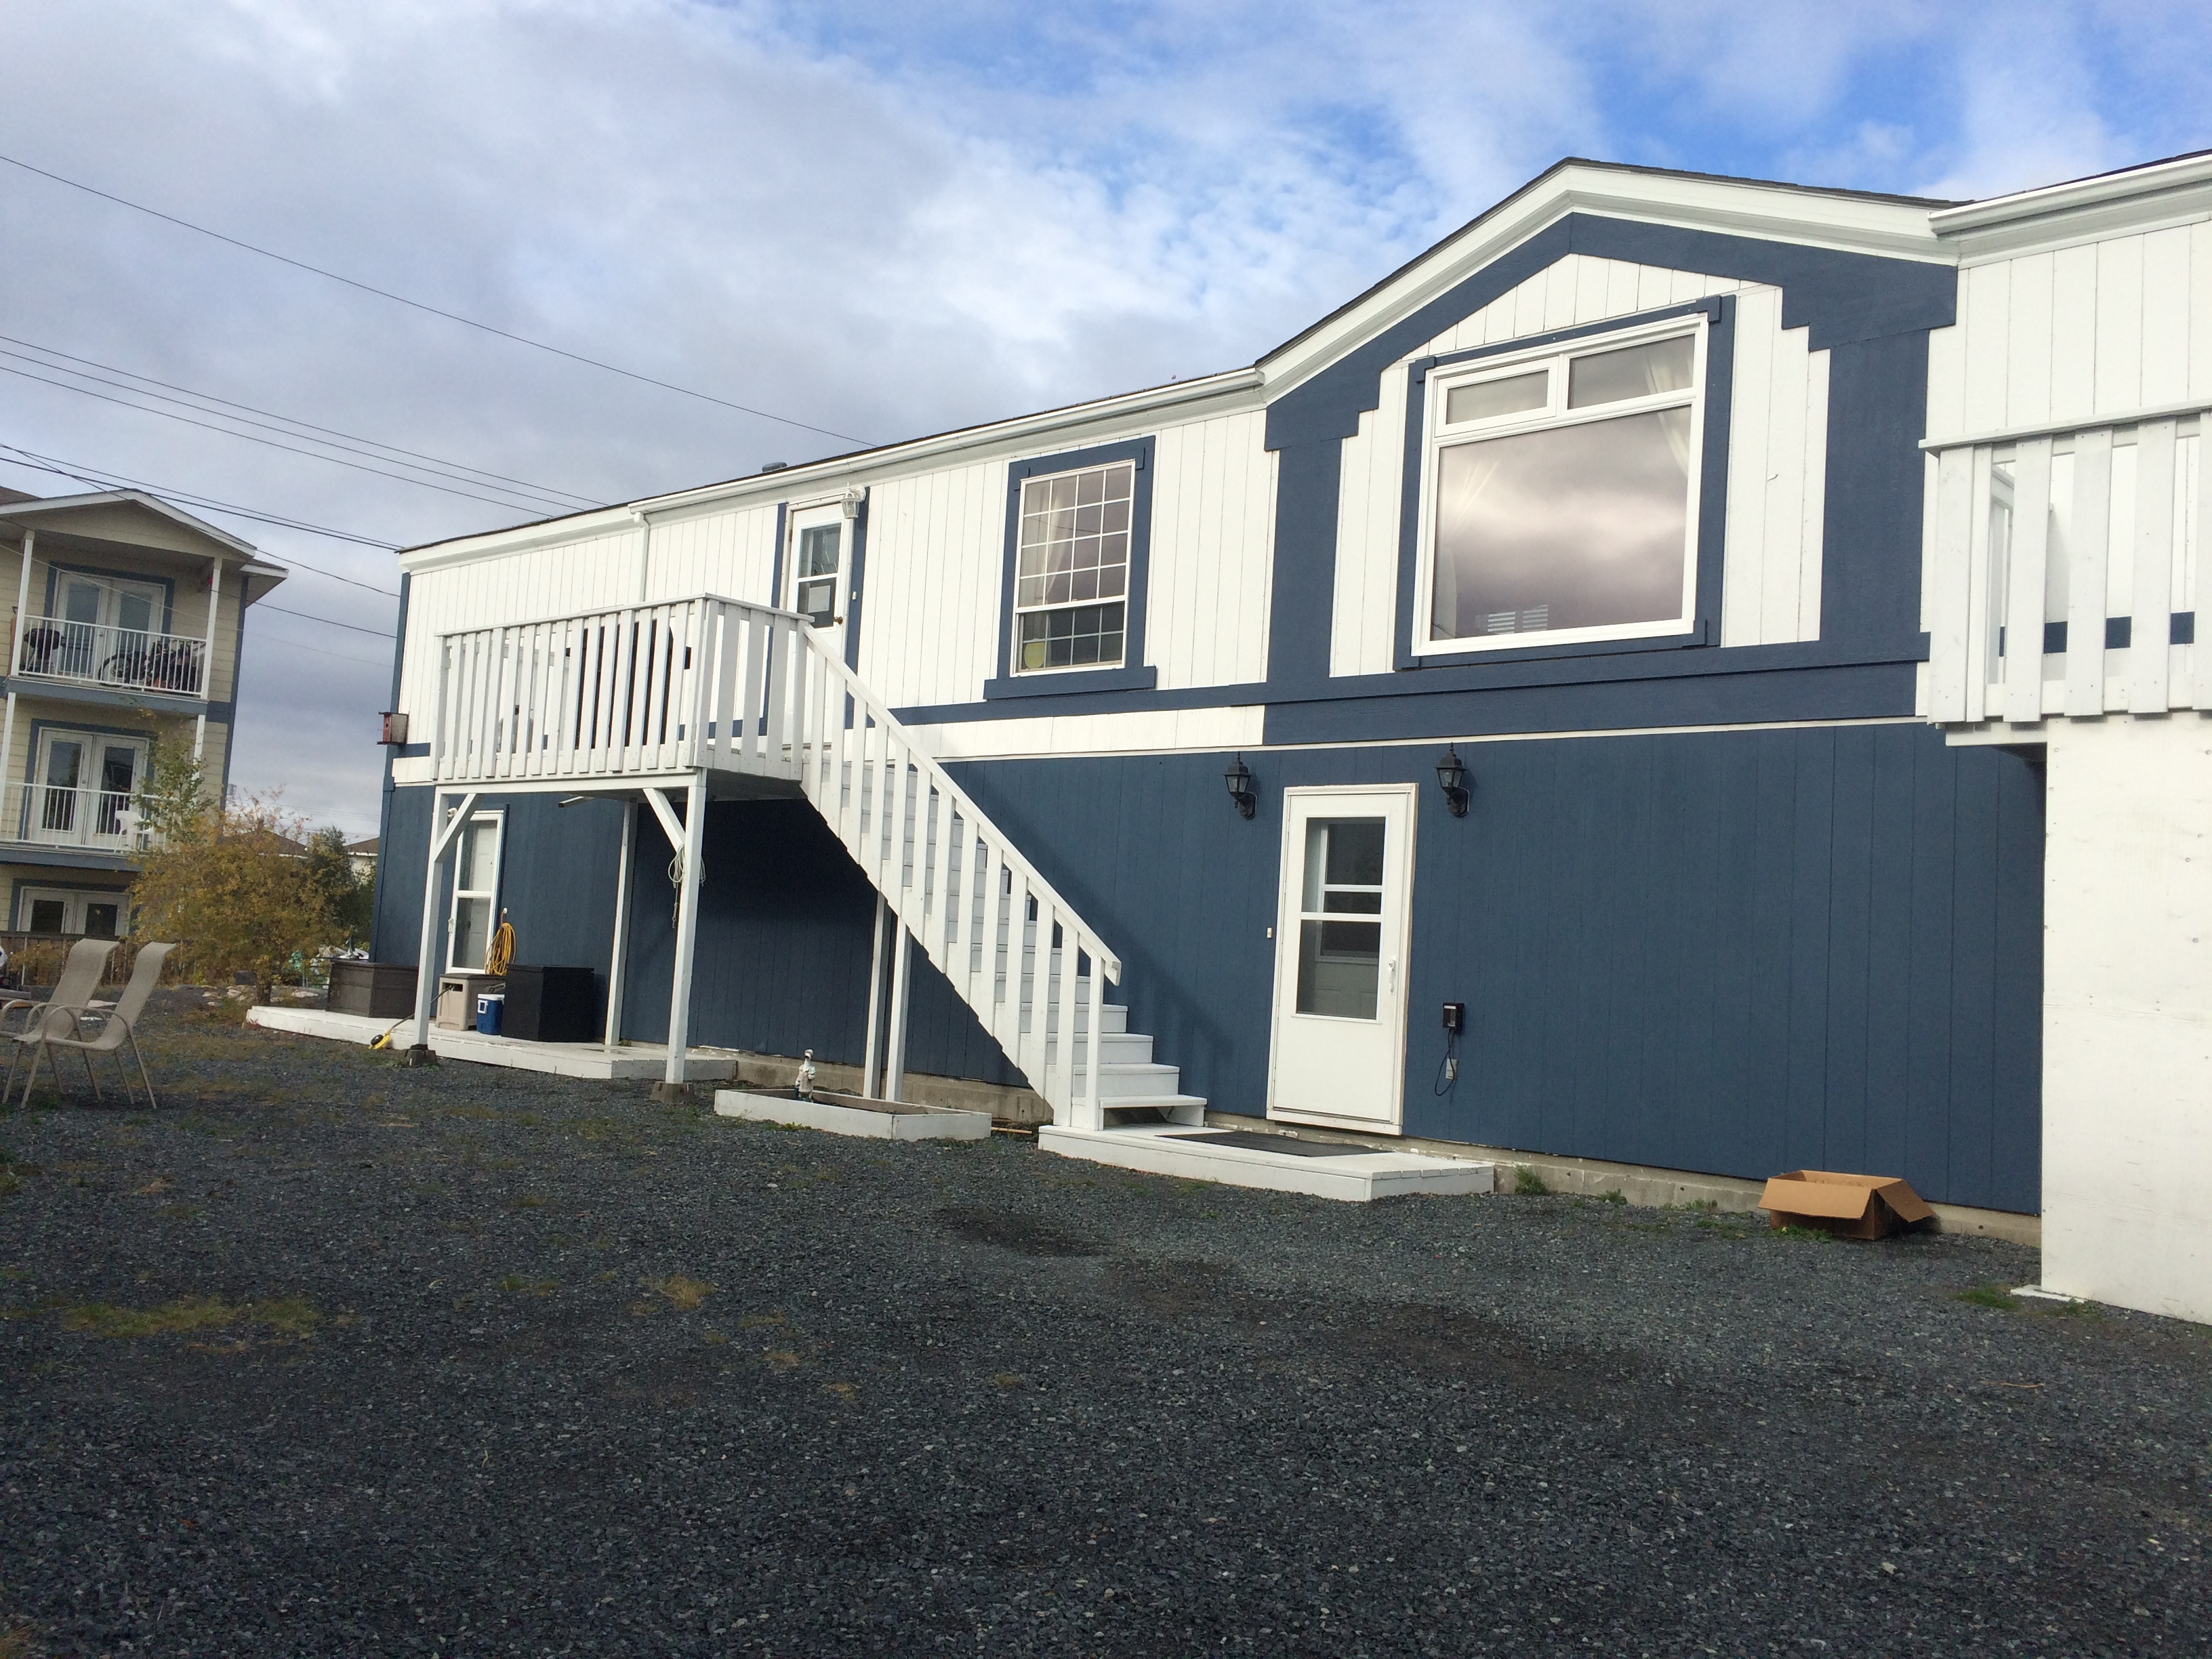
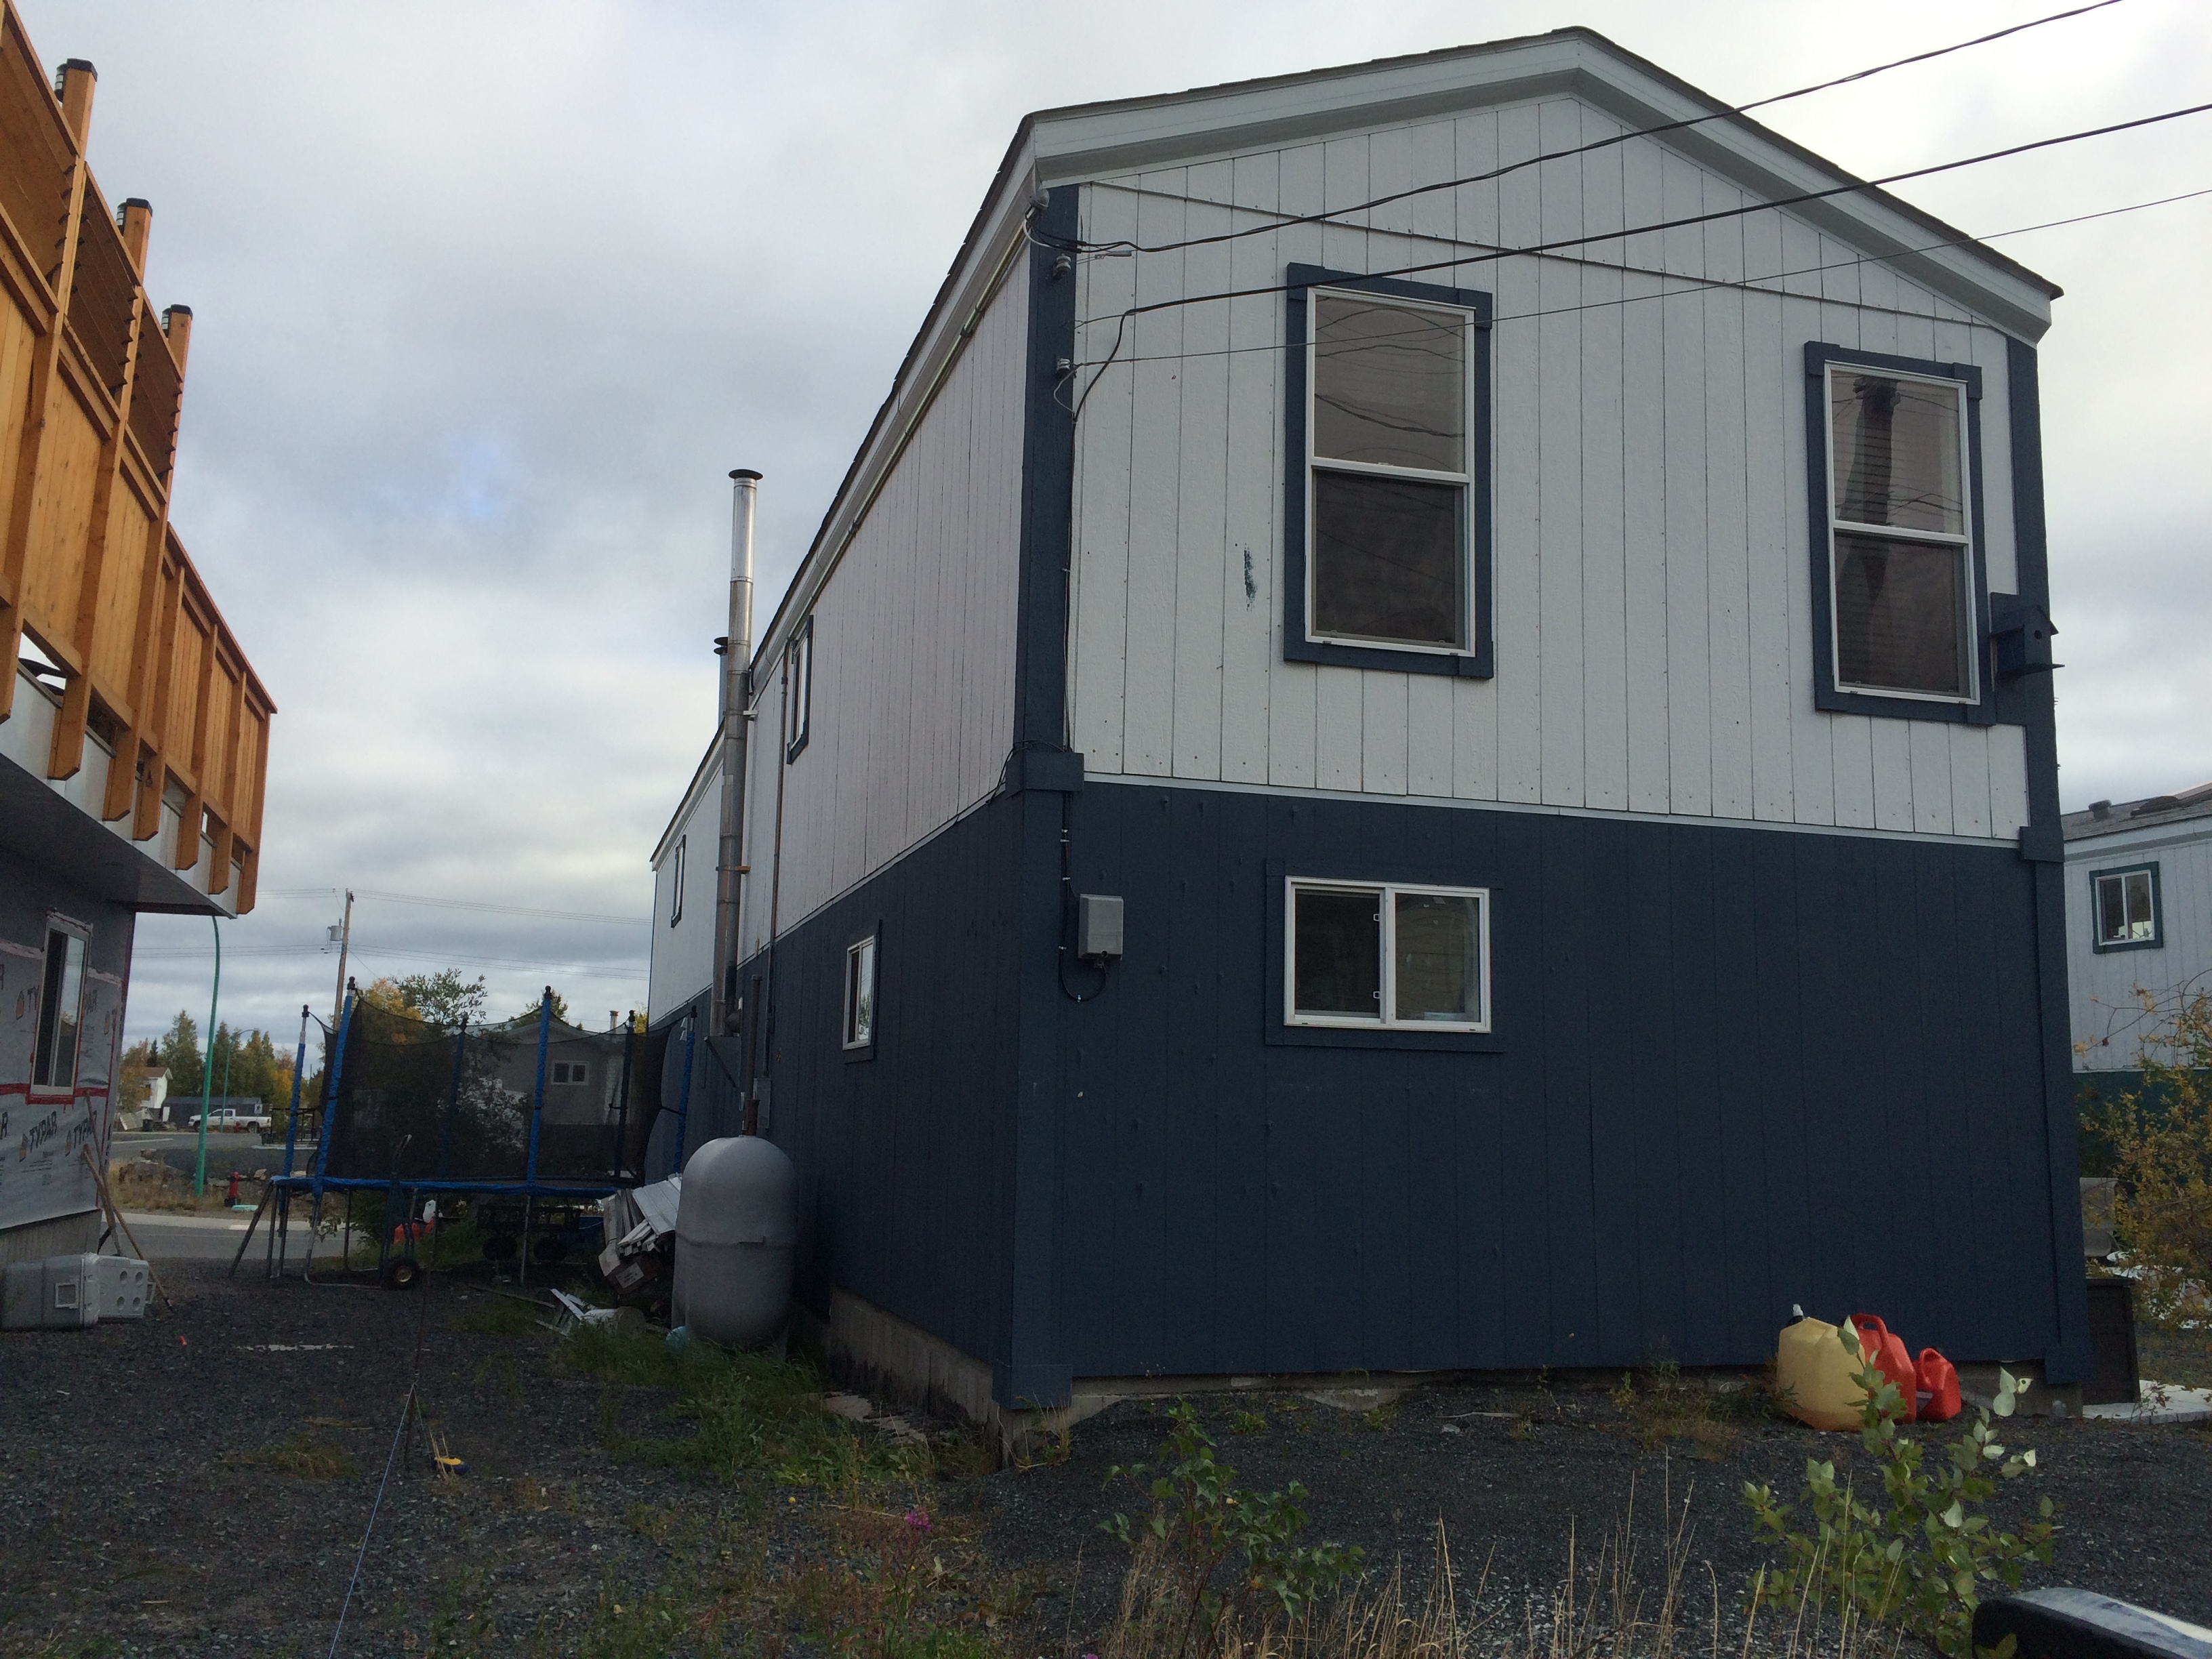
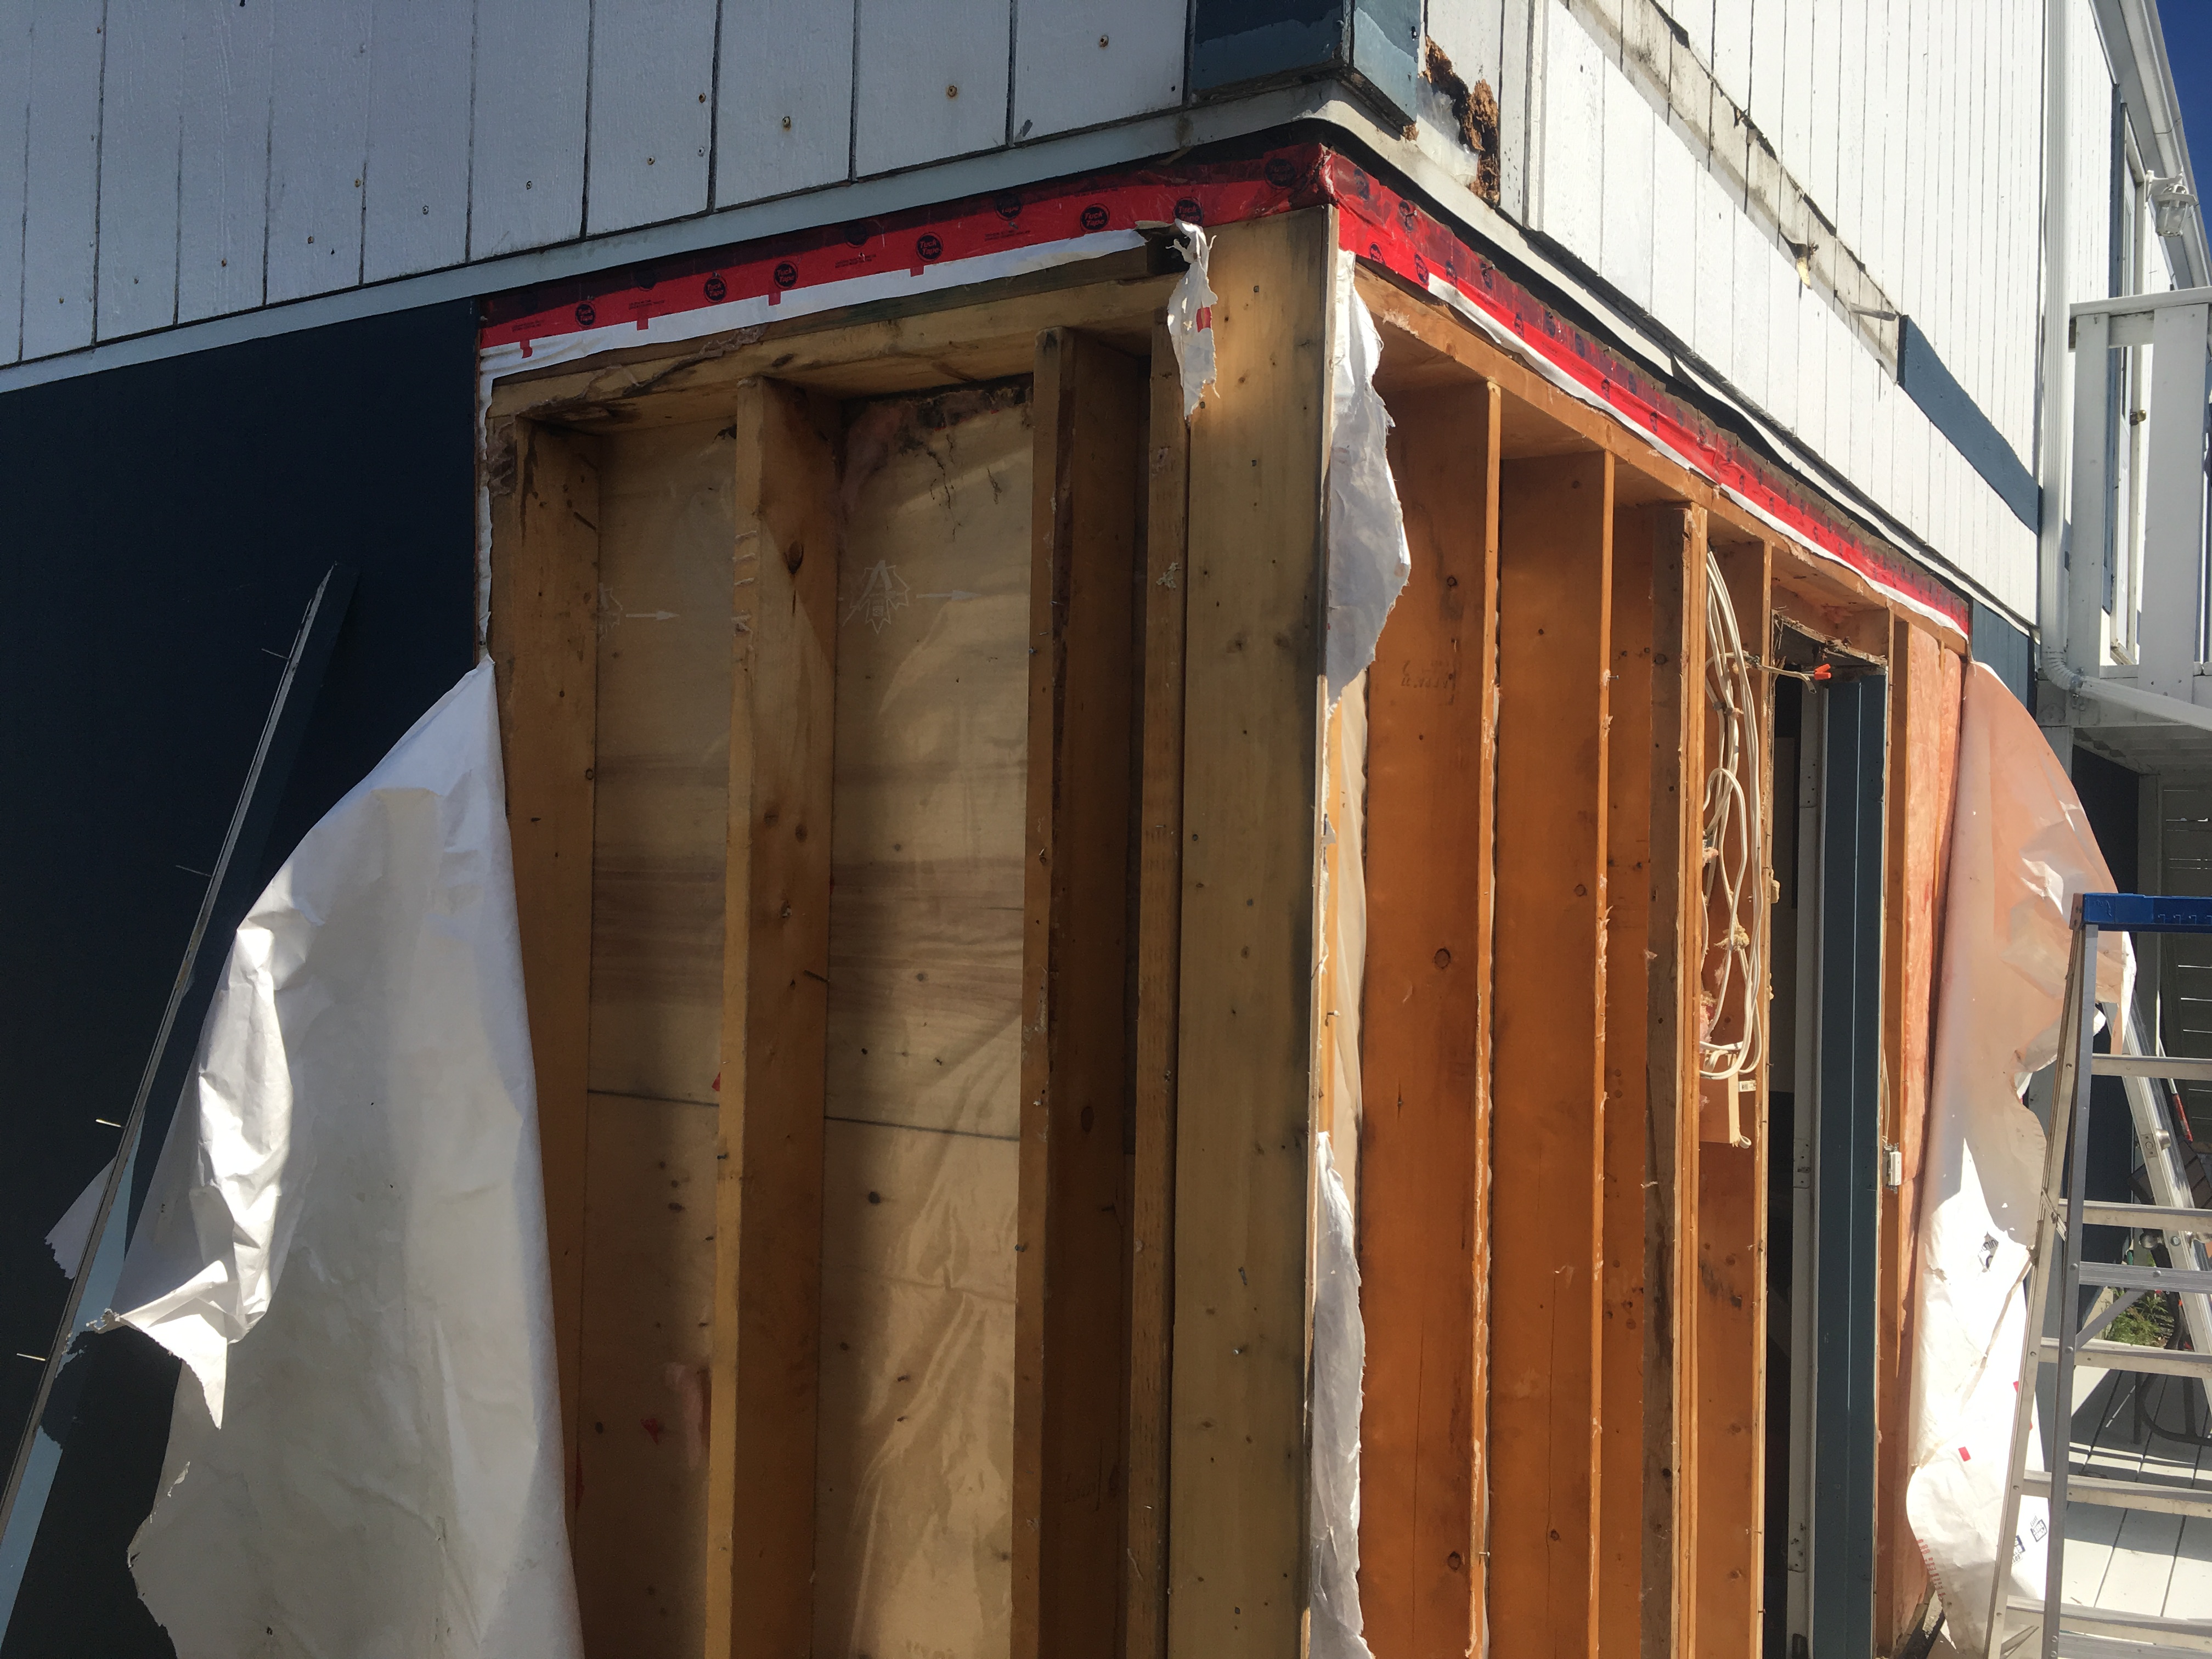
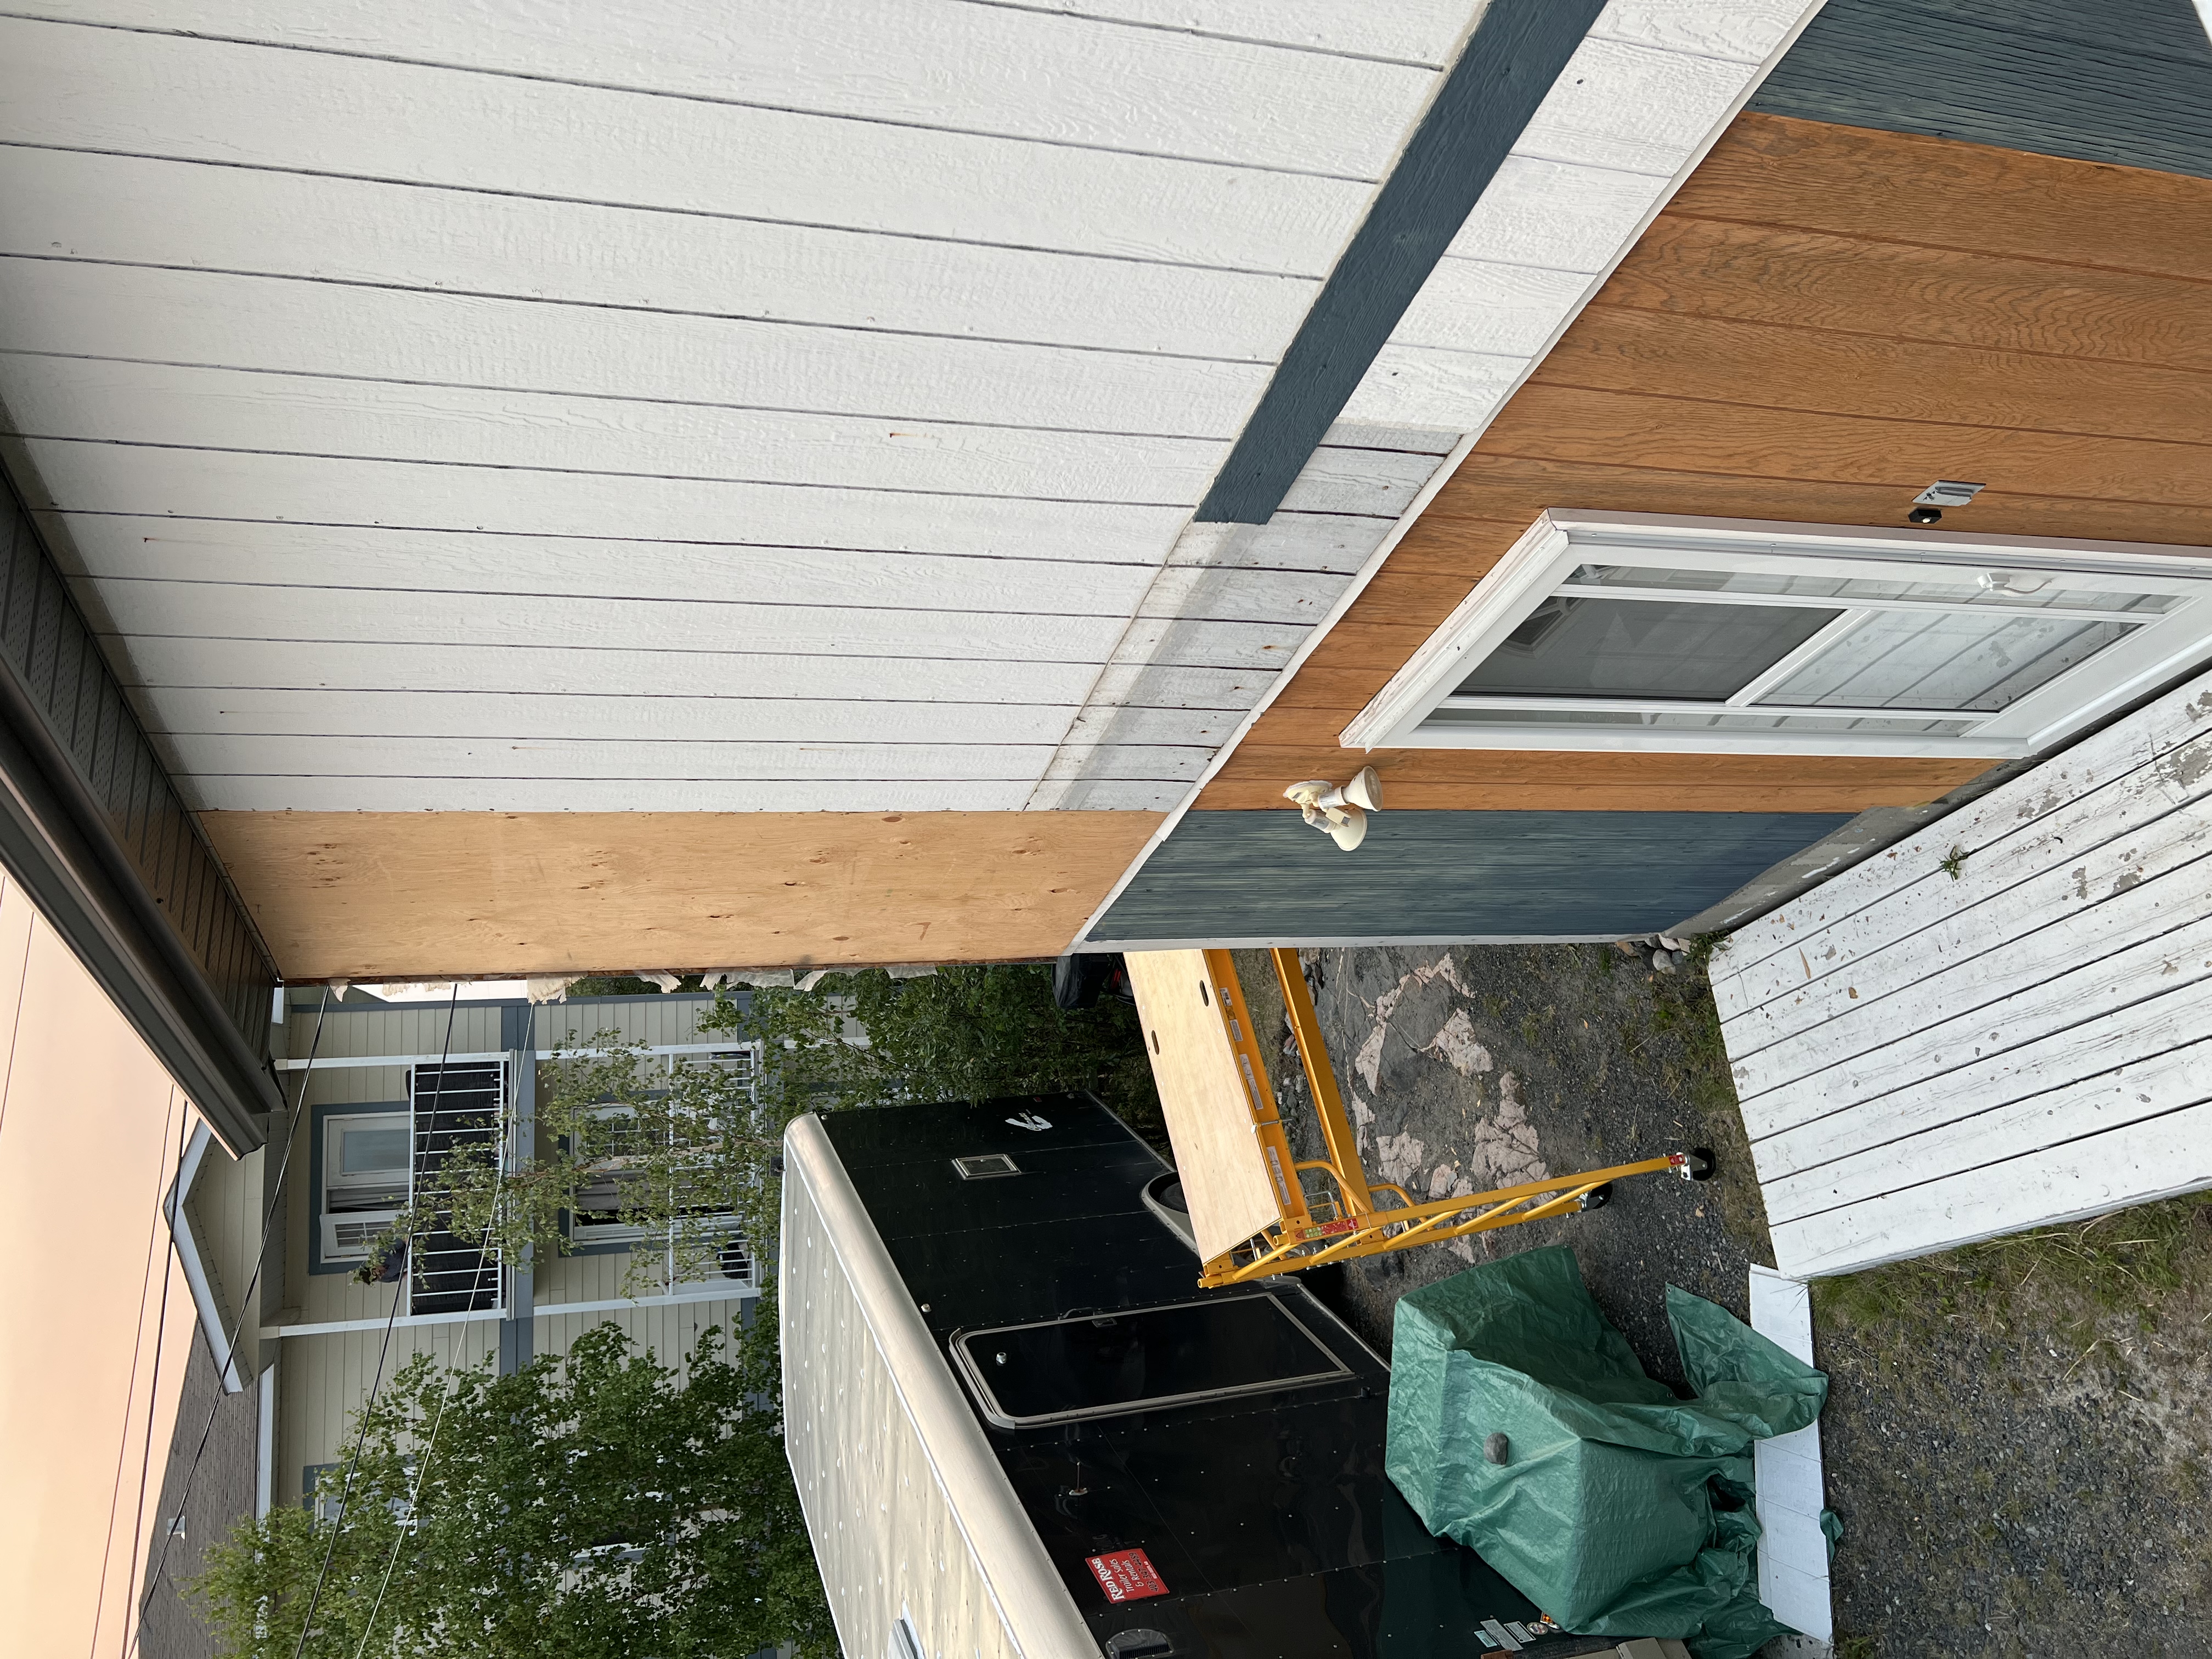
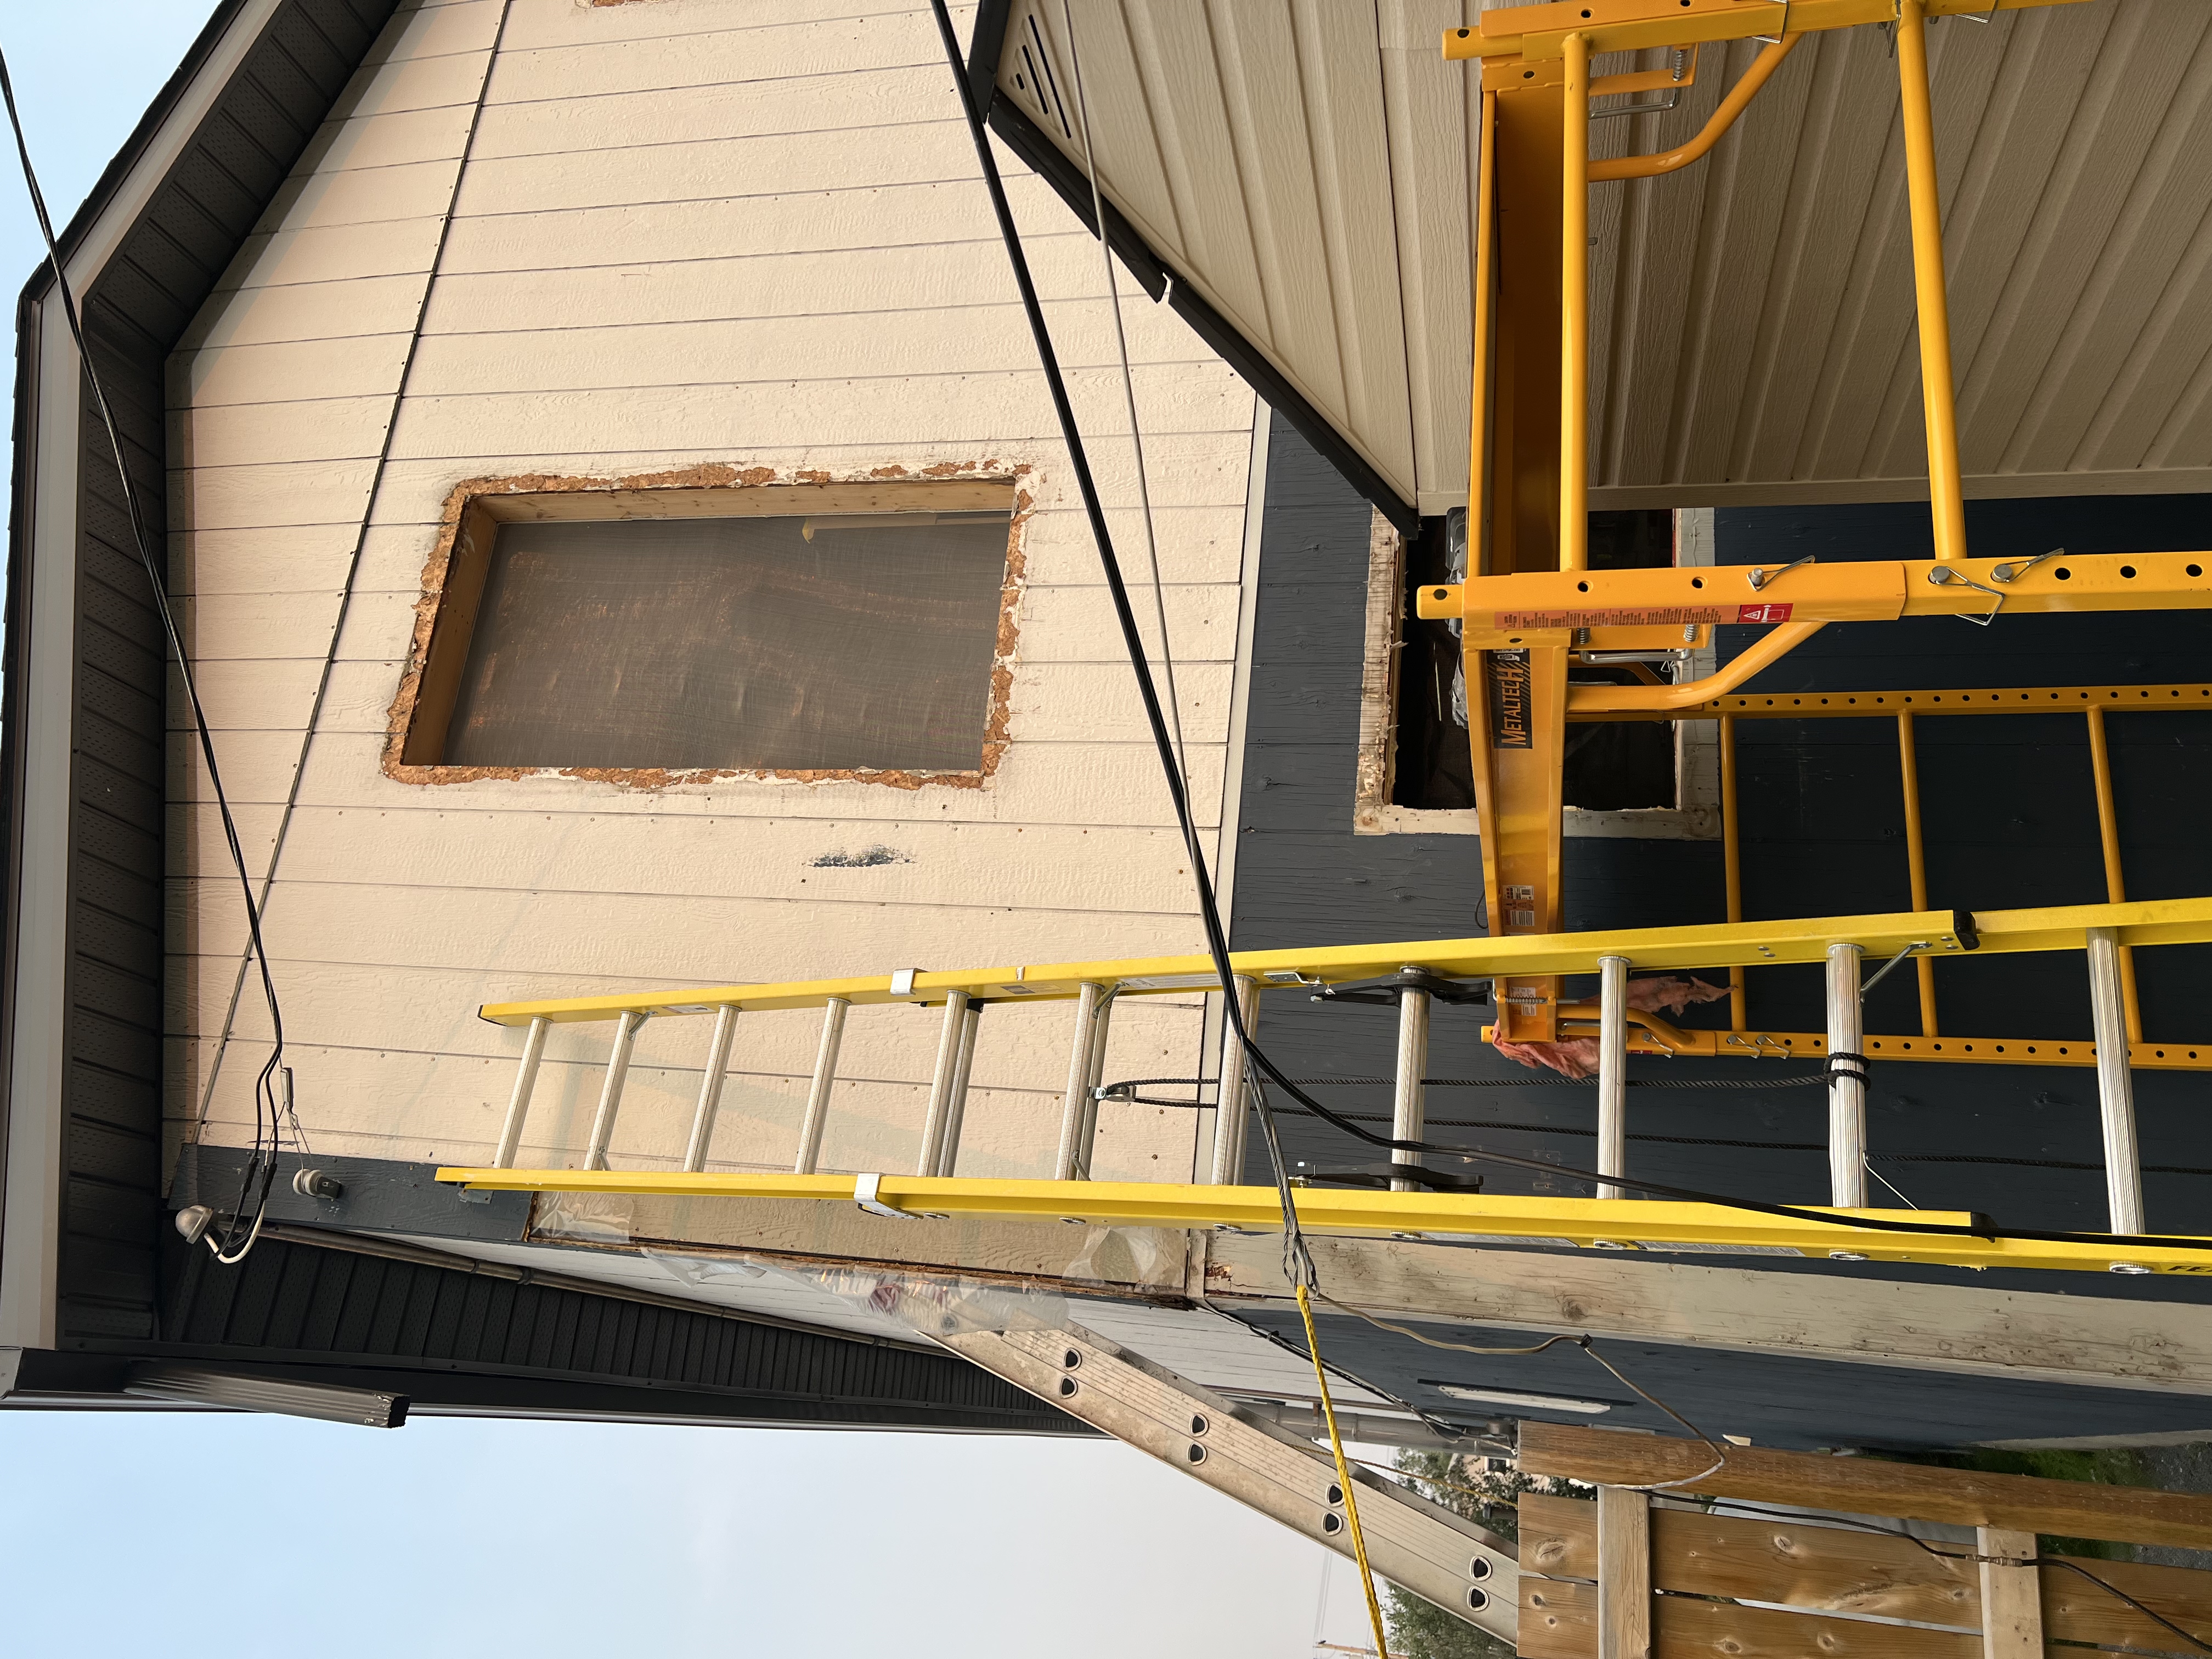
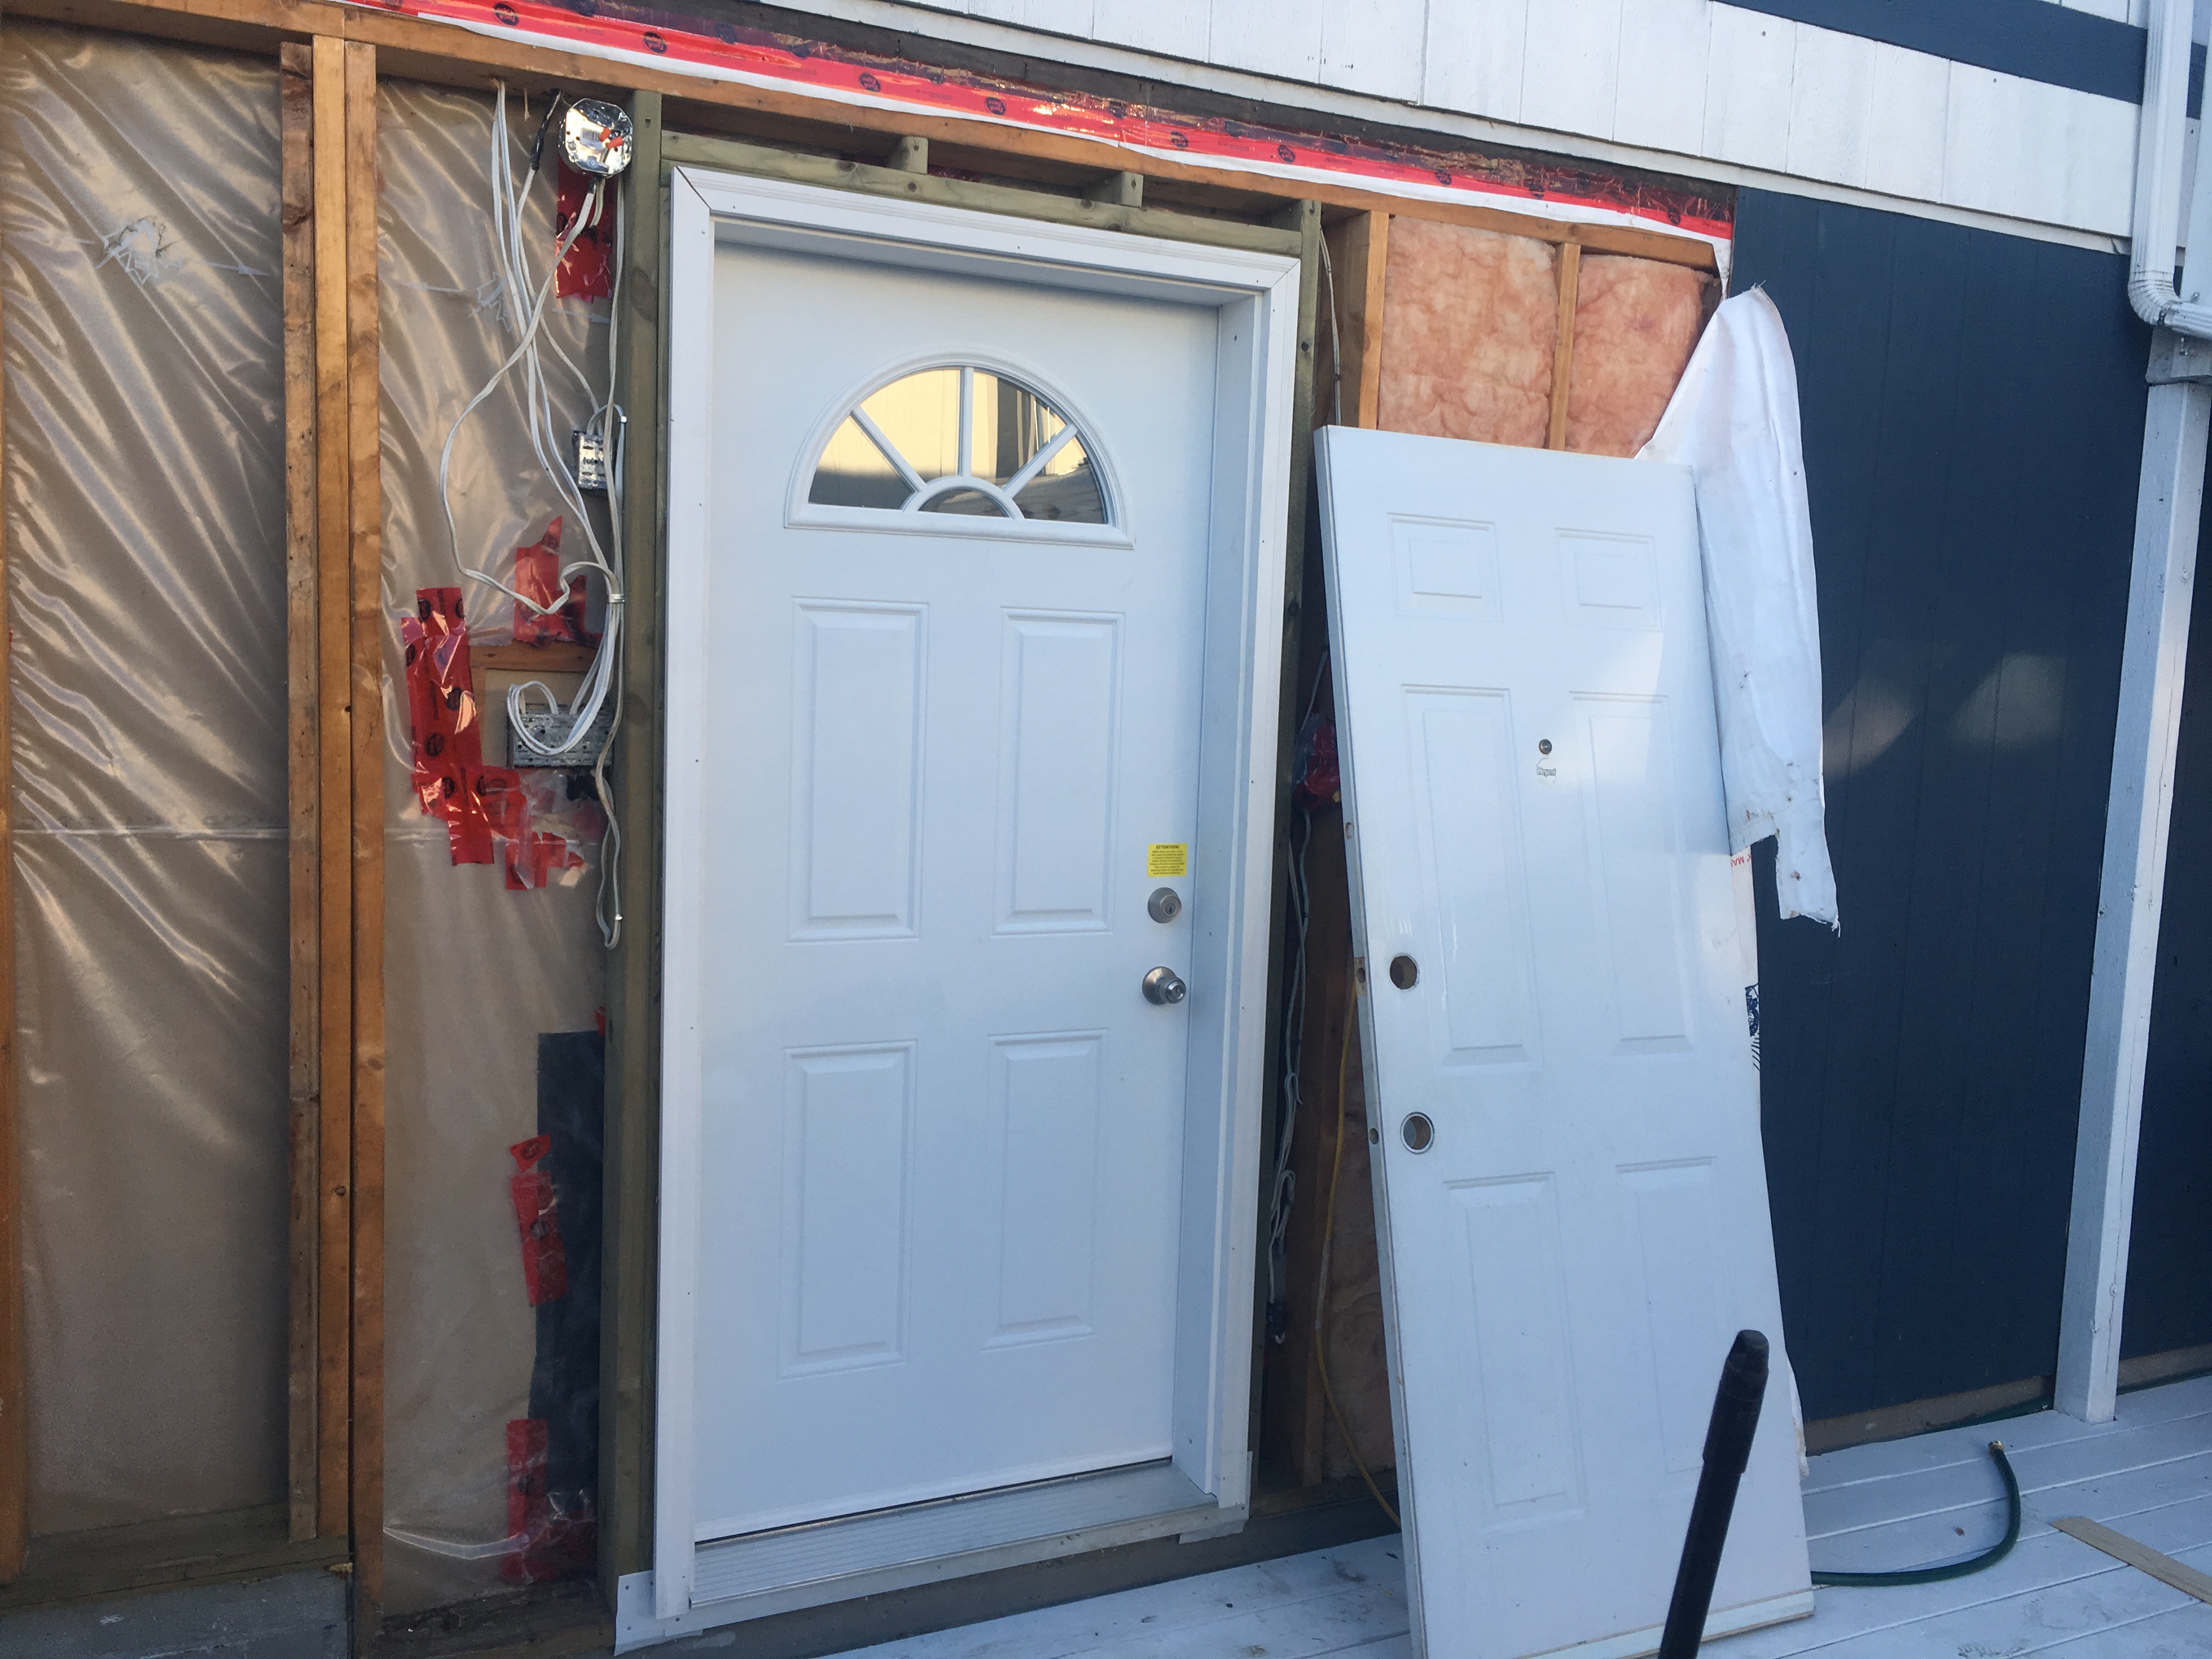
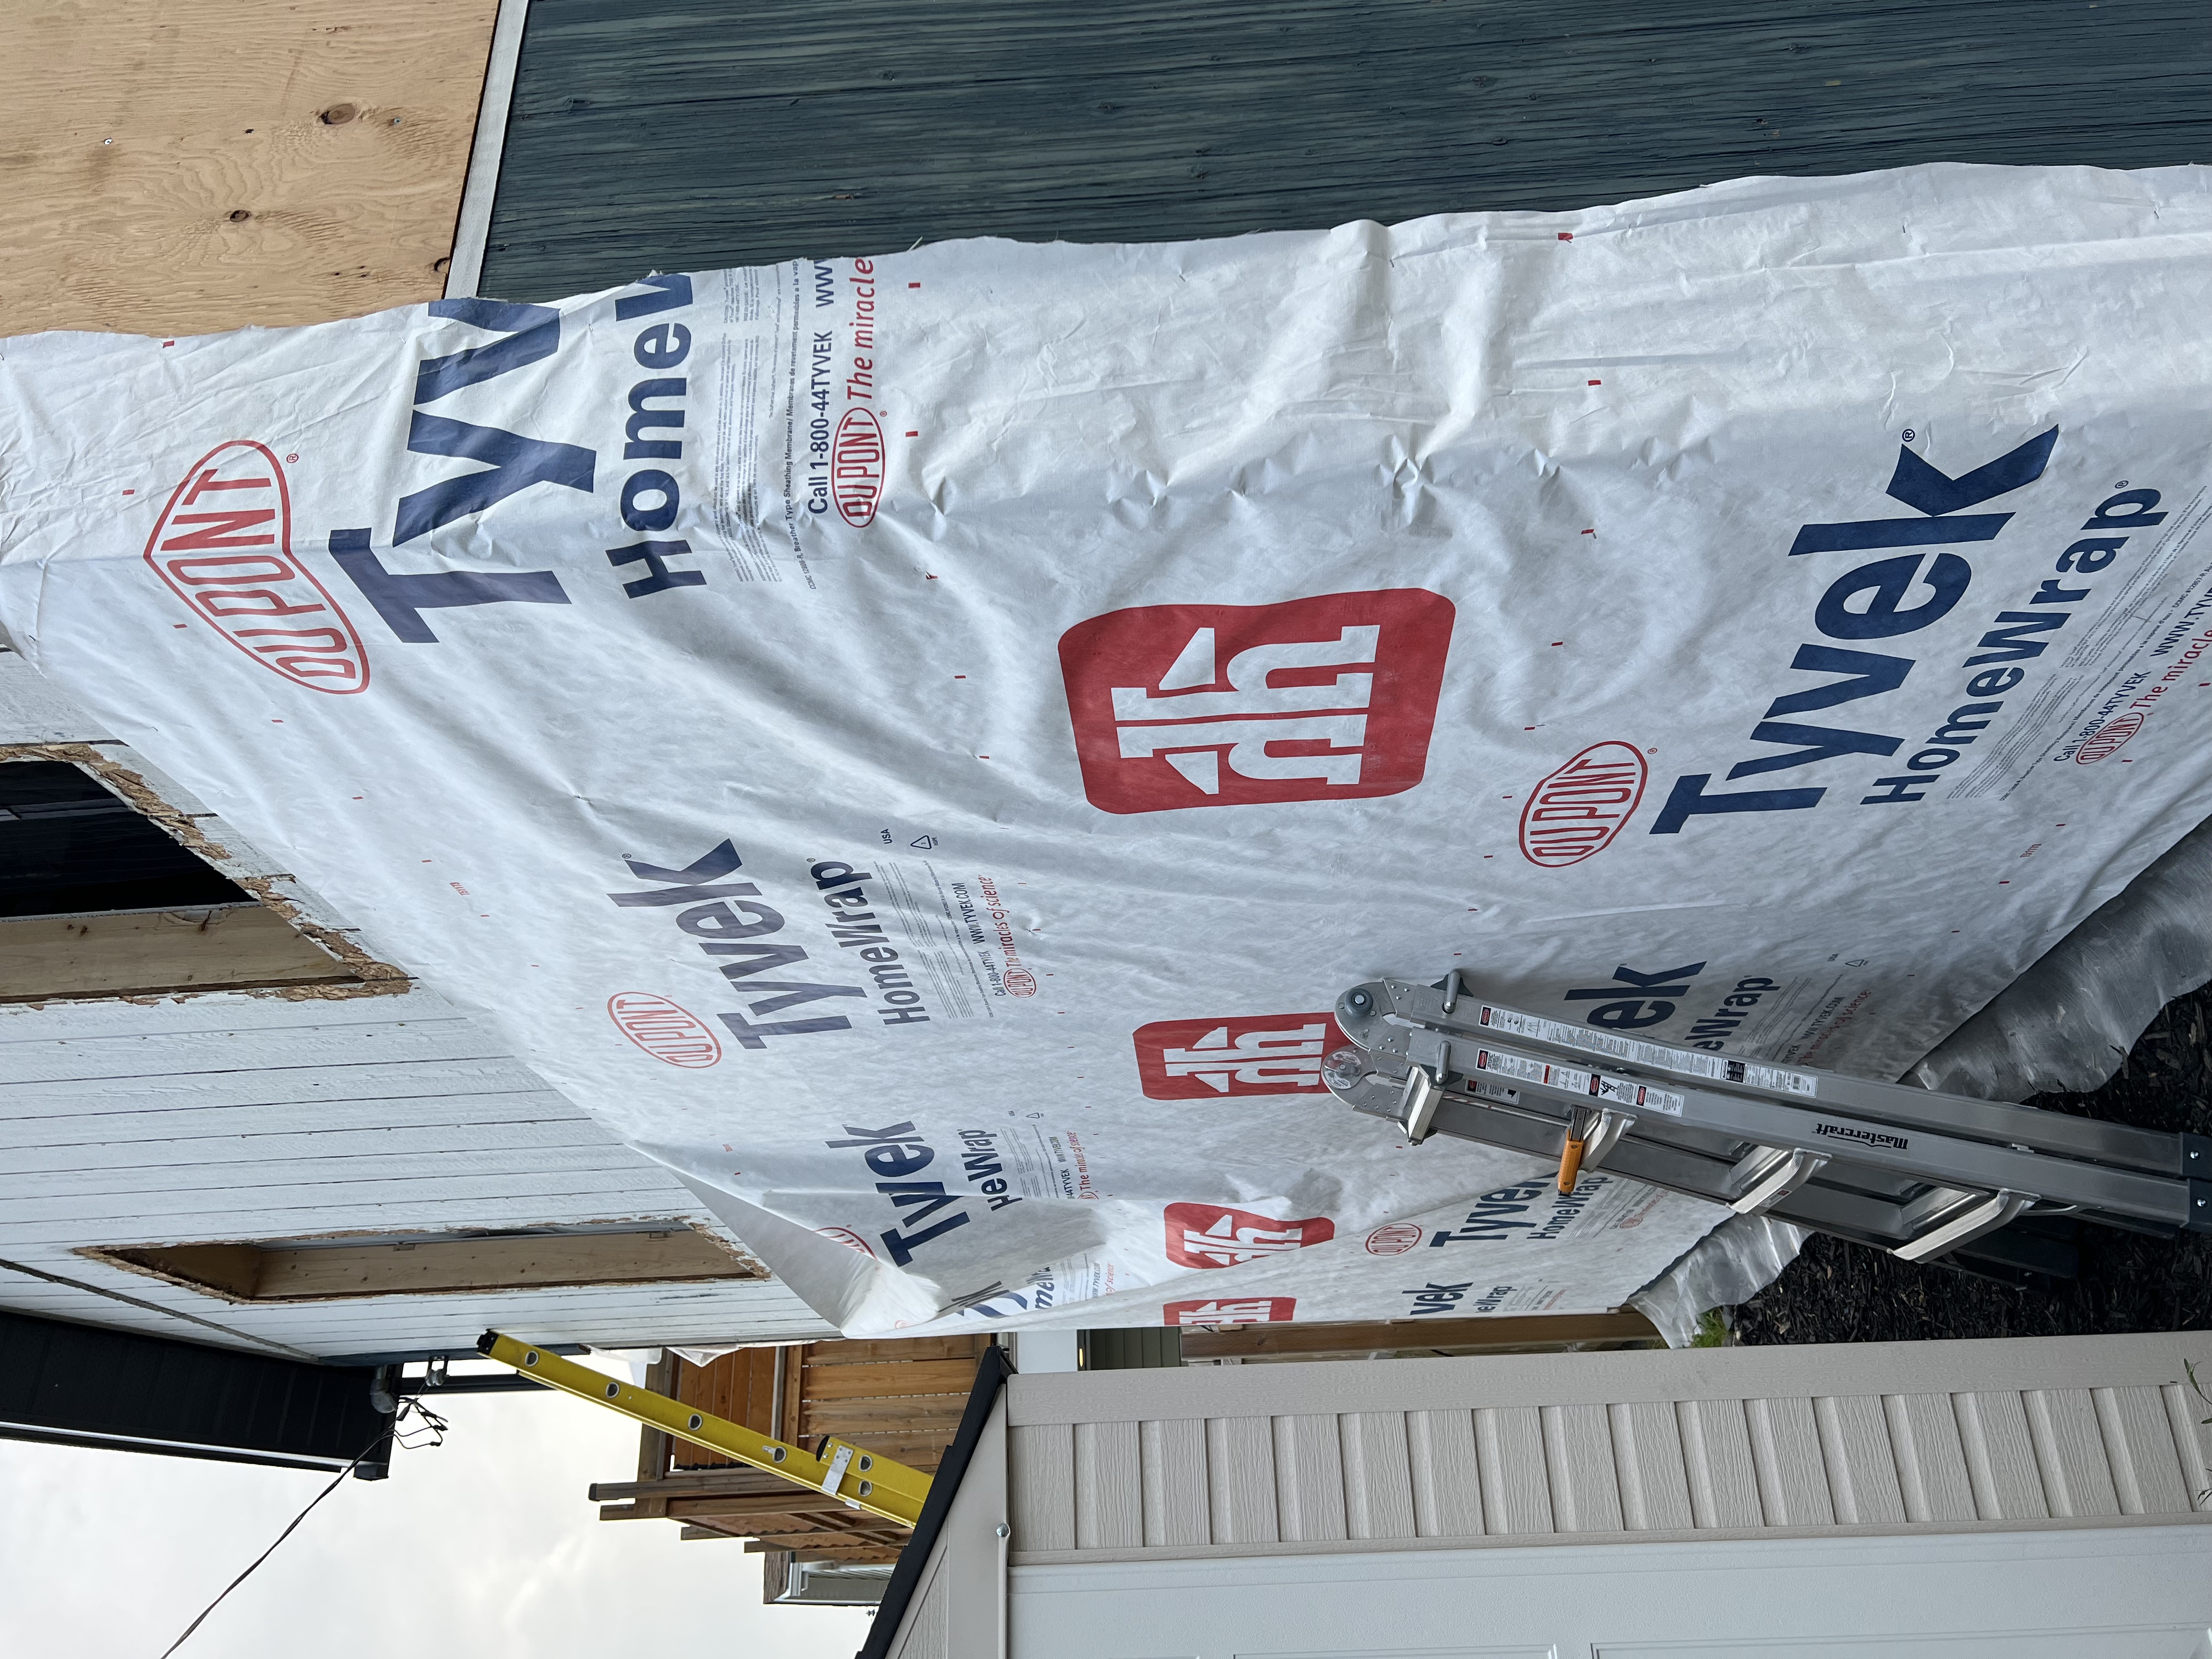
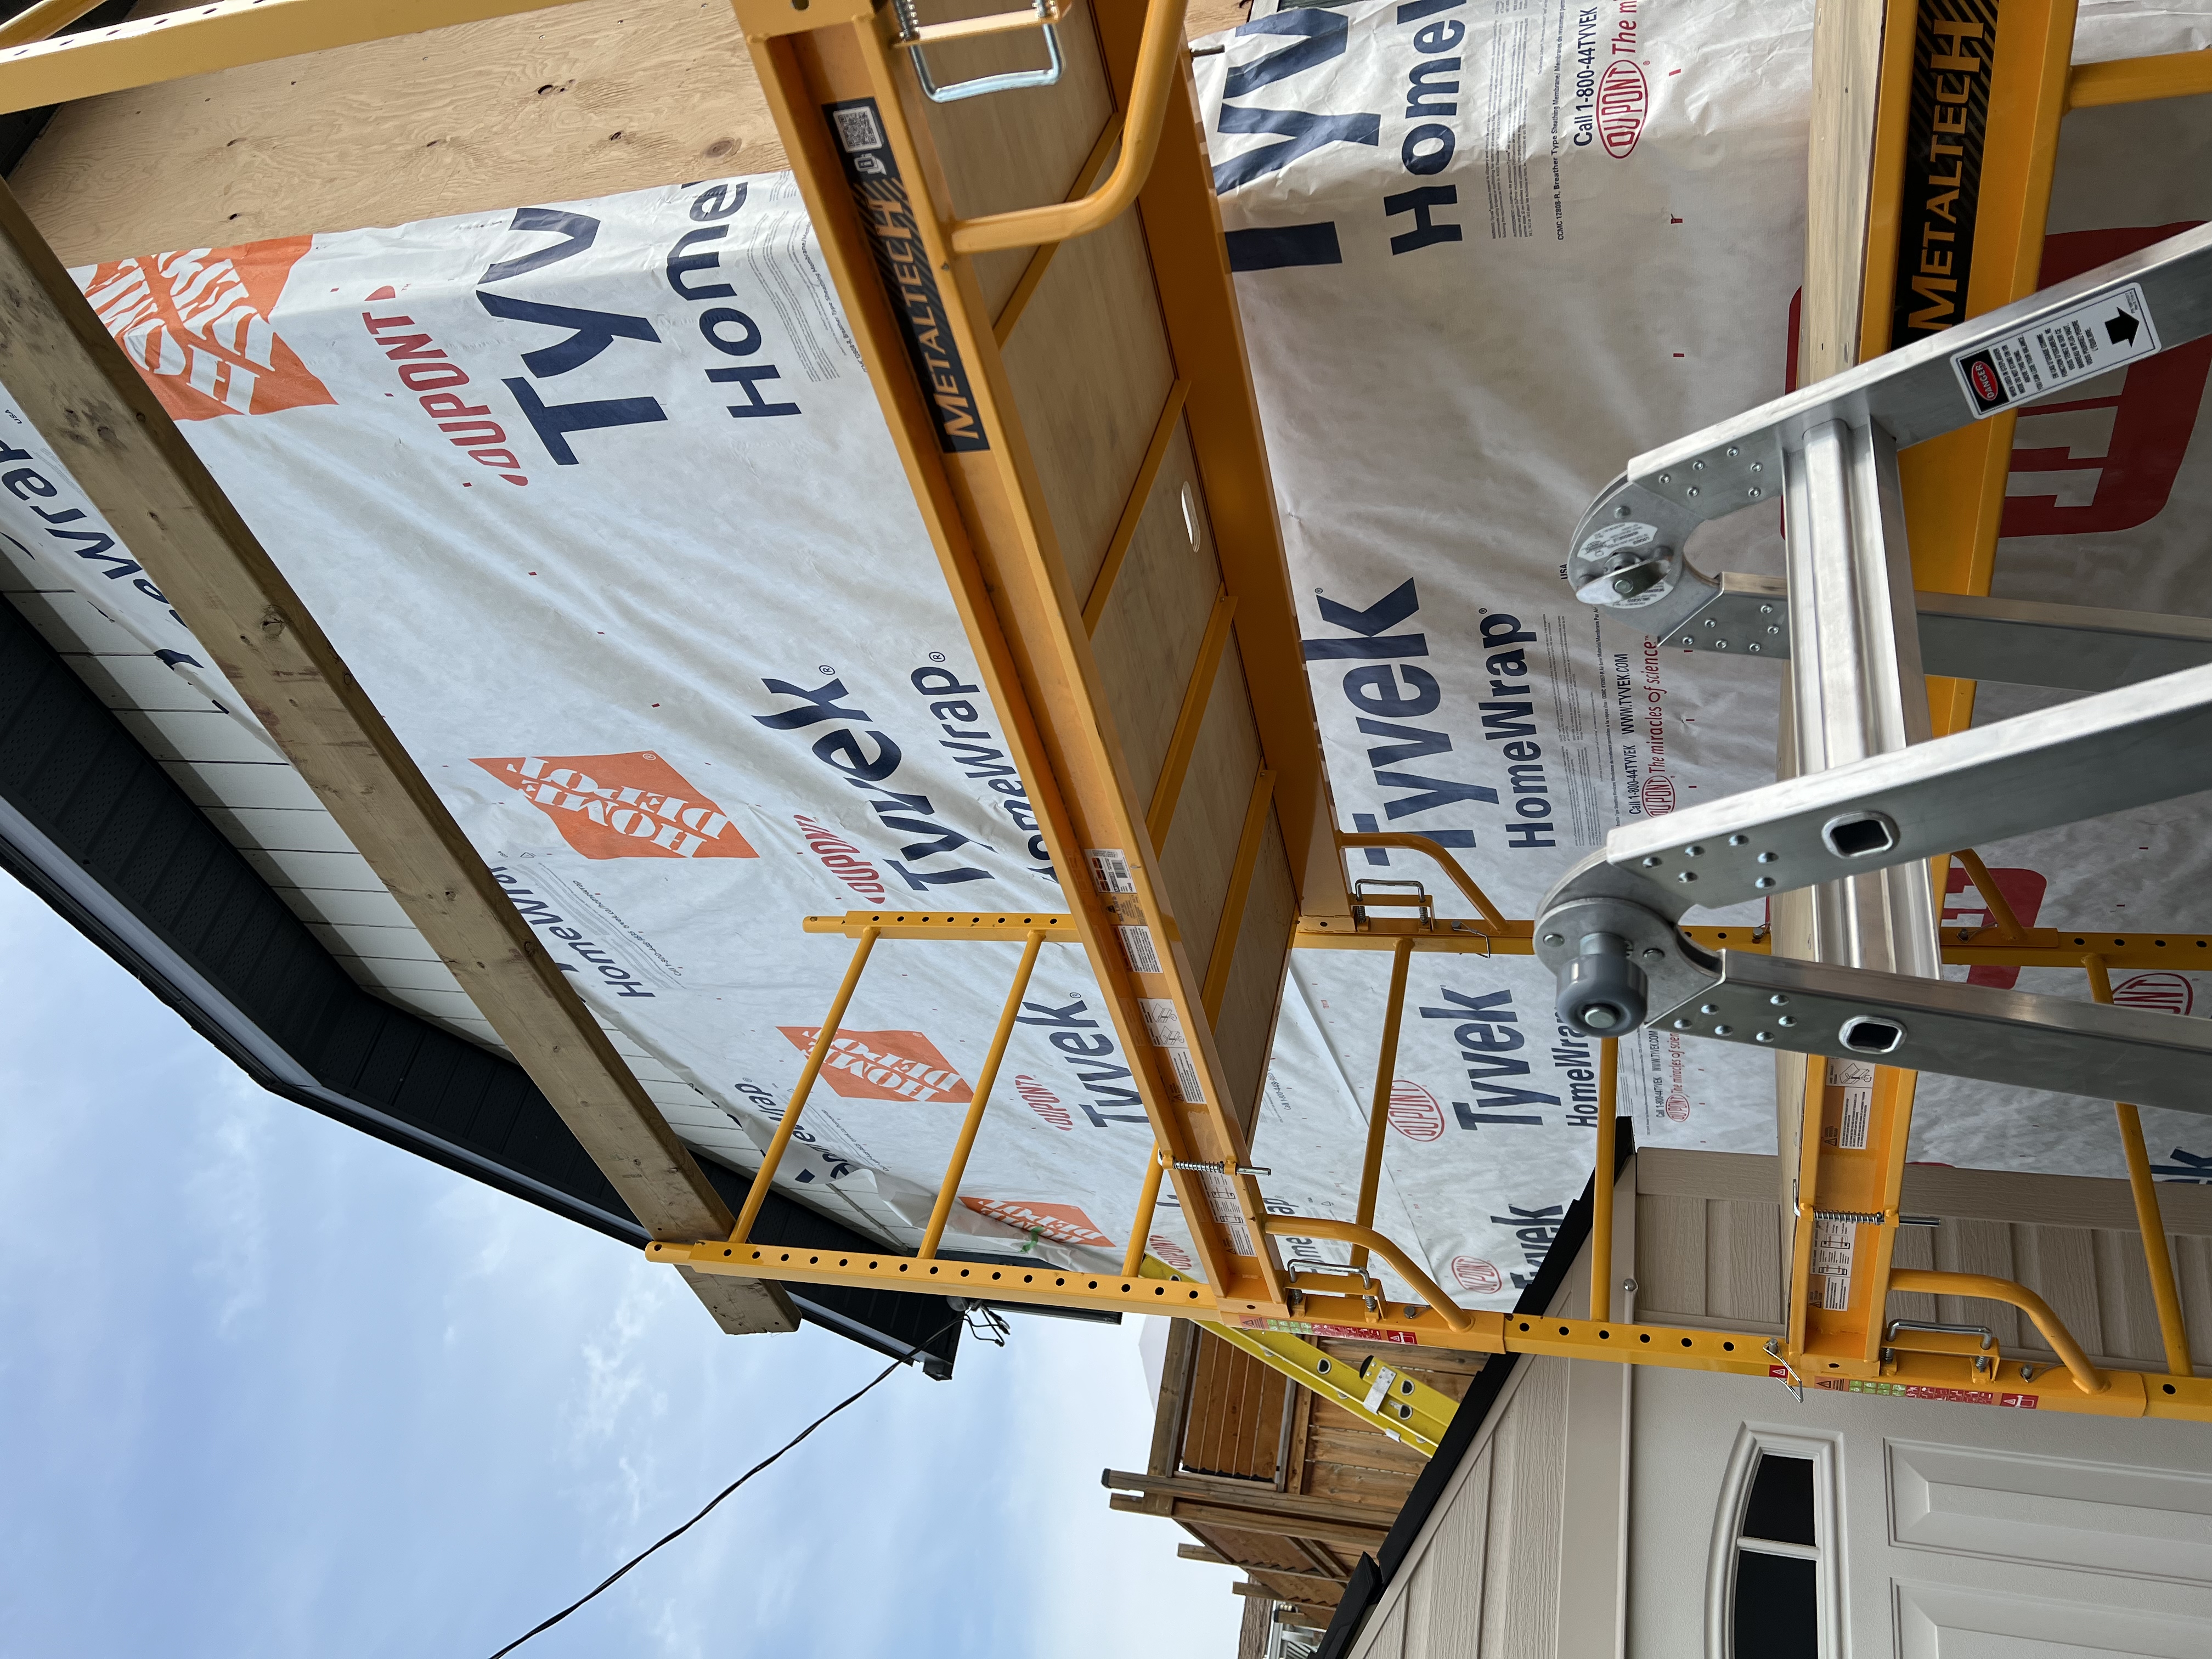
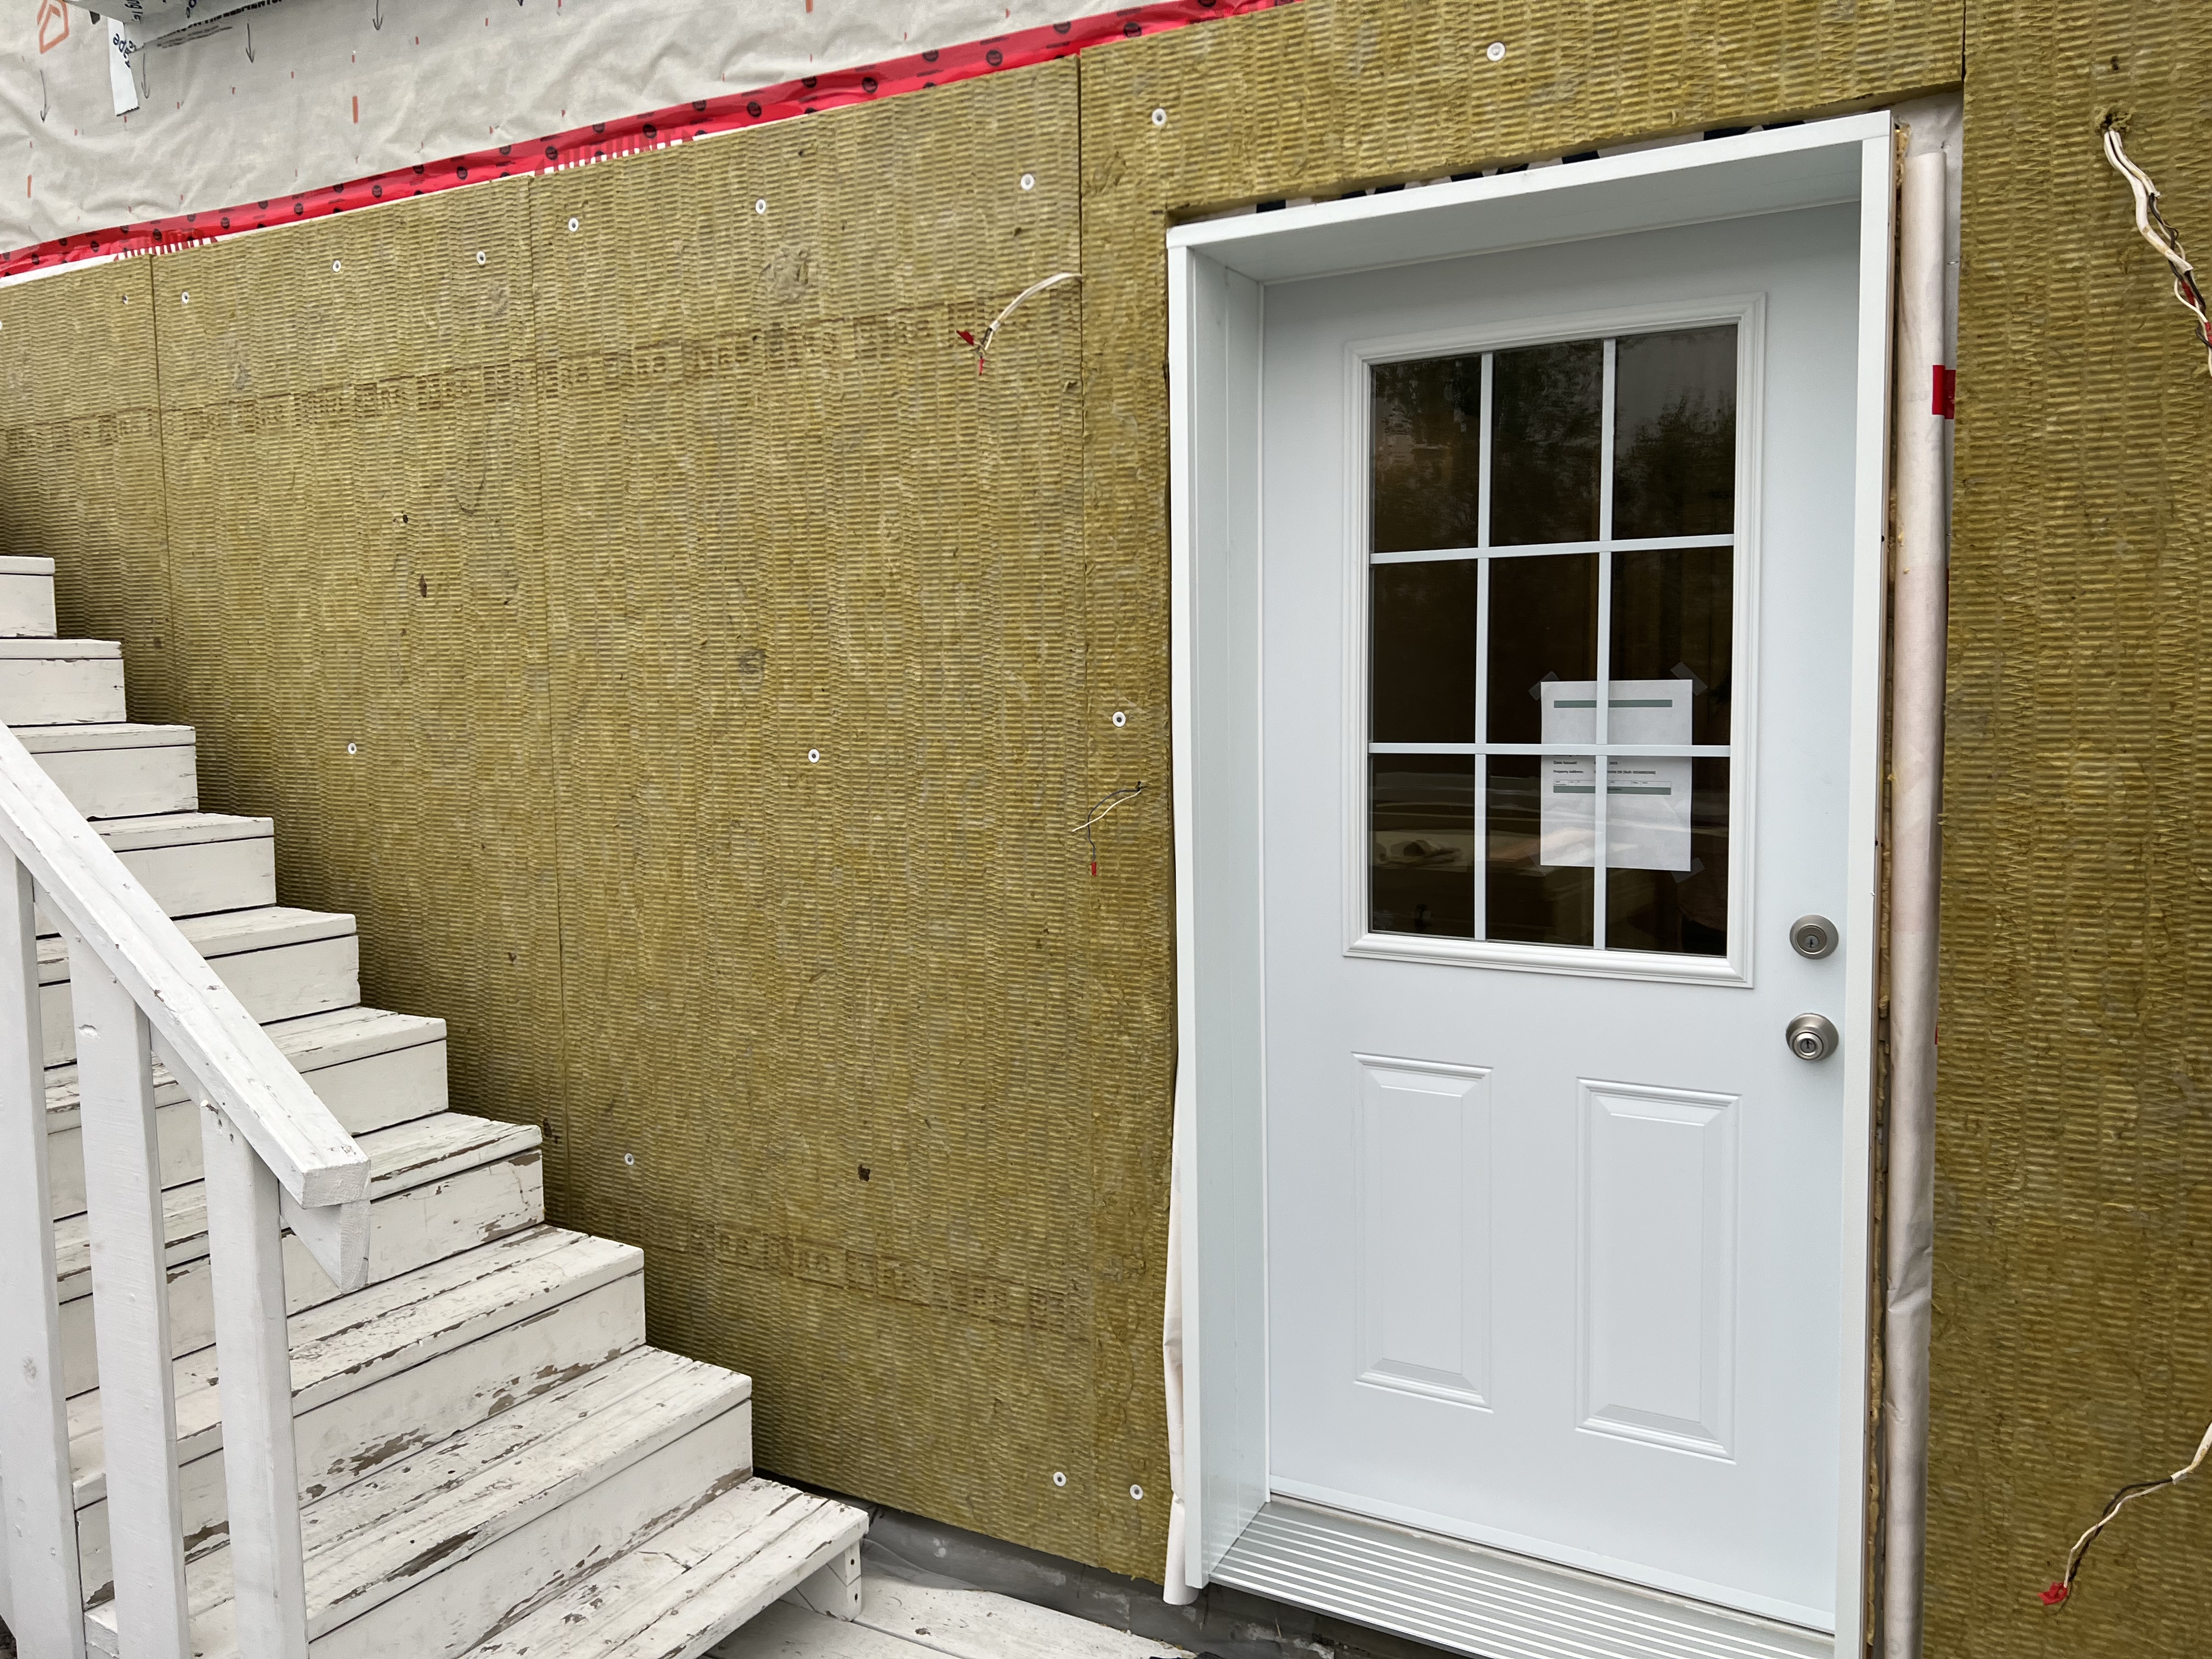
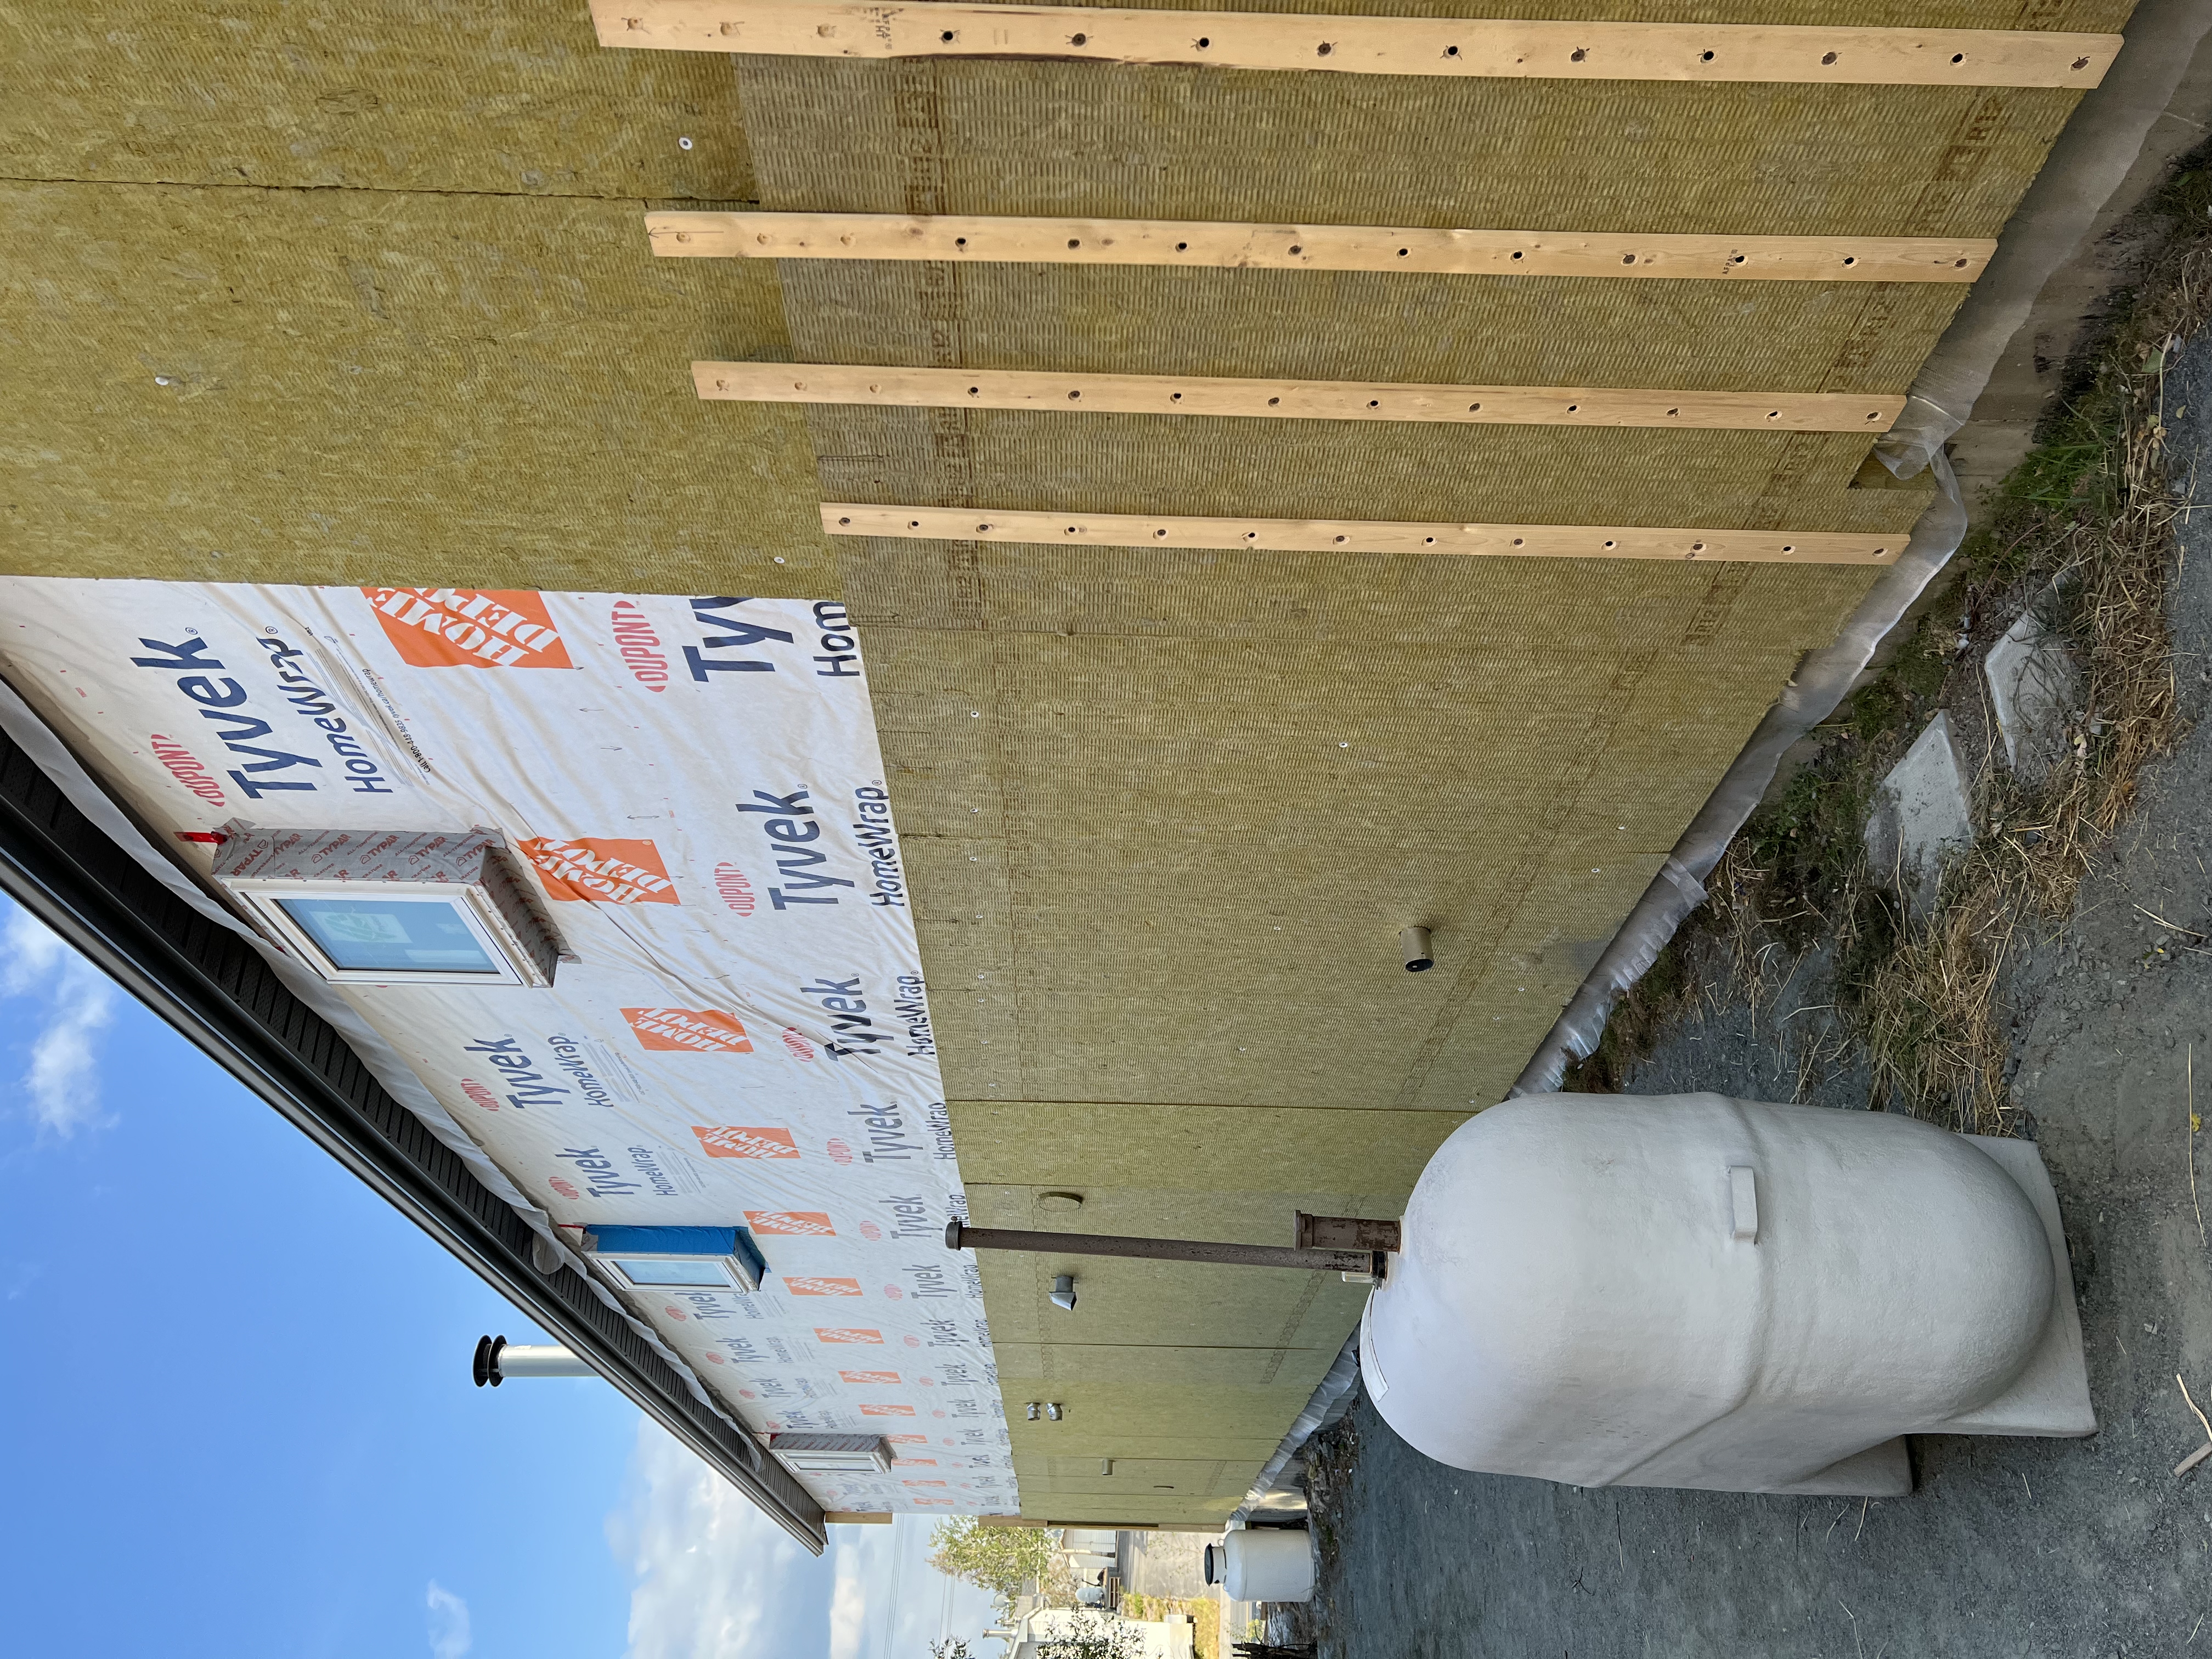
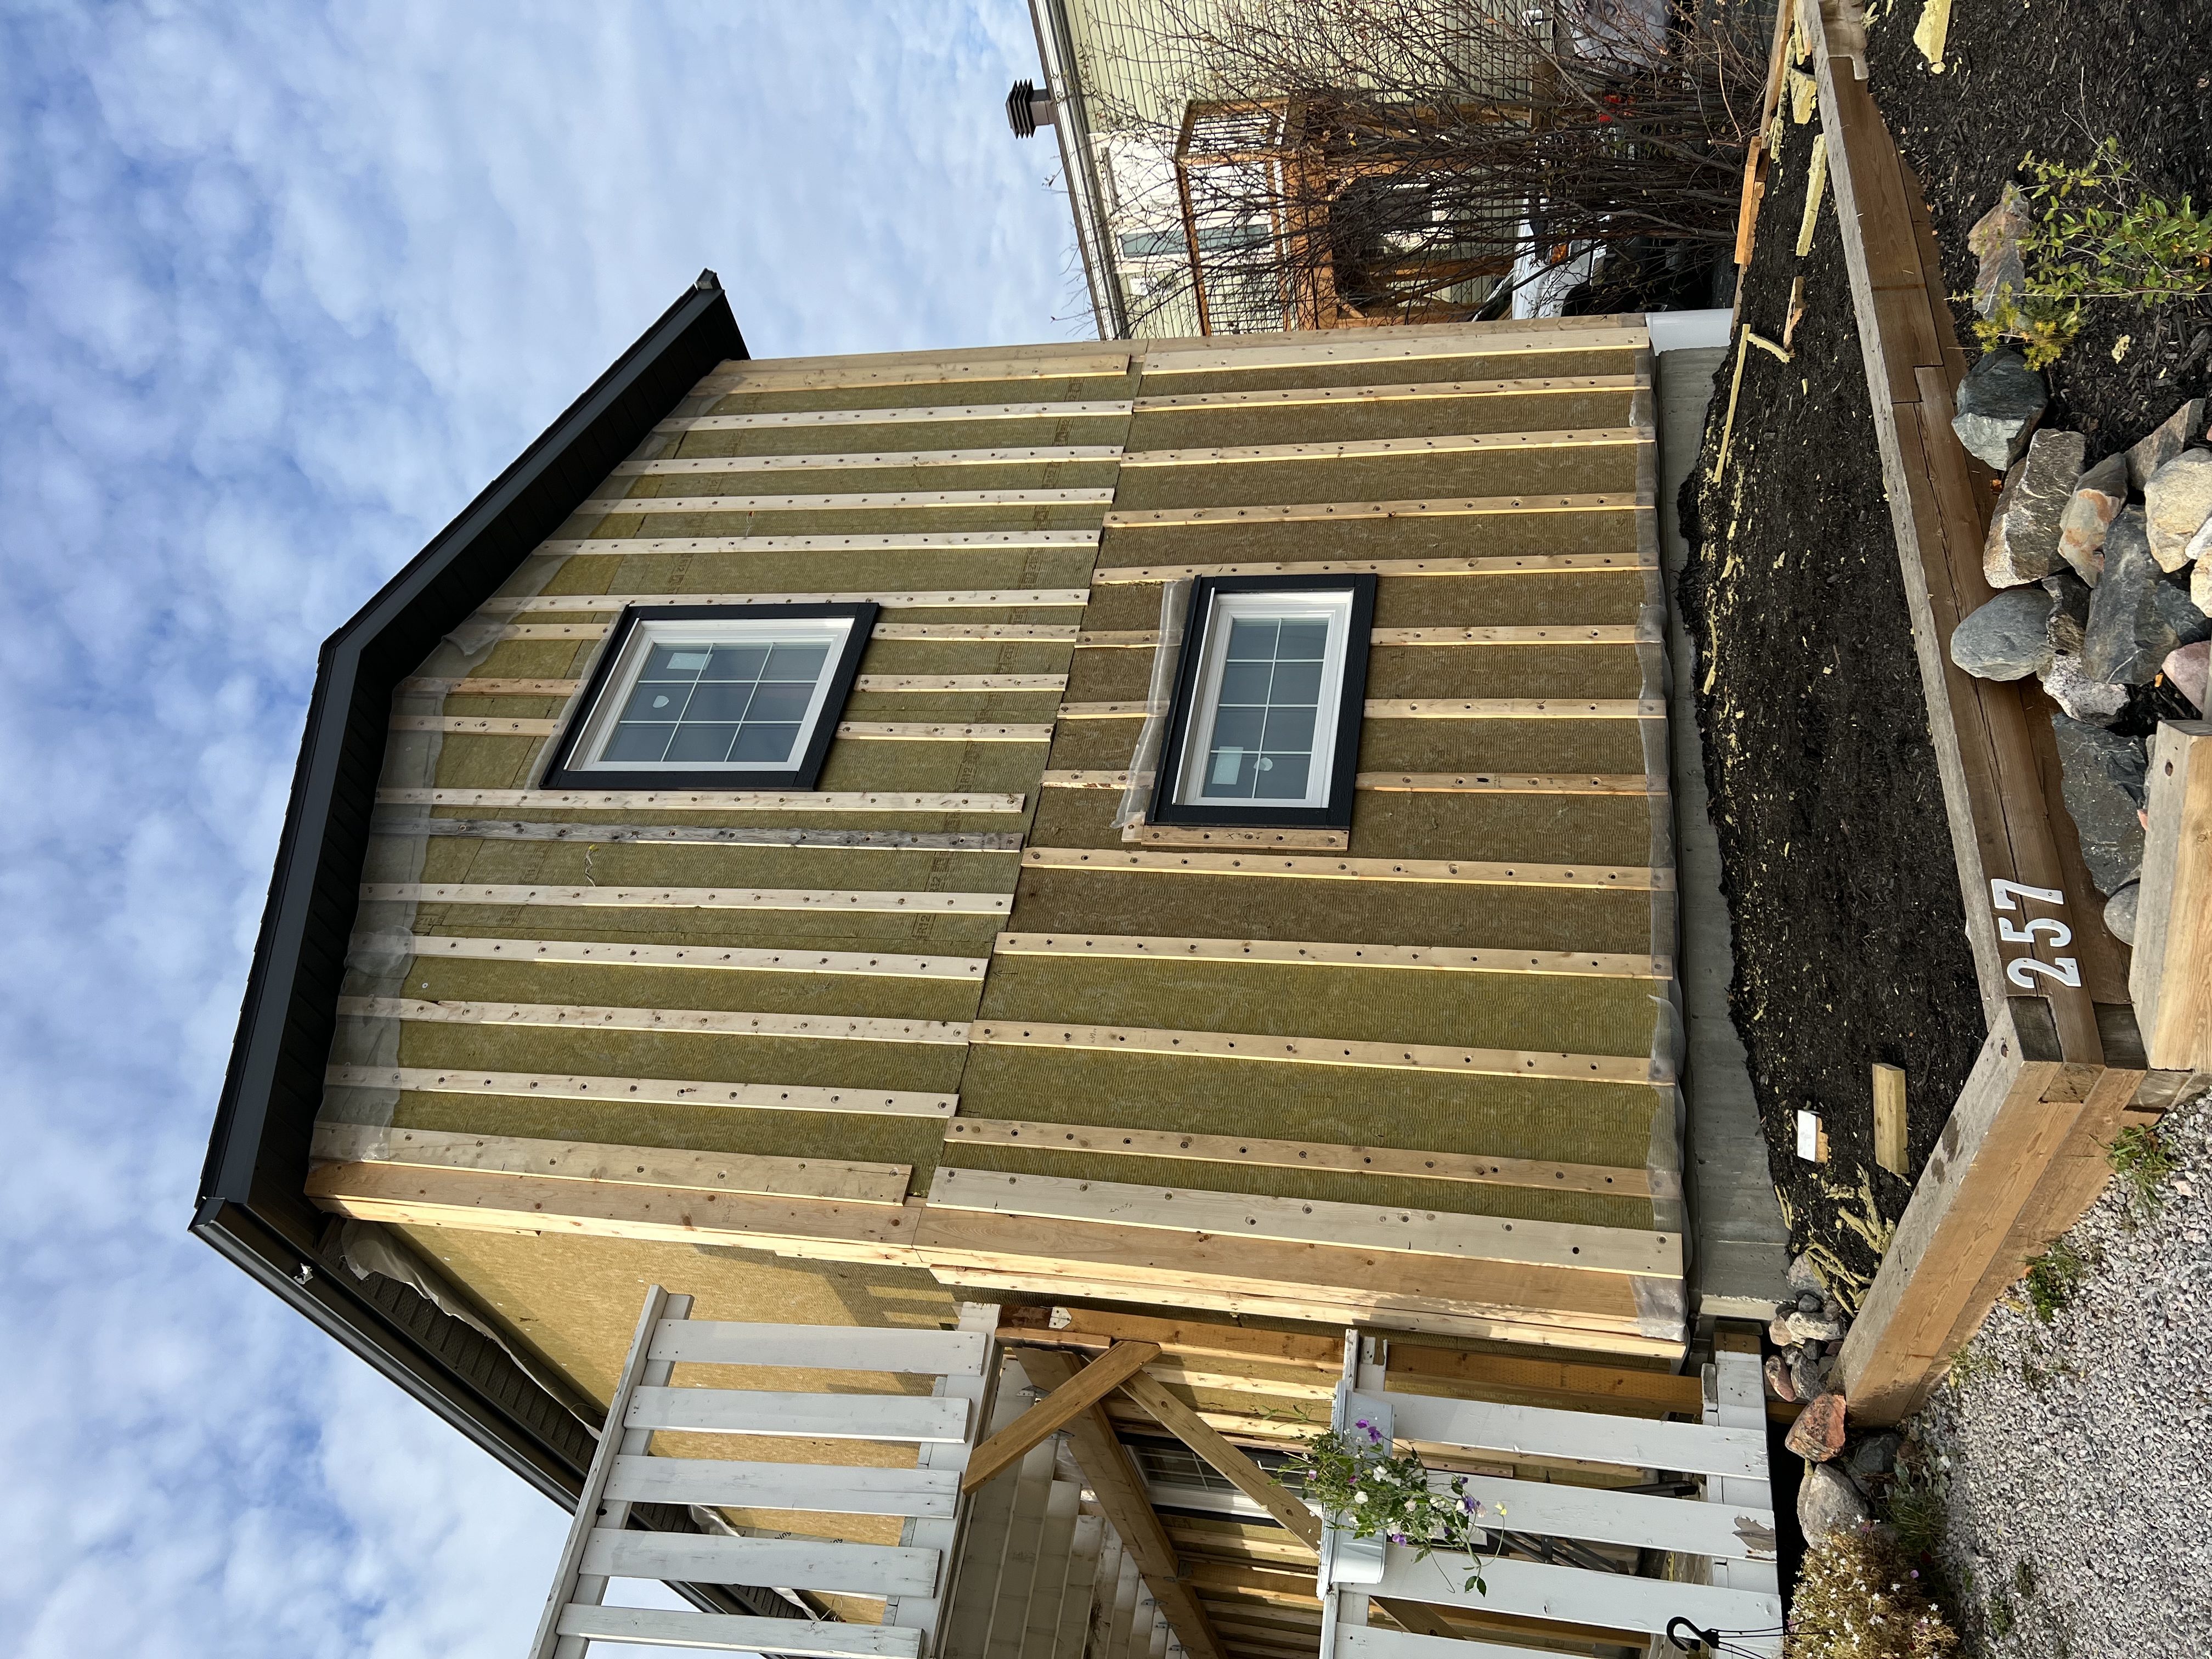
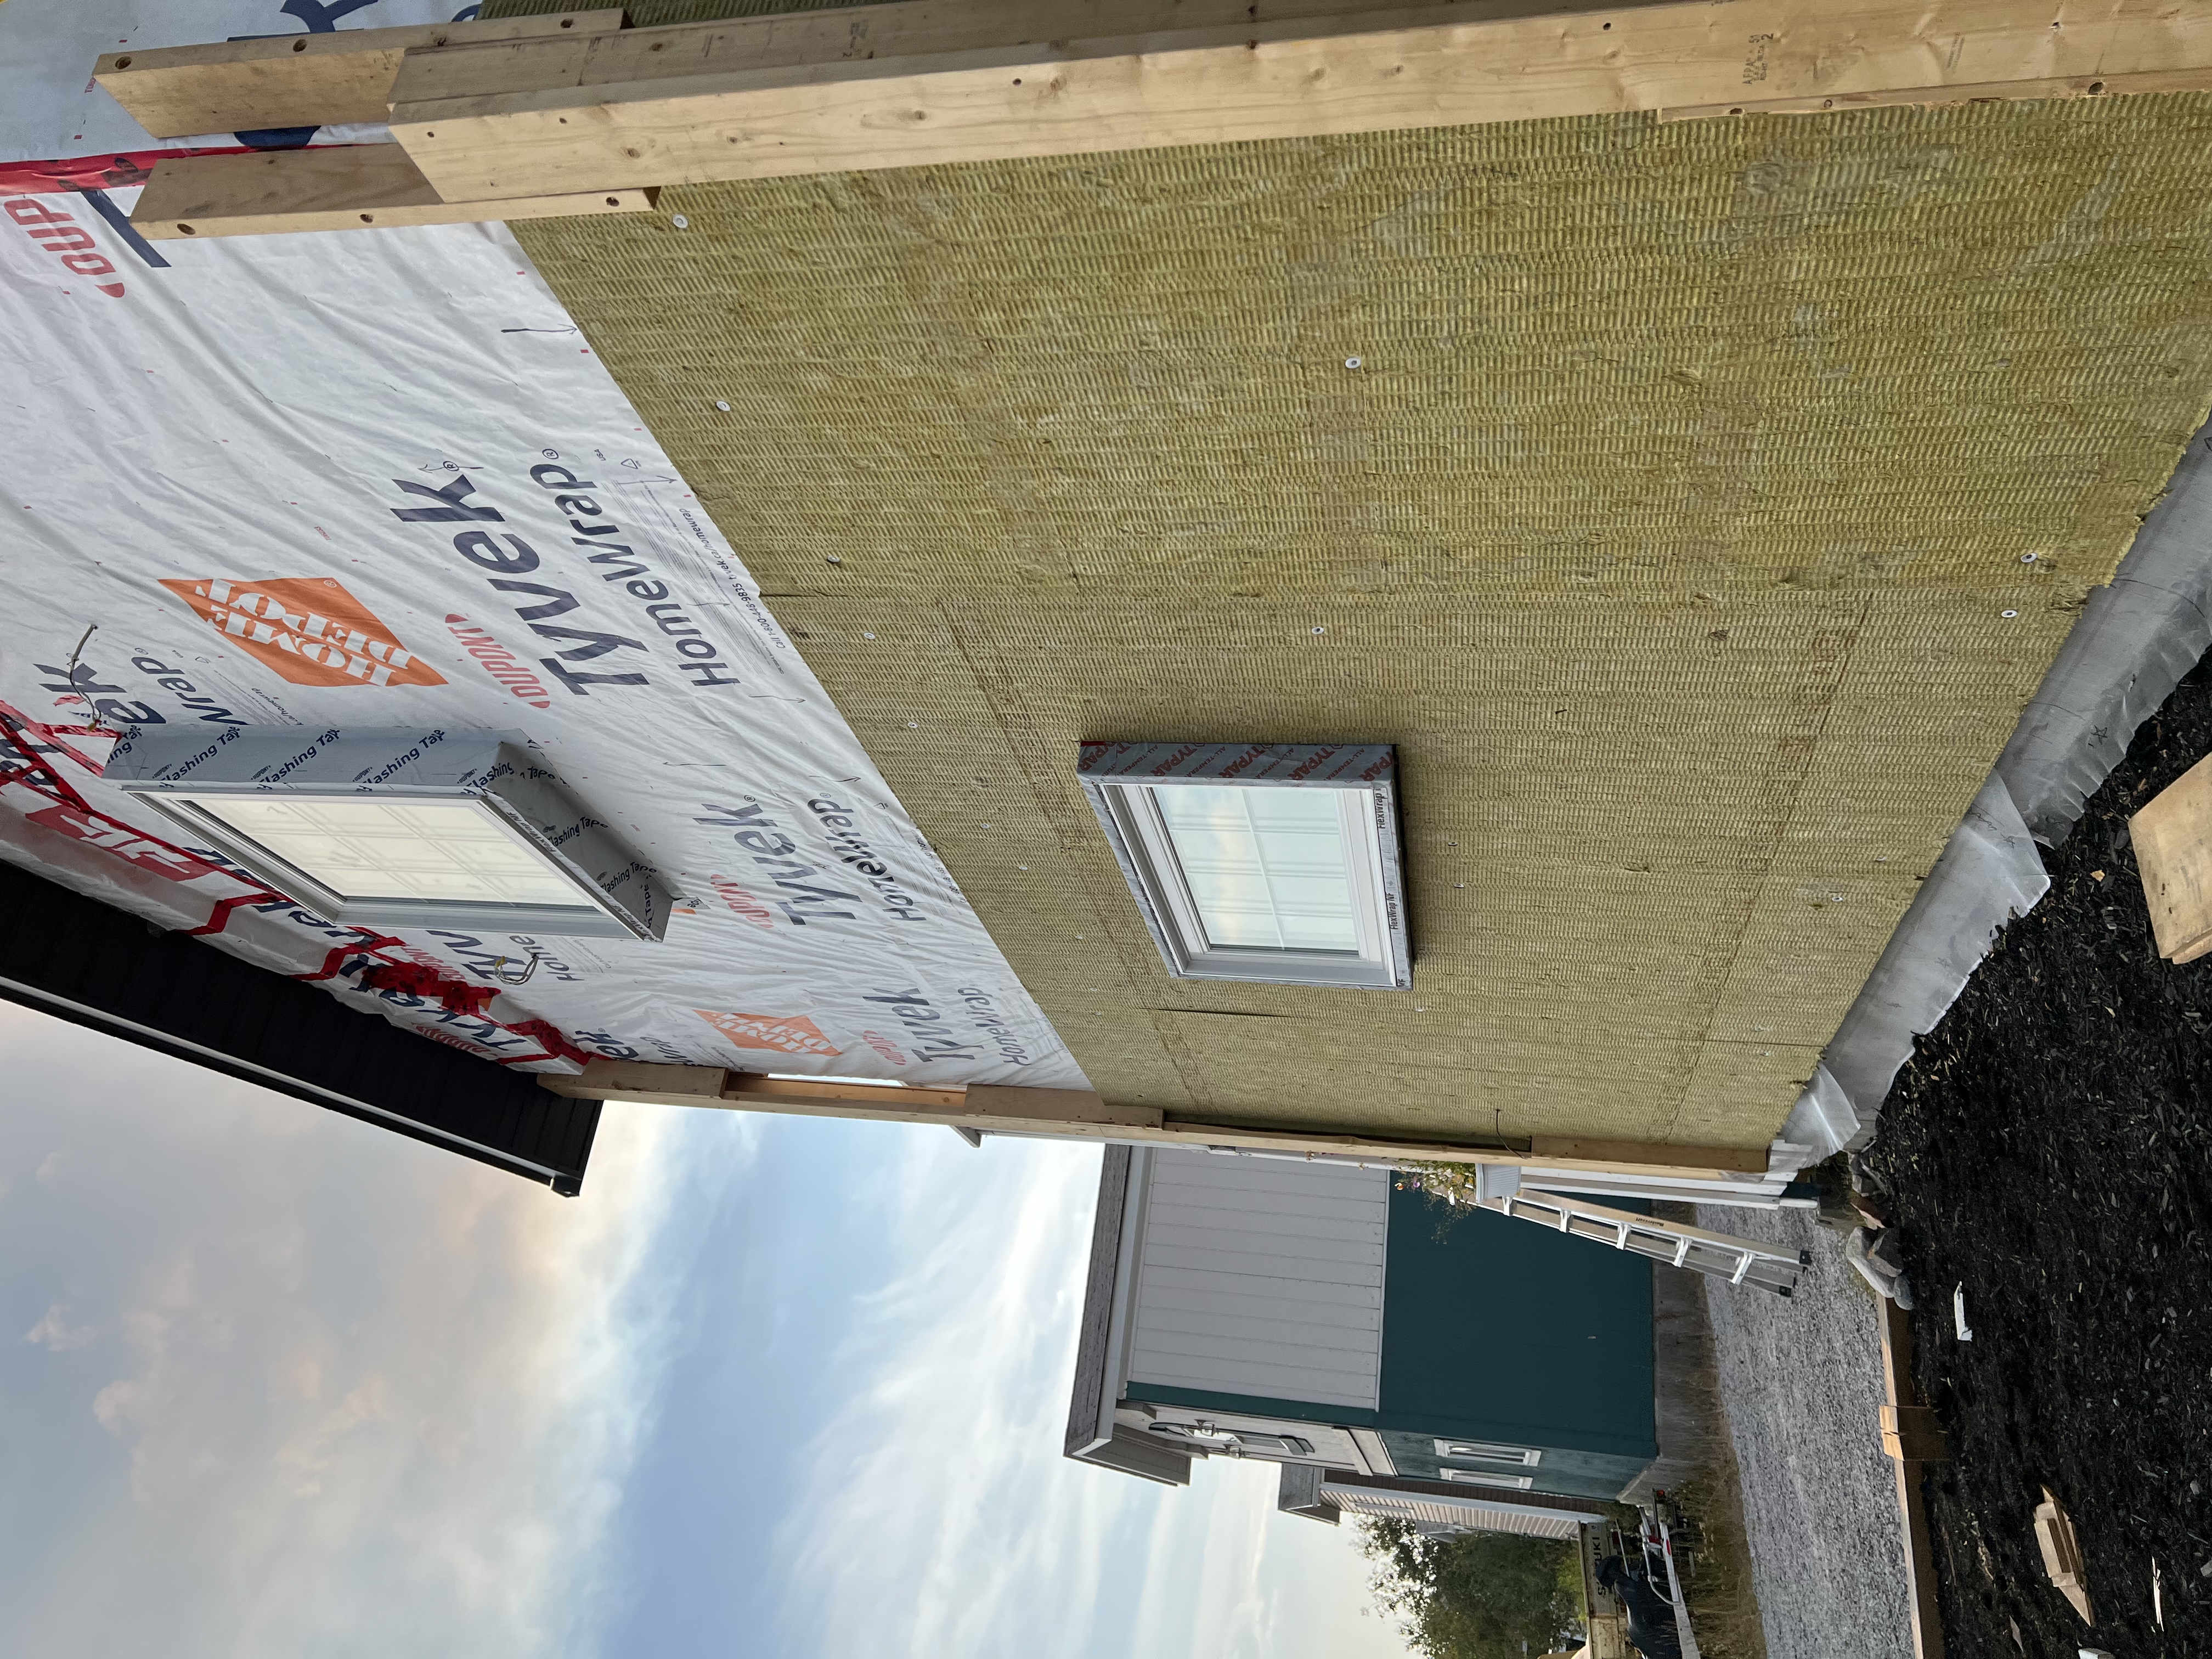
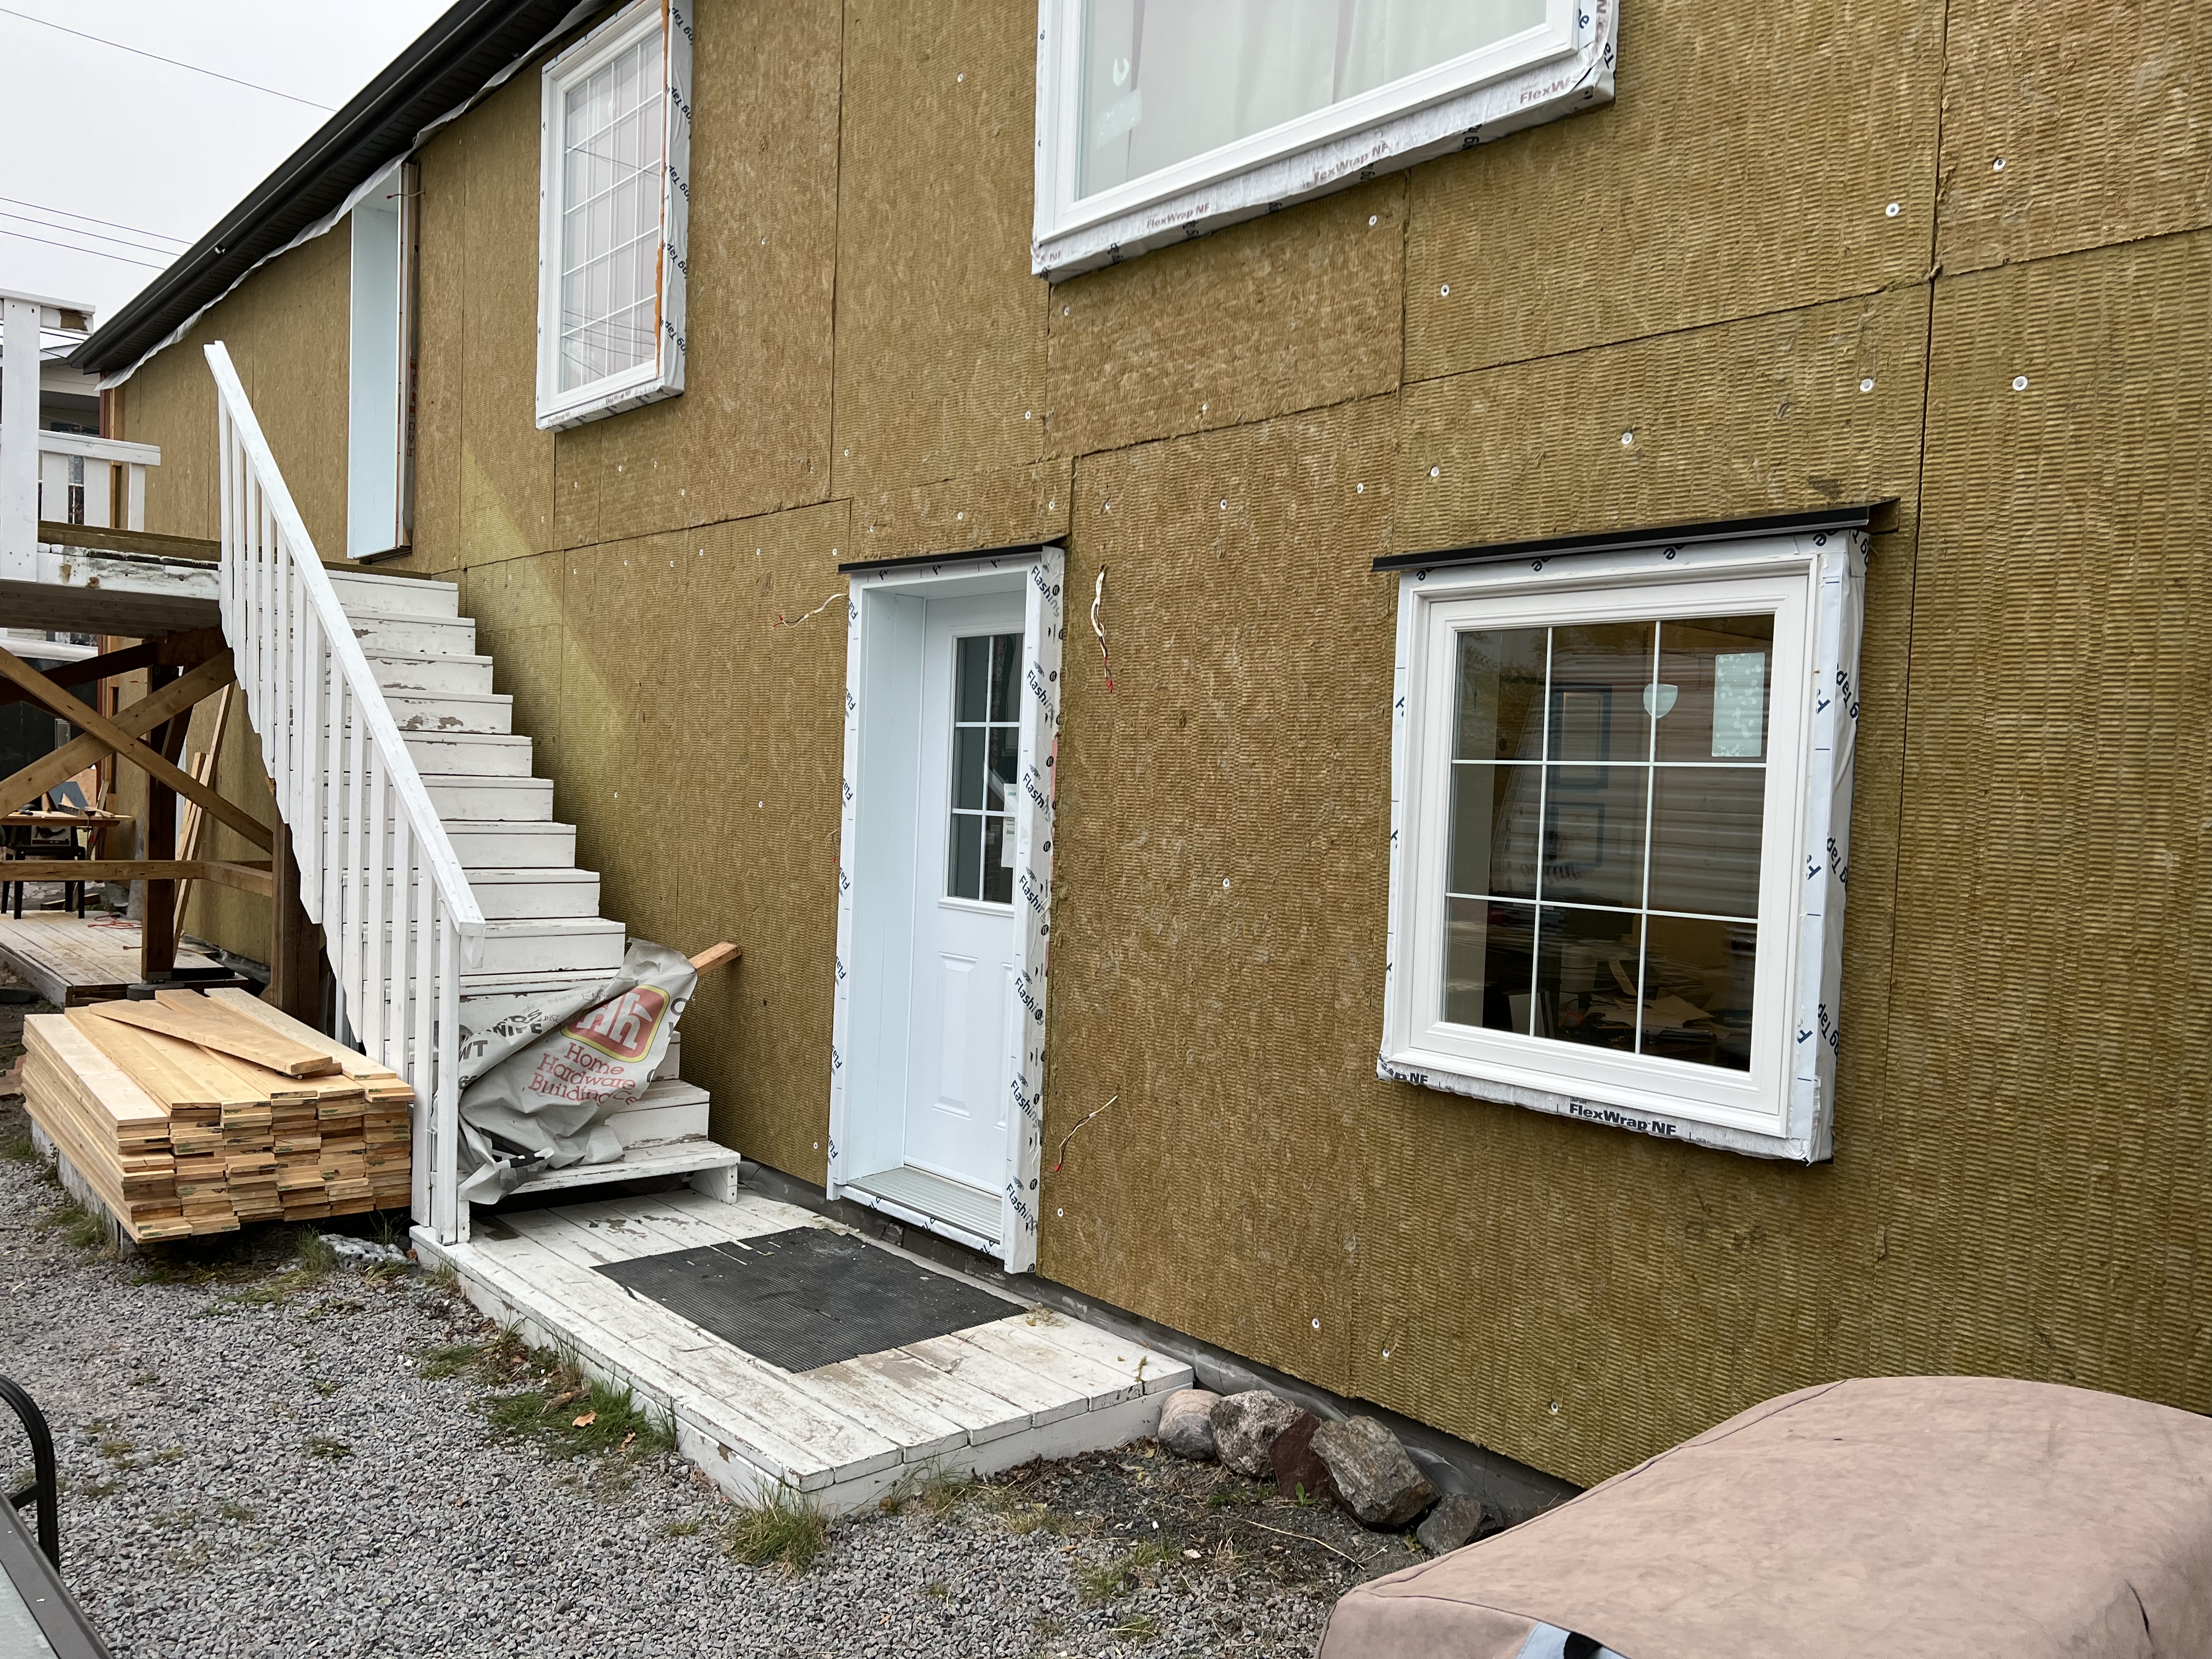
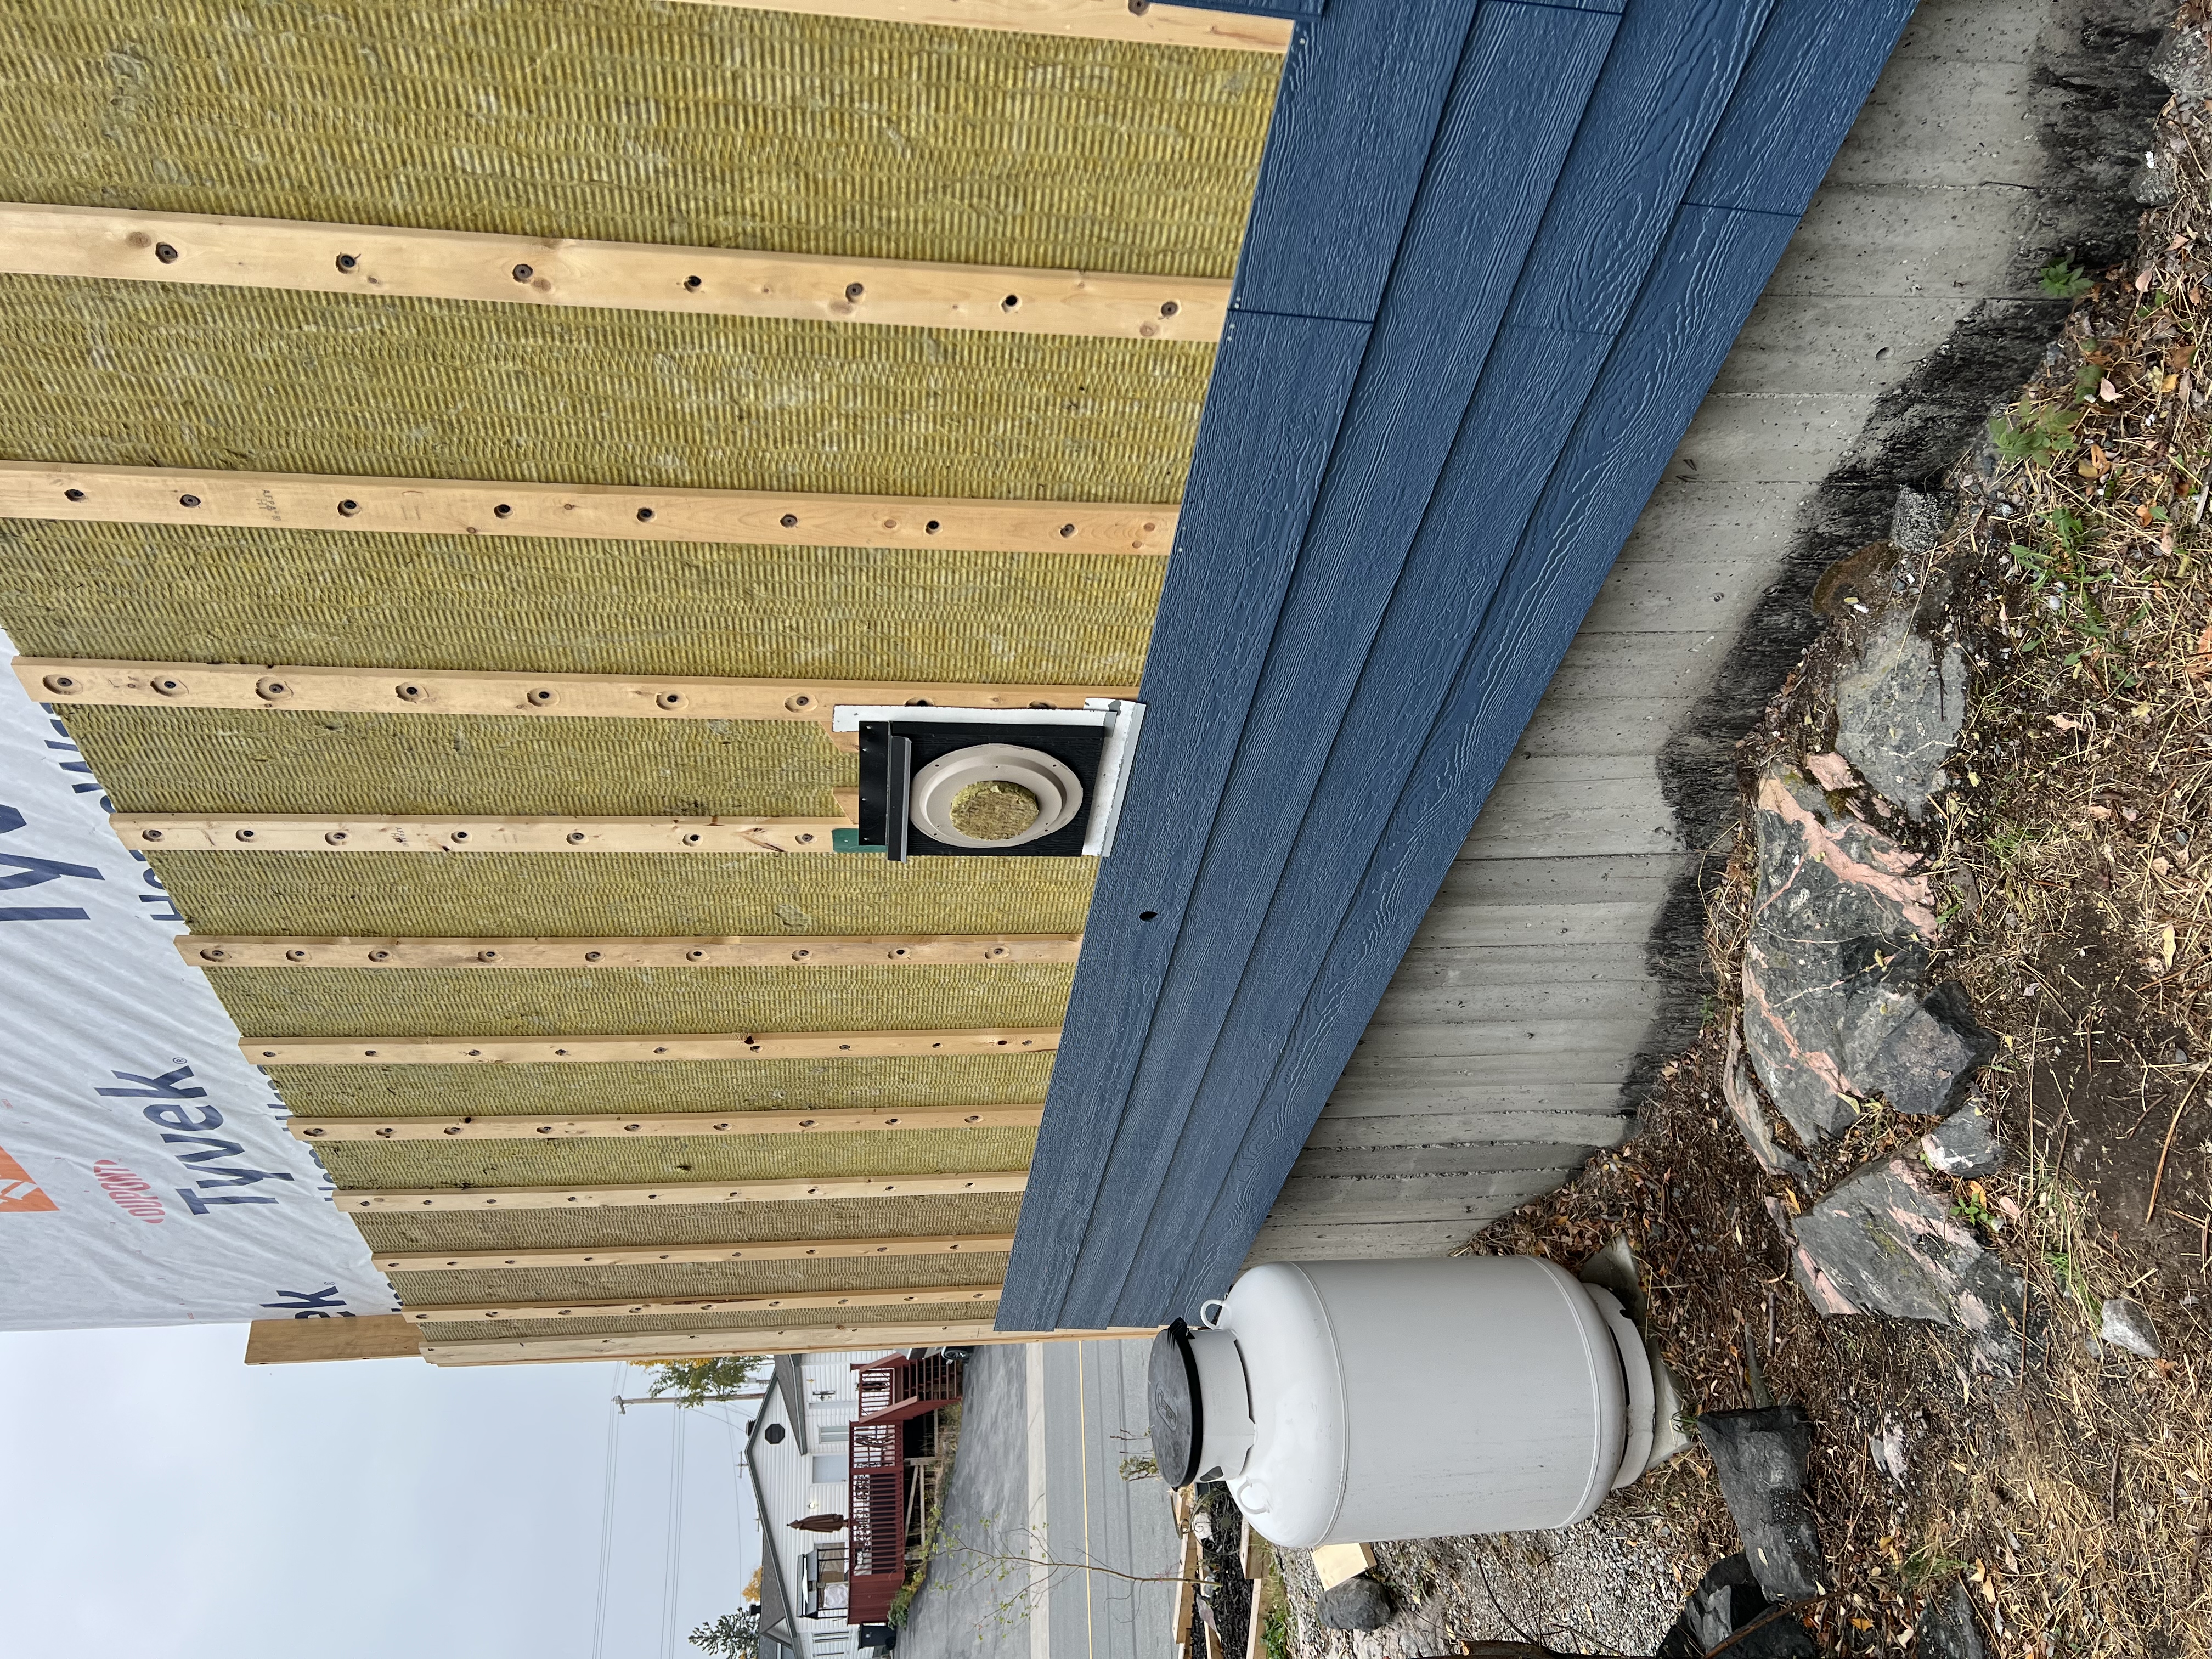
For the main walls, the family removed the existing patio, windows, siding, trim, plywood, and insulation to inspect the framing. The framing was replaced and reinforced as required, and air sealing on the existing vapour barrier was done by taping any holes that they found. The insulation and sheathing was then reinstalled, or replaced where rot or mold made this necessary. Pressure treated lumber was used in locations where it was suspected that moisture would accumulate more often, such as the mounting point for the electrical meter. The location of the studs were also marked on the sheathing so that the family could tie the strapping to the studs when installing the insulation later on. Tyvek was used as an air barrier over top of this existing sheathing layer, with overlapping allowances and taped seams. Insect screening was installed at the bottom of the wall to limit pest access to the old and new wall systems. To accommodate the insulation board, the family extended the window frames and house corners out 6” with wood framing. They installed flashing on the window frames, and installed 5" of Rockwool Comfortboard 80, in two layers. The first layer was 2” thick and was secured with nails with plastic washers to the sheathing. The second layer was 3" thick and secured with wood strapping with predrilled holes for recessed screw heads. The second layer of insulation was staggered over the seams of the first layer to prevent thermal bridging. The strapping also created an air gap between the insulation and the cladding where moisture will be able to drain away. Another insect barrier was installed under the air gap to prevent pests from entering the wall system. The existing windows were upgraded to high efficiency windows, one external doorway was converted to a window, and an additional window was added to increase light into the living space. Two of the three remaining doors were also replaced with high efficiency models. Wood siding and trim was used give the home a refreshed finish.
Accessing the necessary supplies was a major challenge for this project. It was possible to purchase some of the supplies locally, but the family needed to purchase many of the supplies elsewhere. To do this they took two road trips down to Edmonton, Alberta.
Lessons Learned
There are different sizes of the Rockwool insulation board. The family would recommend the large sized board for insulating the main floor, and then smaller boards on the second floor if your building has multiple stories. The large board is more efficient to install on the ground floor, where having multiple people hold the board in place and secure it is a straight forward process. When trying to install this larger board on ladders and scaffolding though, it can be more difficult to manage, and work can become dangerous if there is wind while using the larger boards on a ladder. For these reasons smaller boards become more efficient to install on upper levels.
The family found that timing the installation of the insulation board and cladding can be important, as bird like to peck into the insulation boards if they are left exposed. The birds tend to do the most damage if they have a place to perch and access the exposed insulation, so it is particularly important to start and finish siding installation on one wall in the same day, otherwise the siding itself provides a ledge for the birds to sit on. If the insulation is left entirely exposed, the only ledges the birds have to sit on are the window sills and the damage is more limited. The insulation board is relativley easy to patch, but it is worth planning on finishing the siding in the same session, and having tools and materials nearby at the beginning of the installation.
The family appreciated their choice in wood siding when they were installing it in the winter months. Some of the family’s neighbors were trying to install vinyl siding on their own homes around the same time, and they had to stop because the siding was too brittle and prone to breaking in the winter cold.
Before & After
General |
Envelope |
Mechanical & Electrical |
Annual Energy Usage |
Carbon Emissions |
Technical Documents
Photos
Pre Retrofit
During Construction

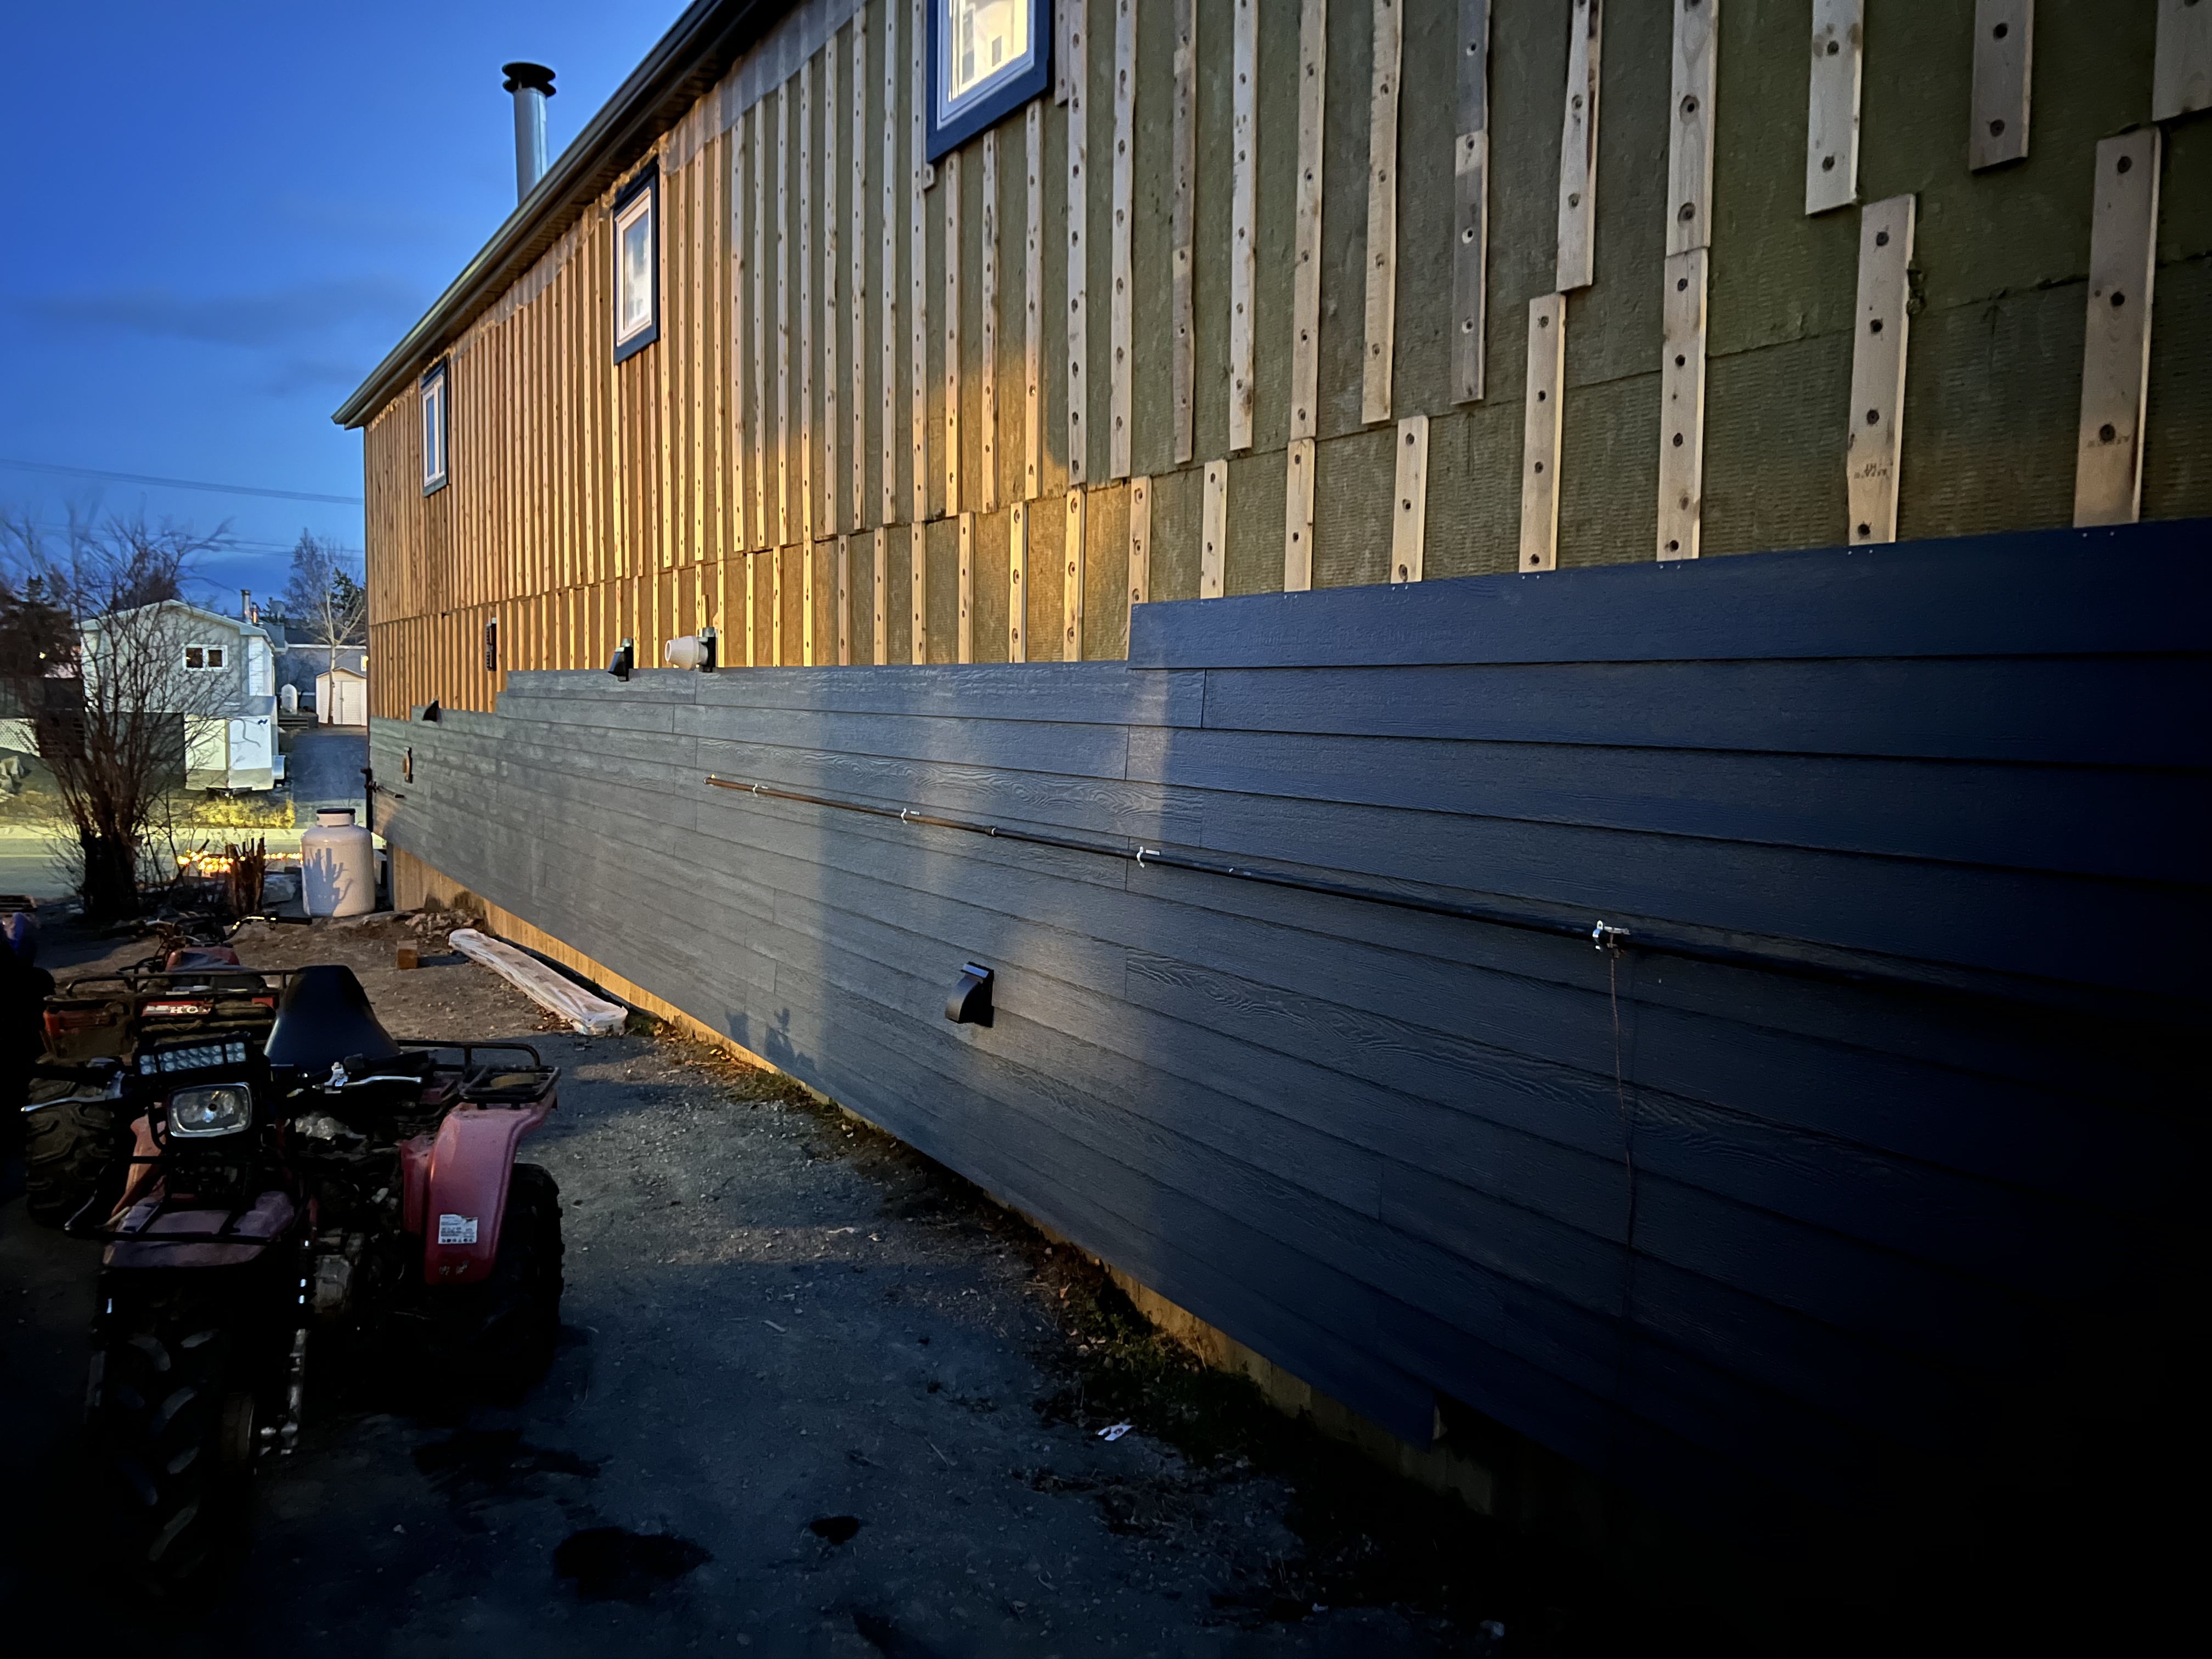
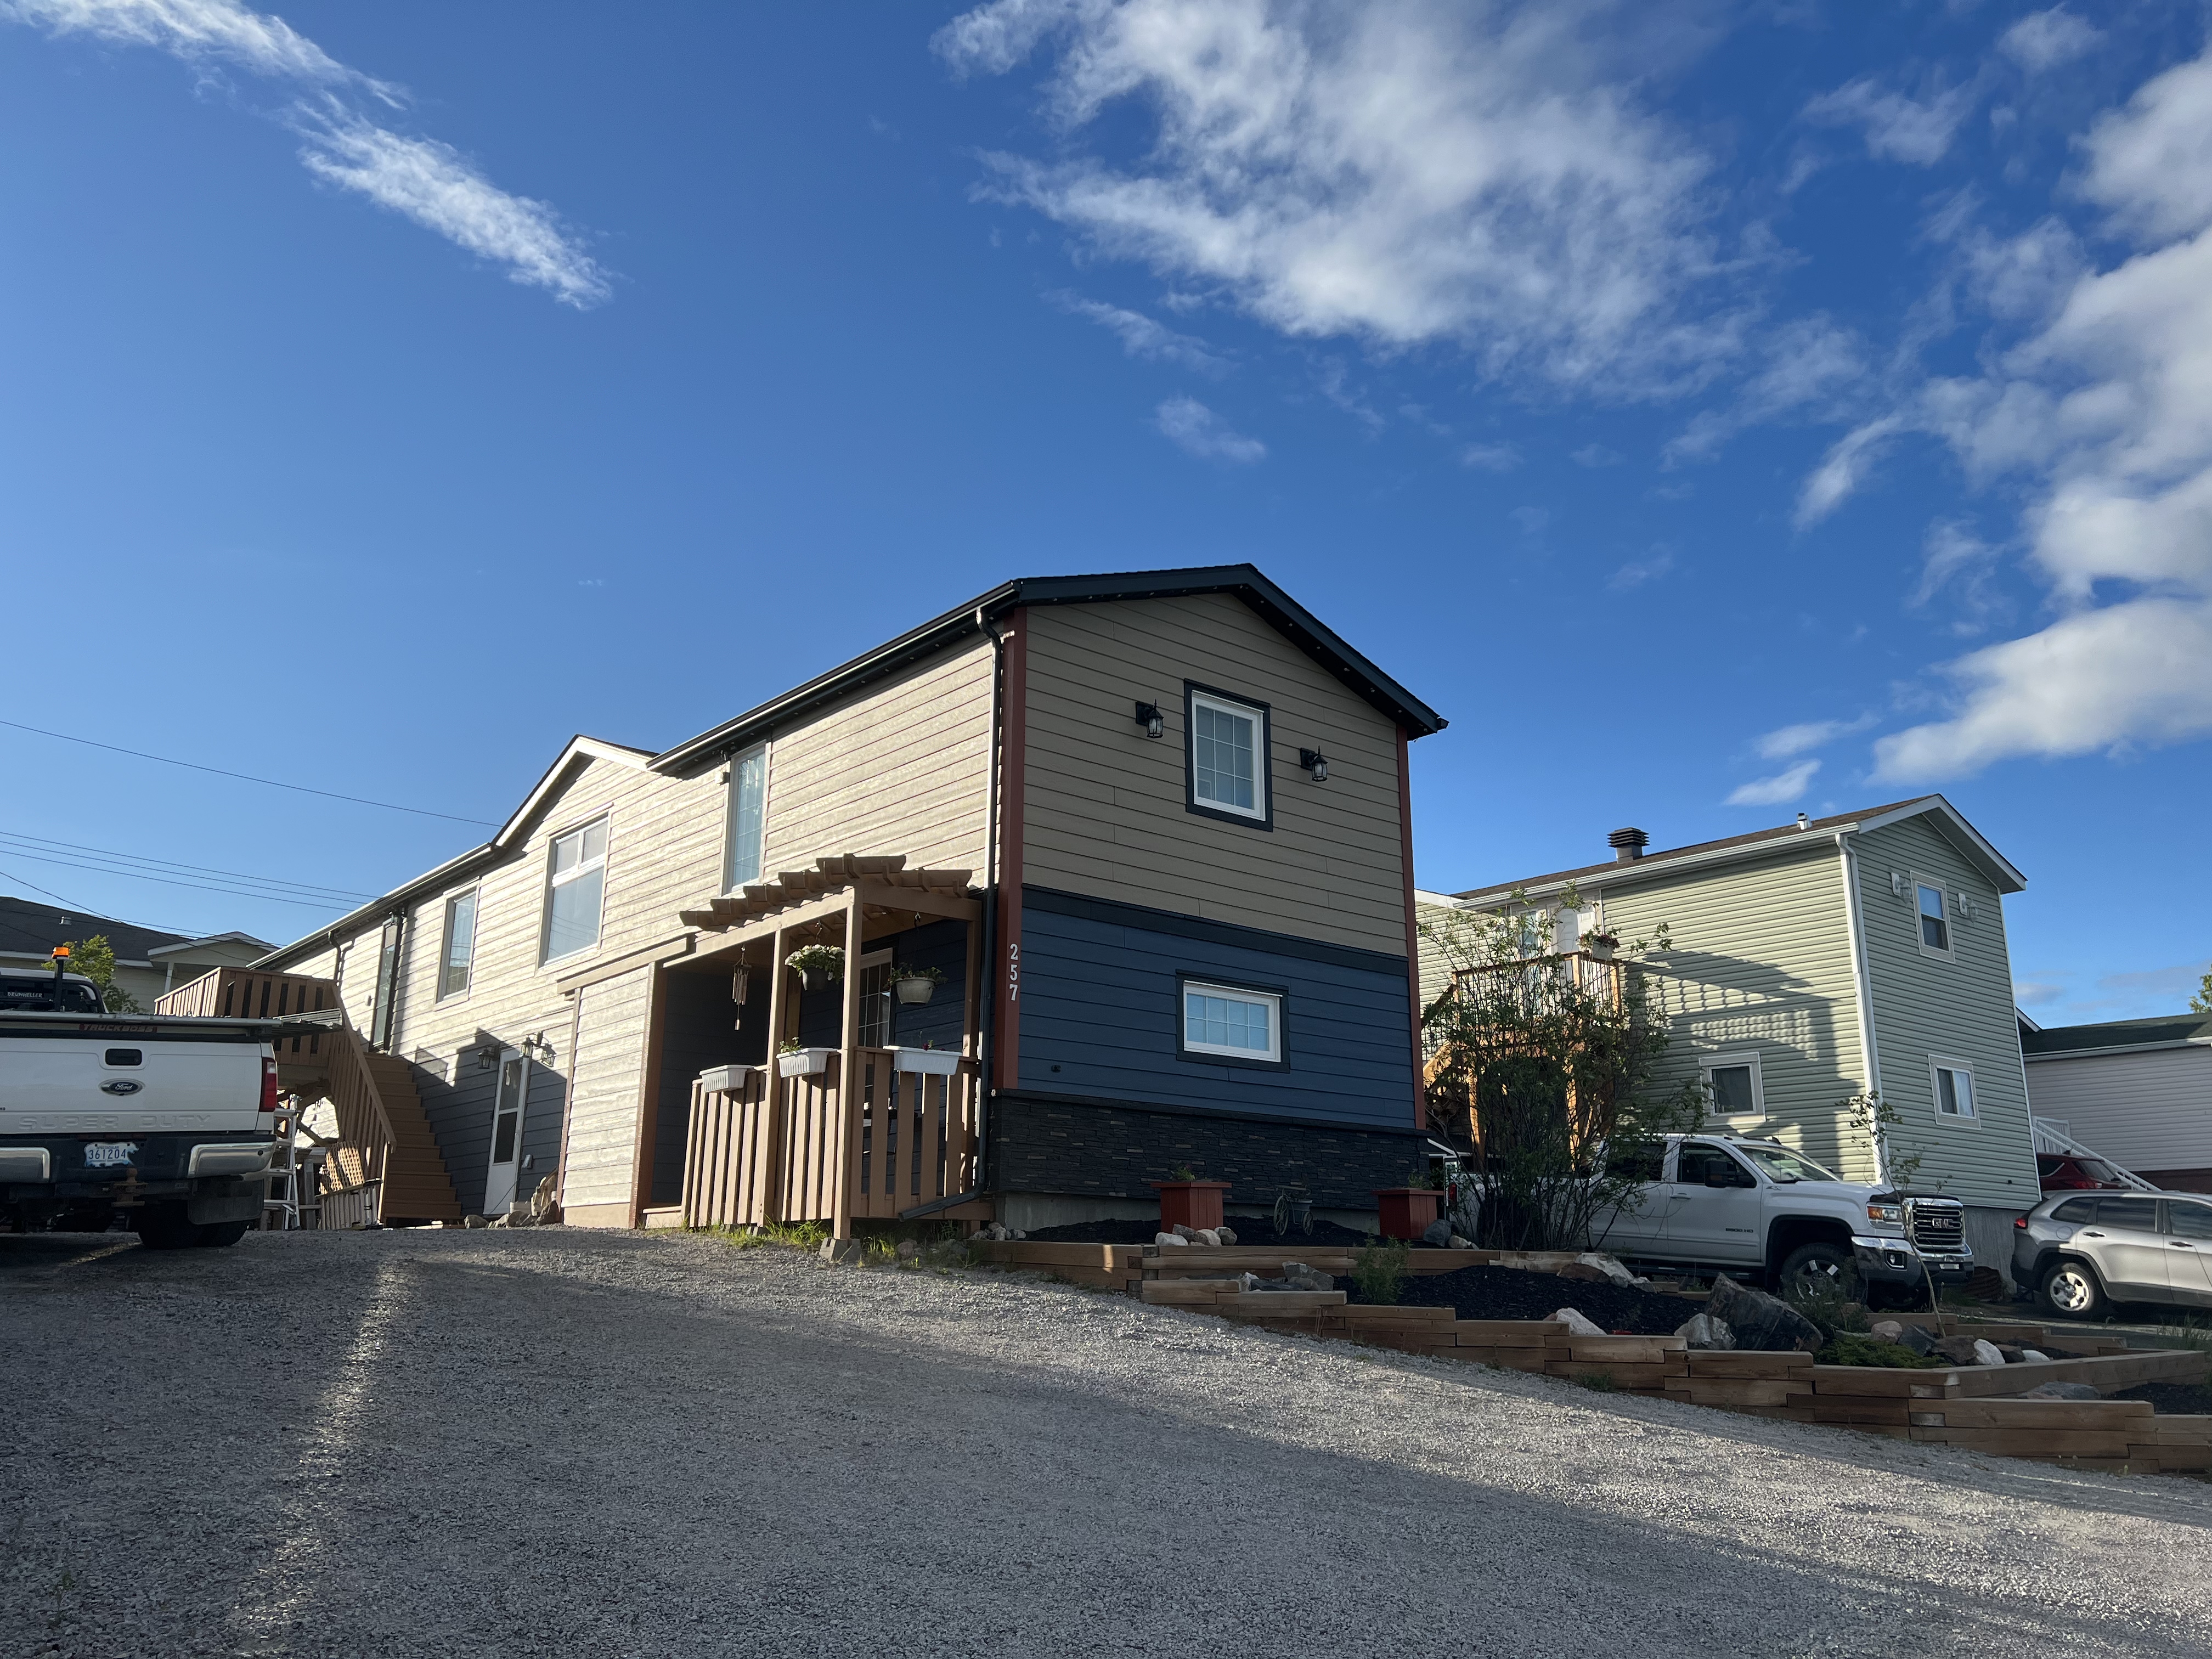
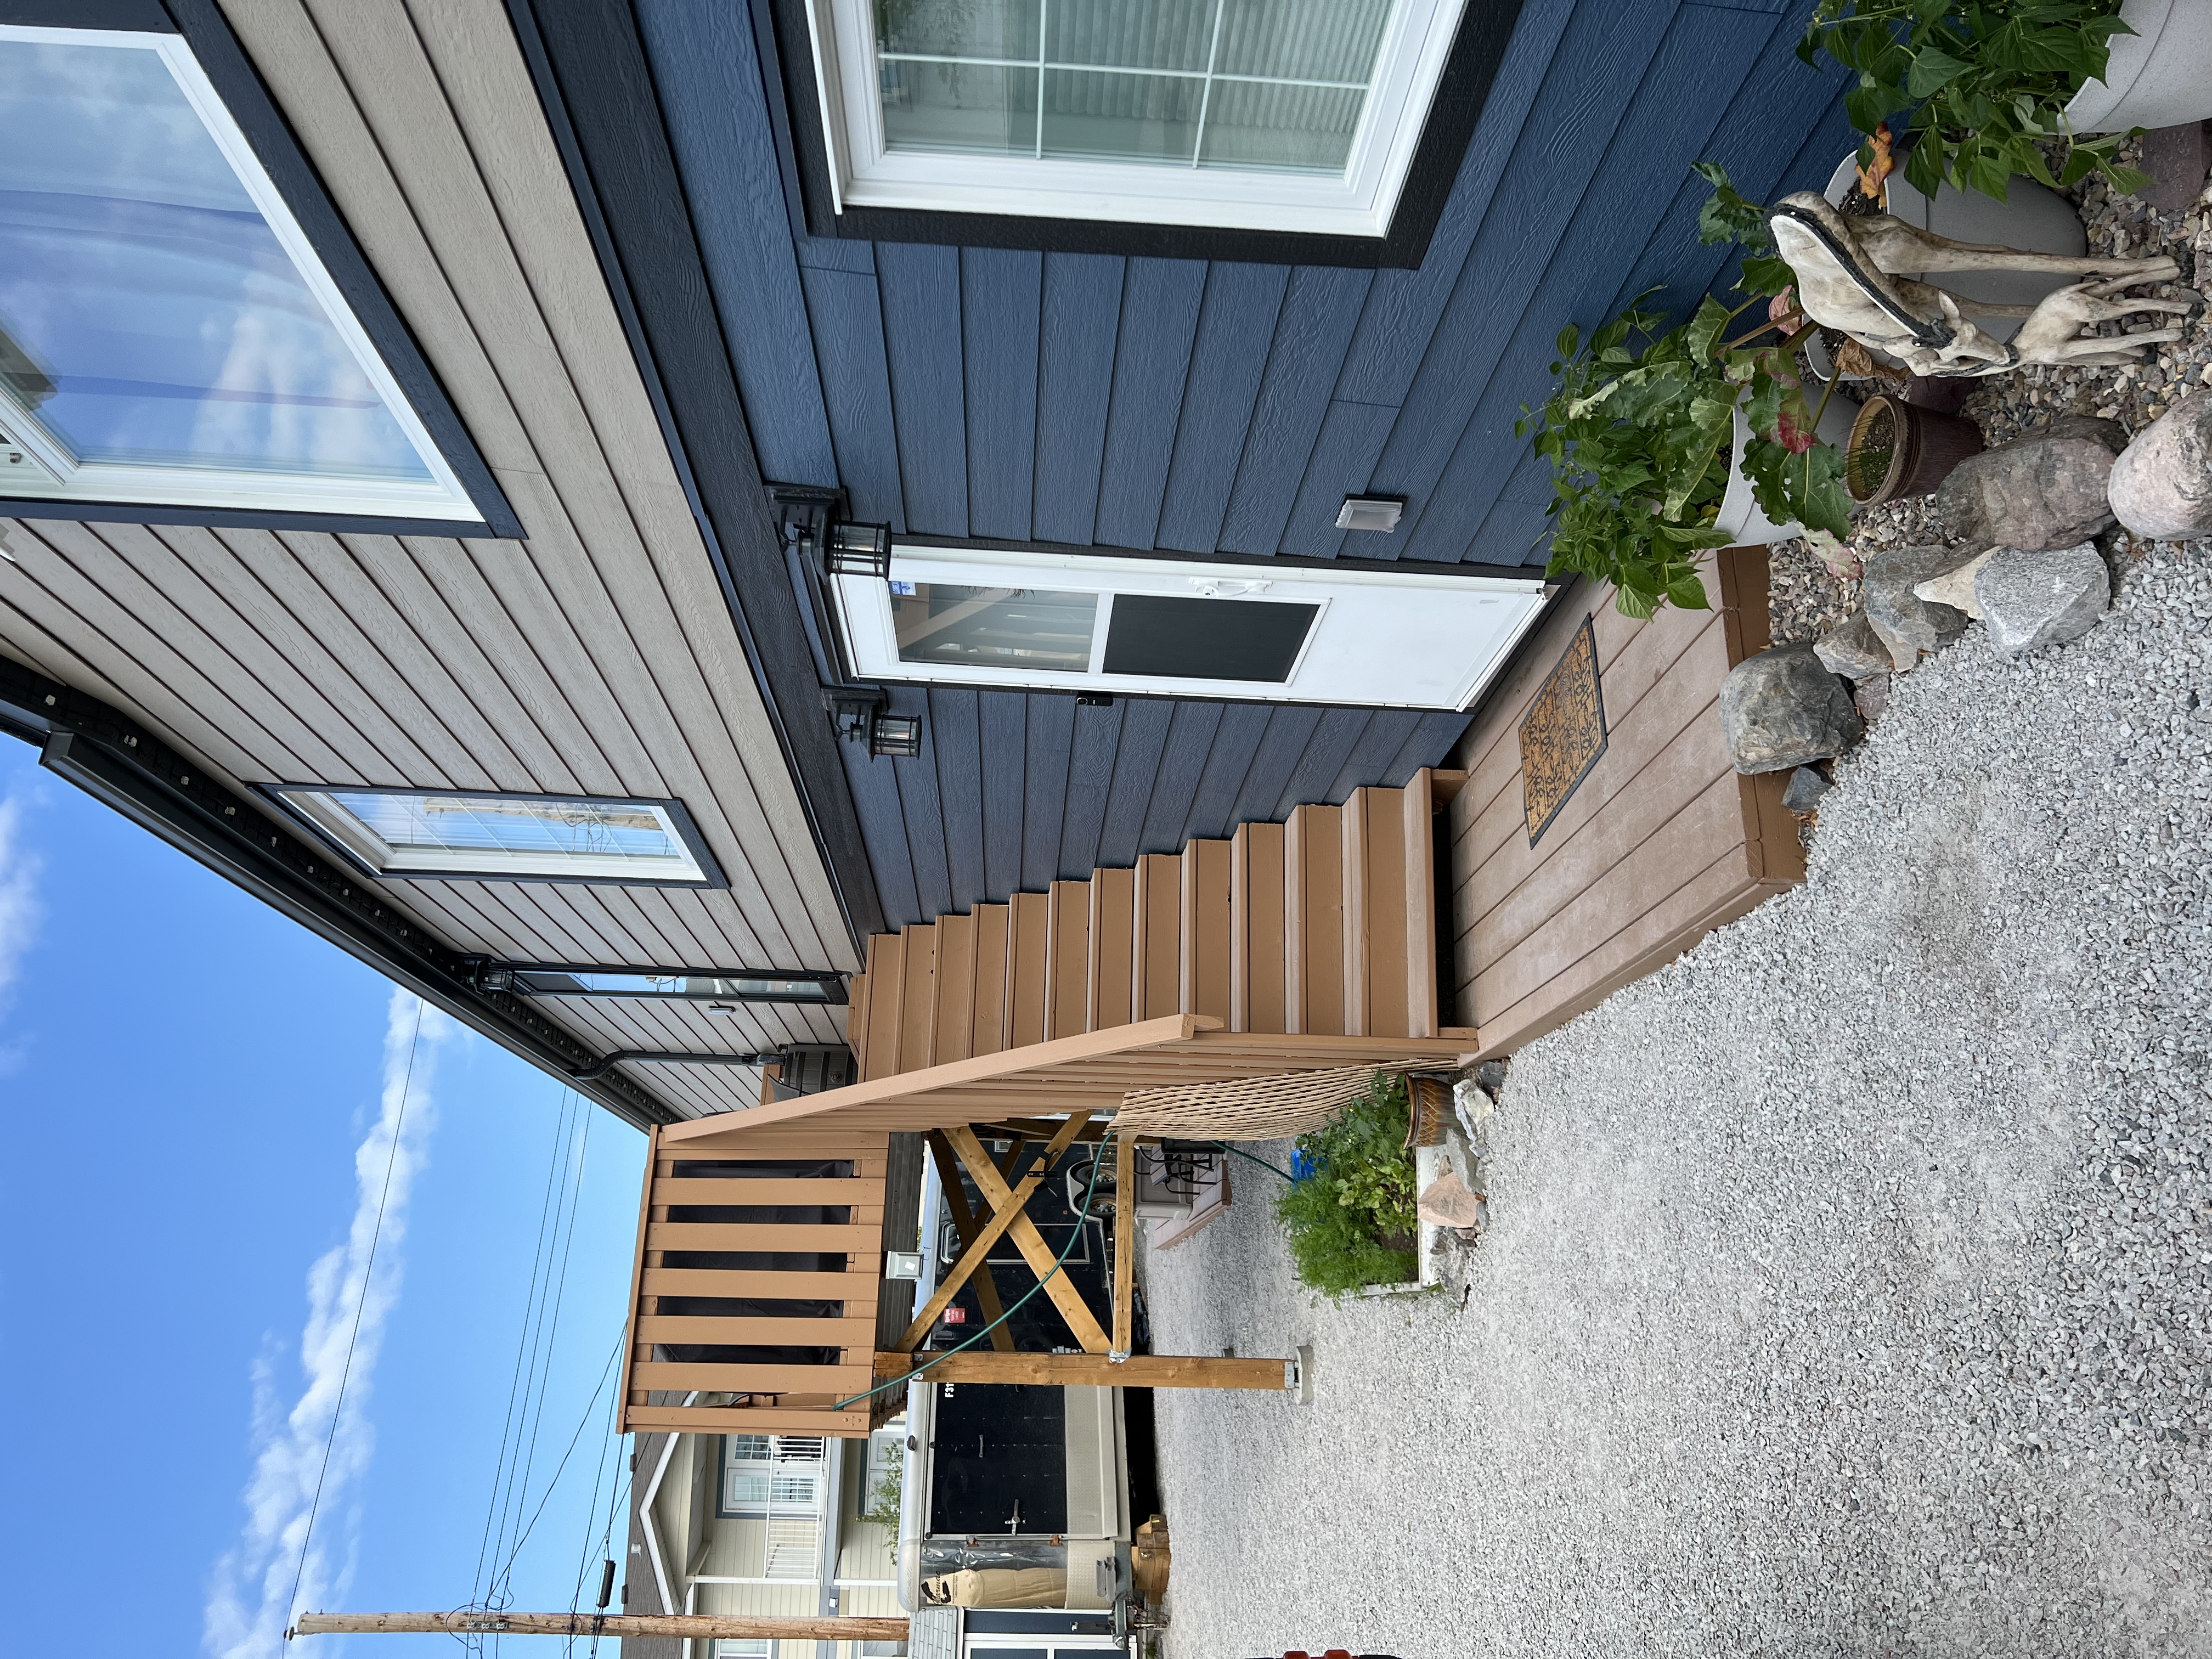
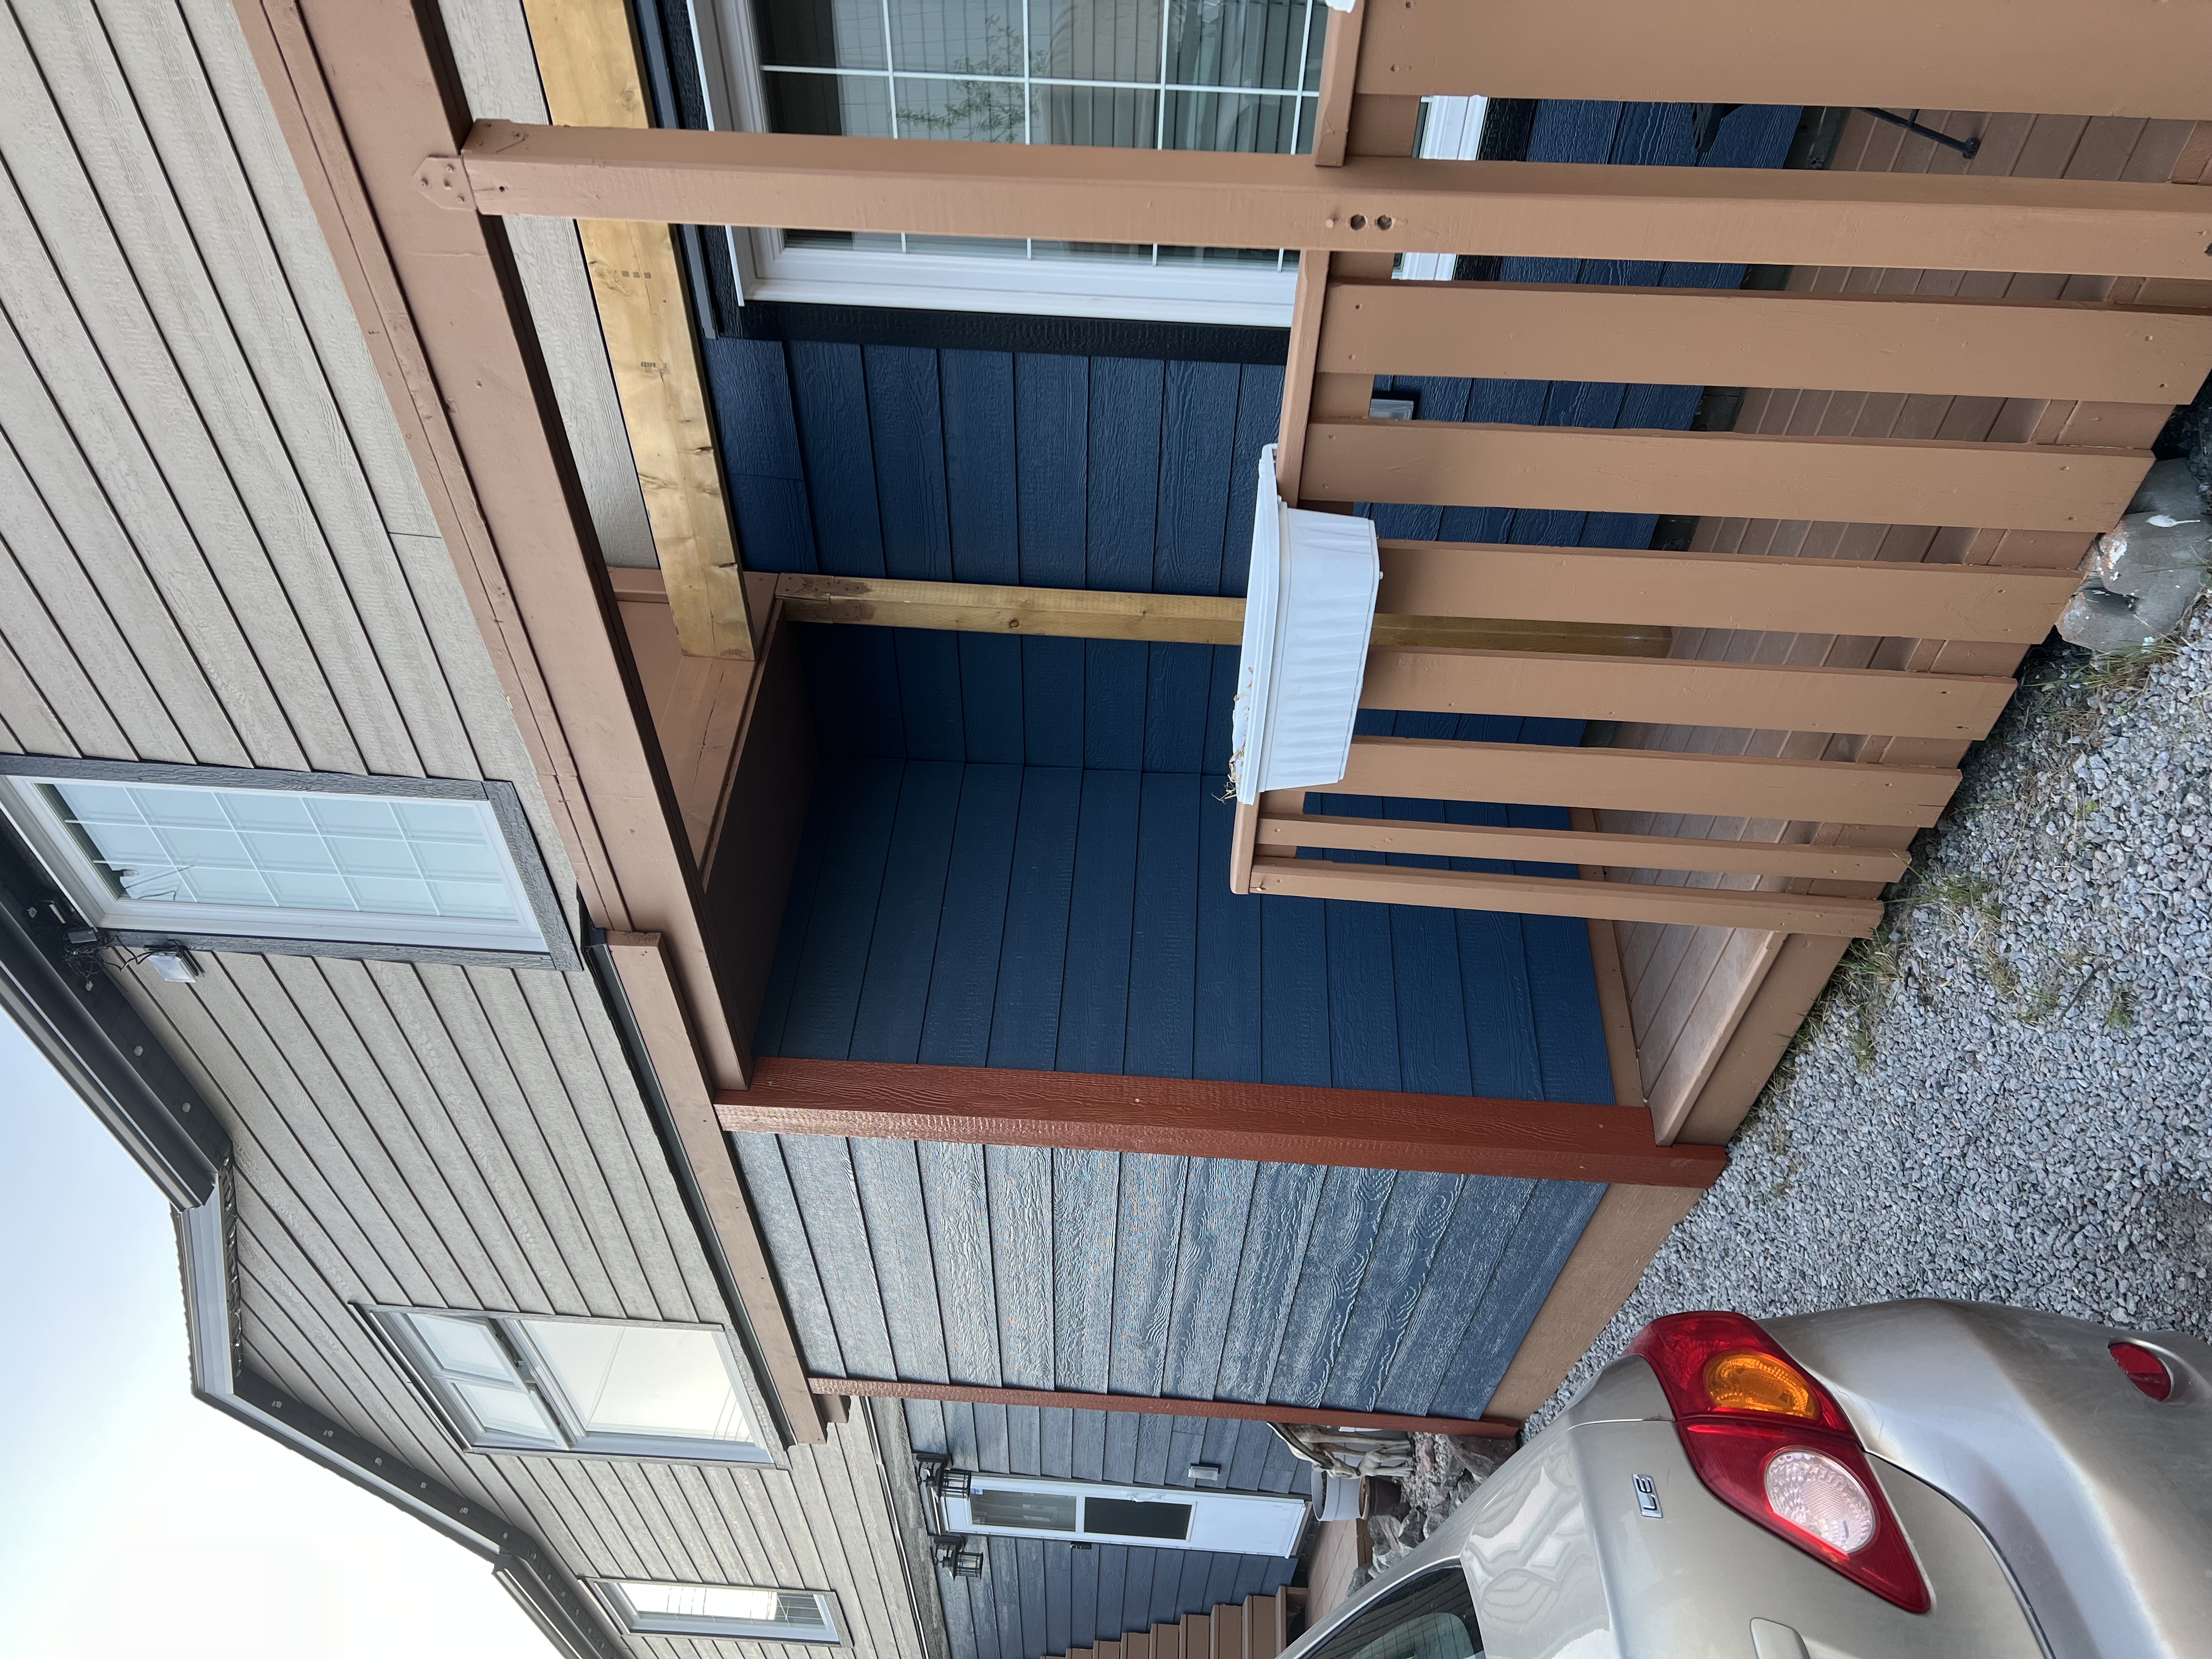
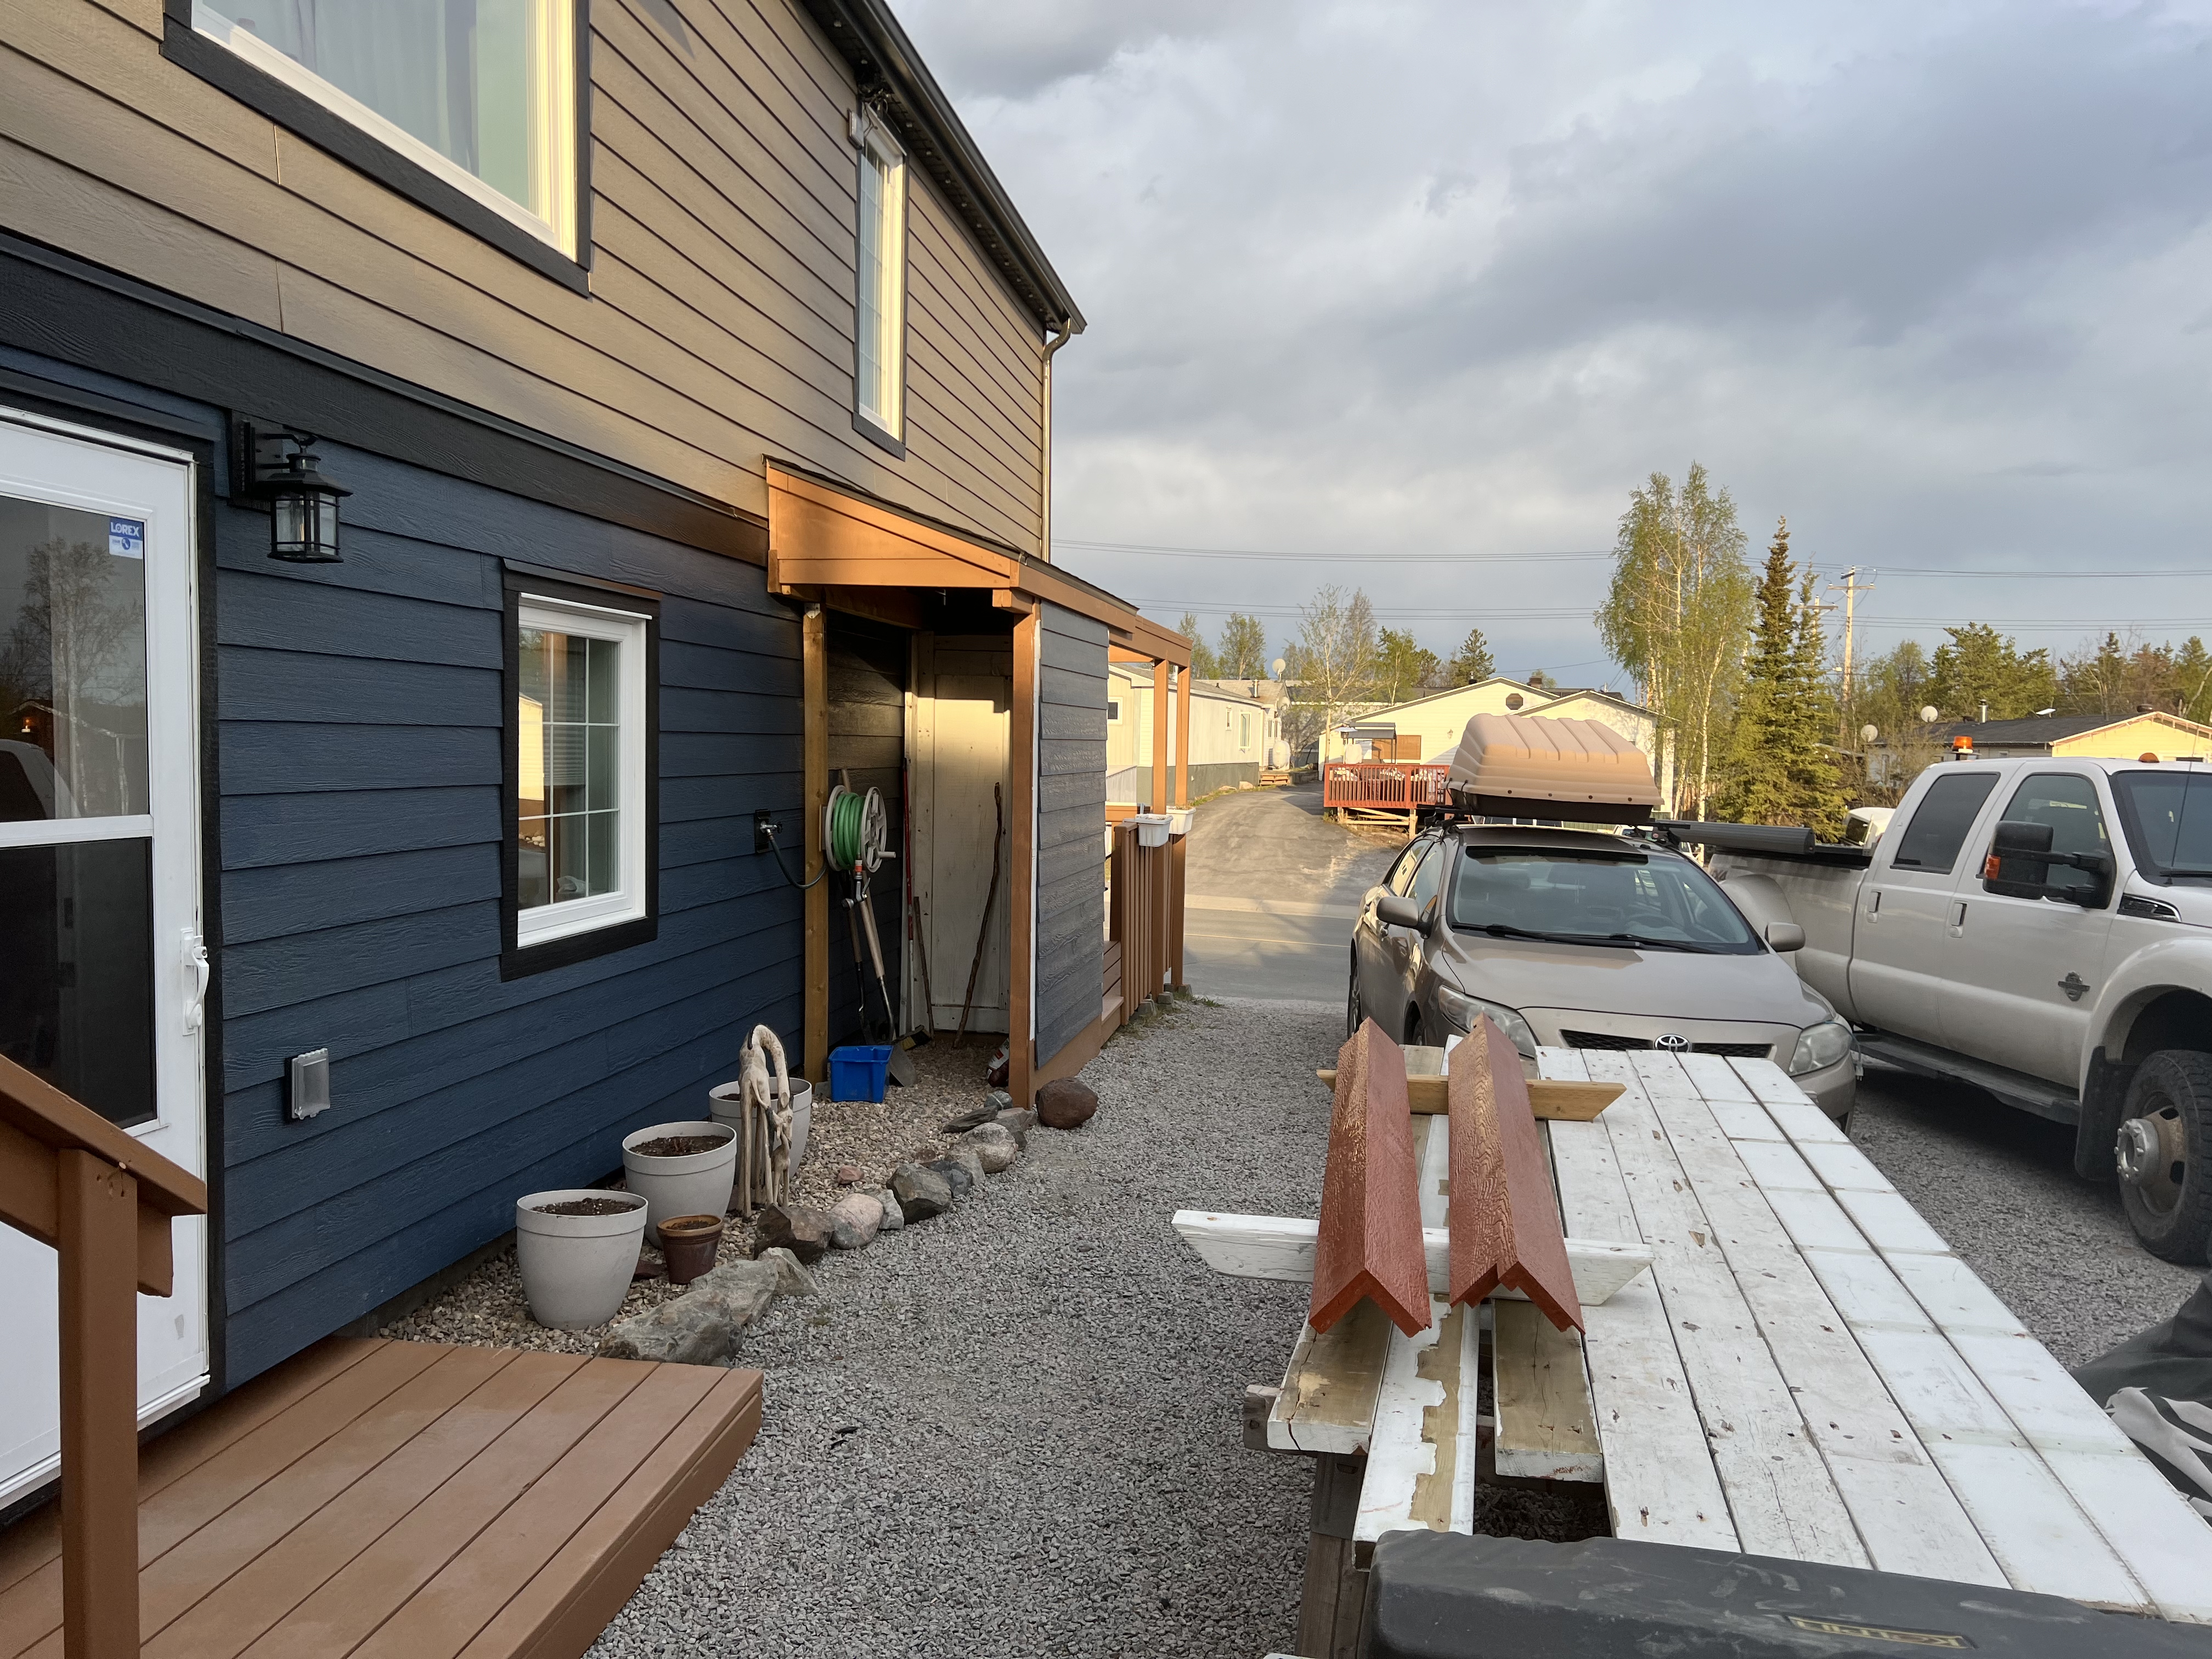
Post Retrofit